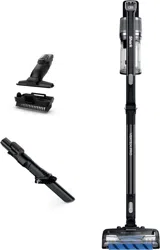
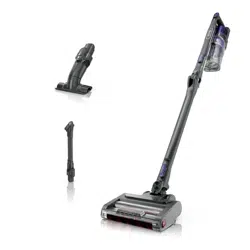
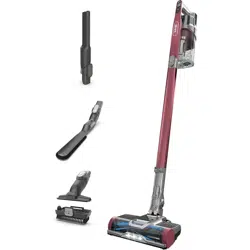
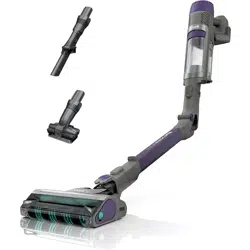
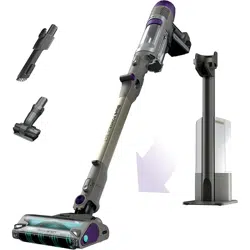
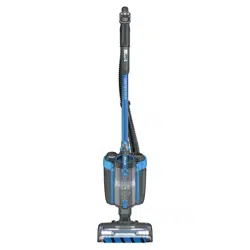
Shark ICZ362H Vertex Pro Cordless Vacuum
Product's Documents
Below are documents related to this product, you can read online or download:
- OWNER’S GUIDE - (English) Read Online | Download pdf
Owner's Guide Vacuum Cleaner
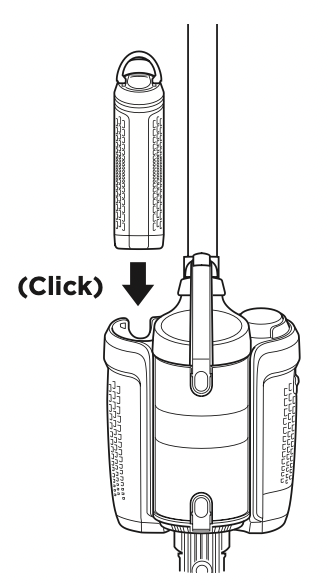
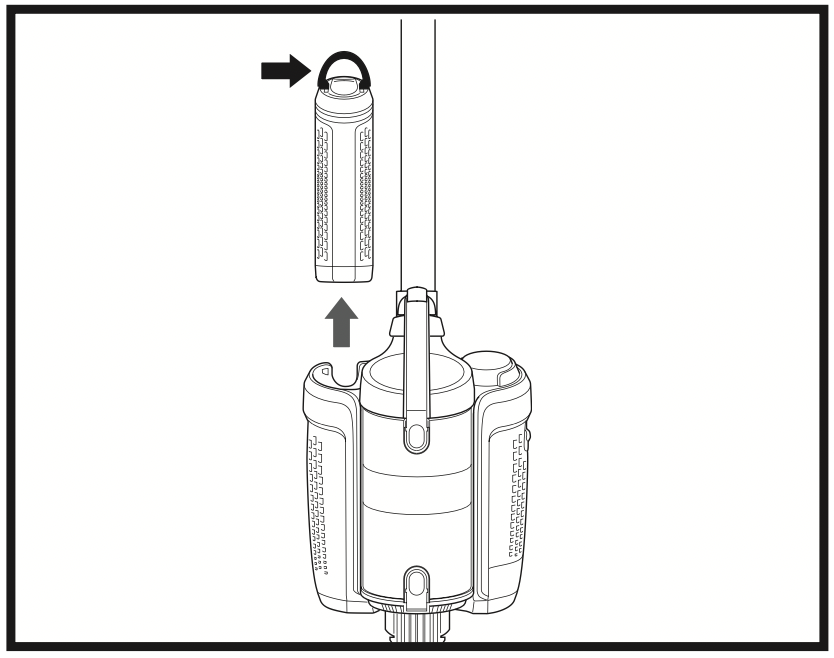
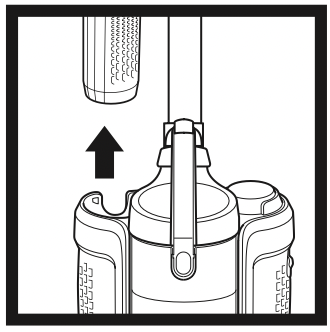
To remove the battery for charging, lift the handle on top of the battery and pull up. The battery must be charged before first use.
 A complete charge takes approximately 3.5 hours.
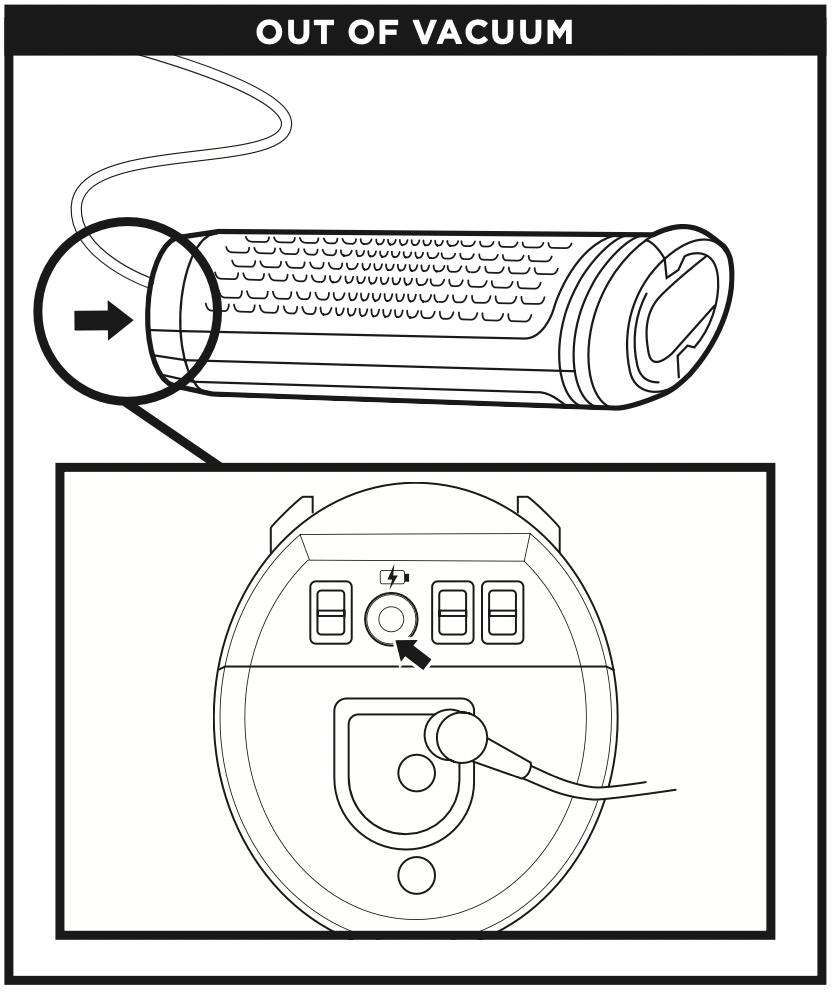
IMPORTANT: When charging, connect the charger to the port first, then plug the charger into wall outlet.
Battery Runtime
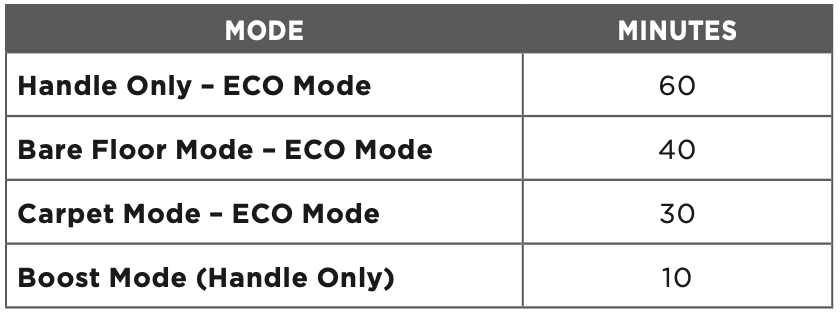
Suction mode impacts runtime. Use BOOST in short bursts.
NOTE: Only one charger is provided.
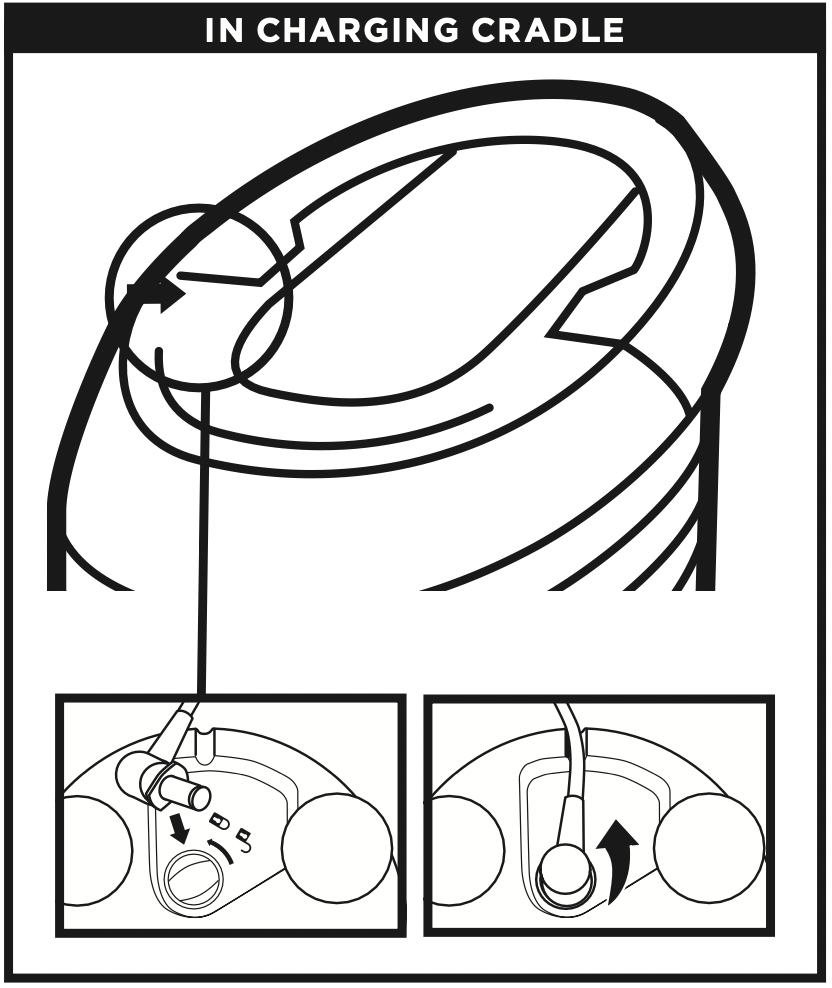
NOTE: When using the cradle, insert the charger plug into the port and rotate to lock into place. The battery will not charge unless the charger is locked into place.
NOTE: The battery must be charged before first use. A complete charge takes approximately 3.5 hours.
Charge Indicator Light

Charging: One light flashes

TEMPERATURE ISSUE: FIRST AND THIRD INDICATOR LIGHTS FLASHING ALTERNATELY
If the first and third indicator lights are flashing alternately, the battery temperature is not optimal. If this happens when charging, leave the battery plugged in and charging will resume once temperature reaches optimal level.

NOTE: The battery must be charged before first use. A complete charge takes approximately 3.5 hours.
NOTE: The indicator light will shut off 5 minutes after charging is complete.
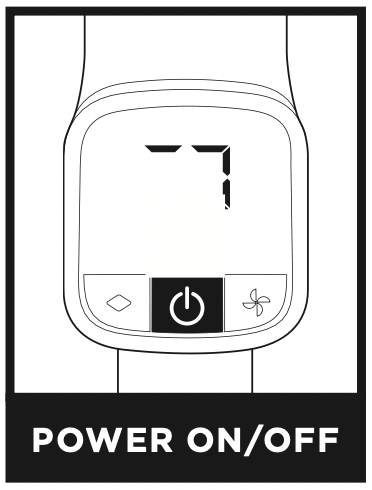
POWER ON/OFF
Press power button to turn the vacuum on or off.
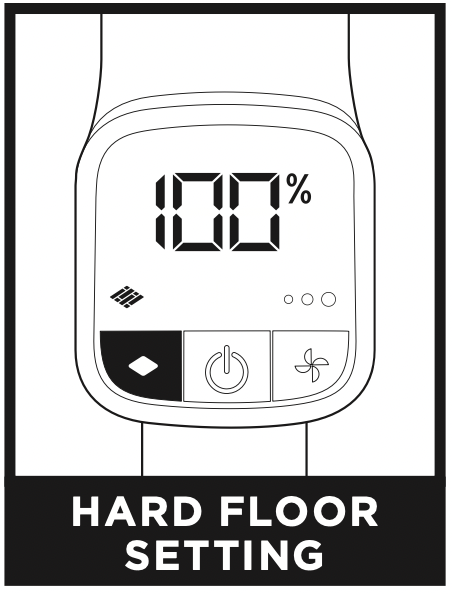
HARD FLOOR SETTING
To vacuum in hard floor mode, press the floor select button until the hard floor icon (  ) illuminates. The brushrolls will spin slower to clean bare floors and small area rugs.
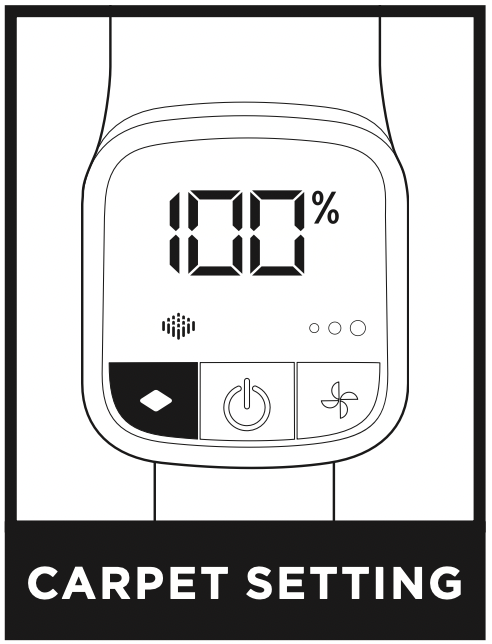
CARPET SETTING
To vacuum in carpet mode, press the floor select button until the carpet icon (  ) illuminates. The brushrolls will spin faster to pick up debris below the surface of your carpets.
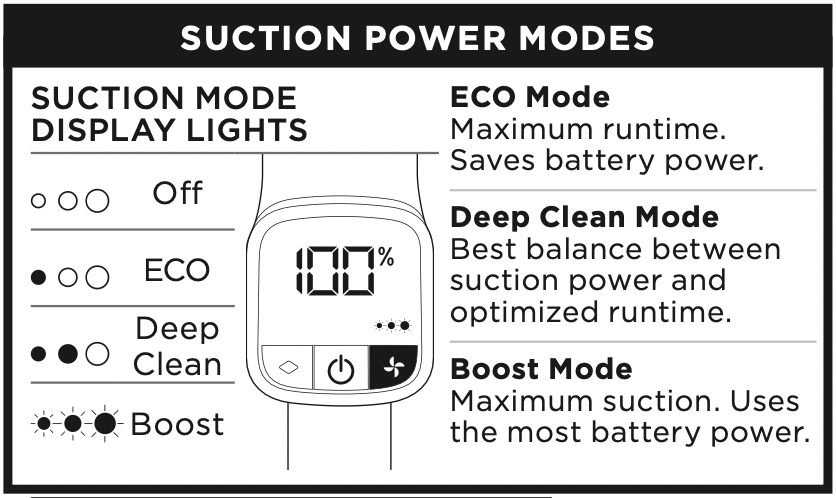
SUCTION MODE
Press the (  ) button to toggle between ECO, Deep Clean and Boost modes. To save battery power, select ECO mode. For everyday cleaning power, select Deep Clean Mode. For an extra burst of power, select Boost mode.

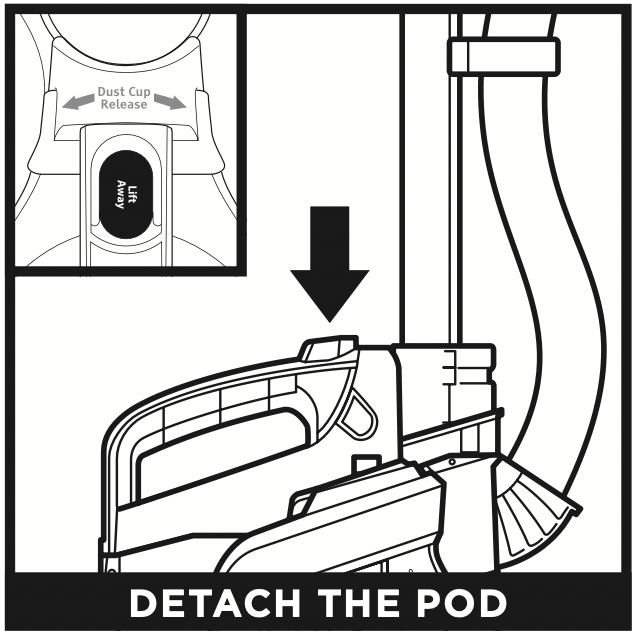
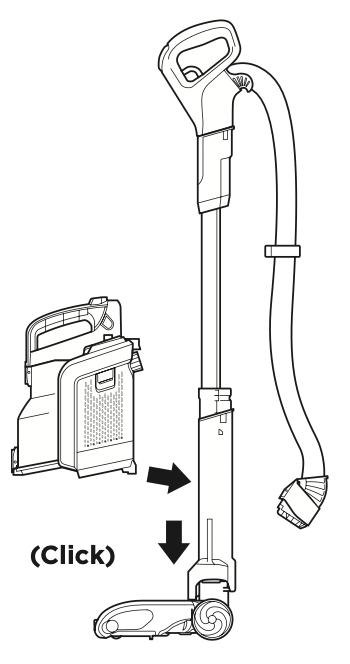
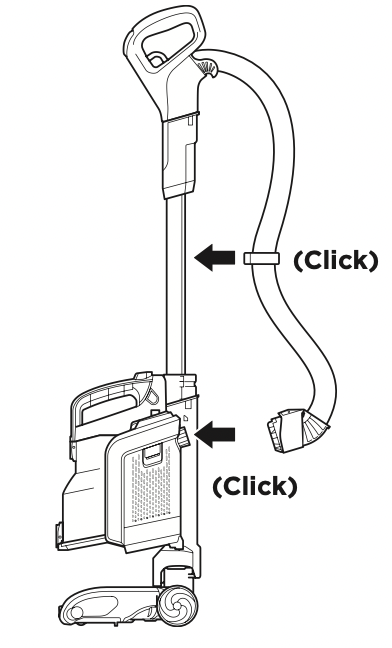
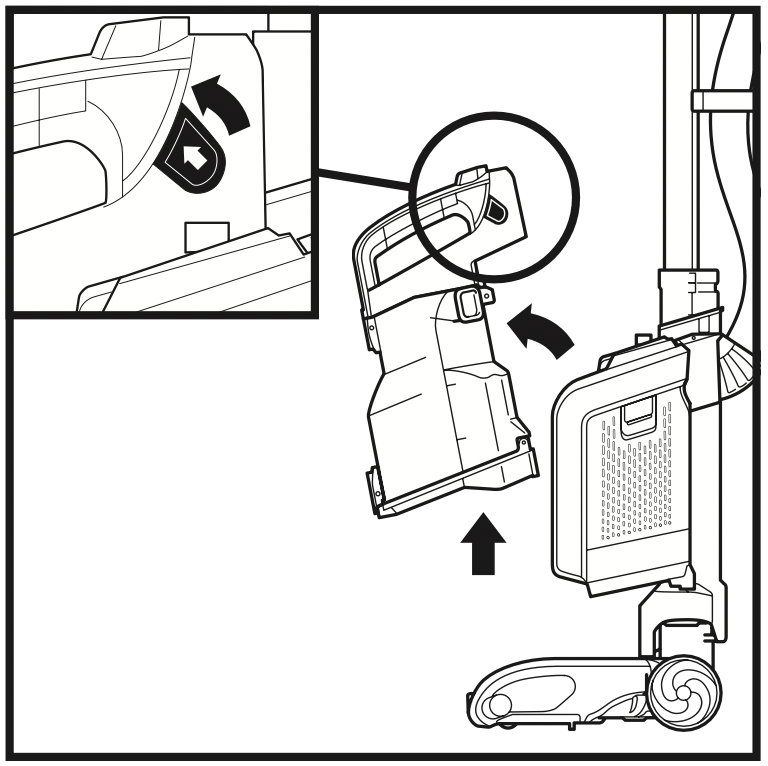
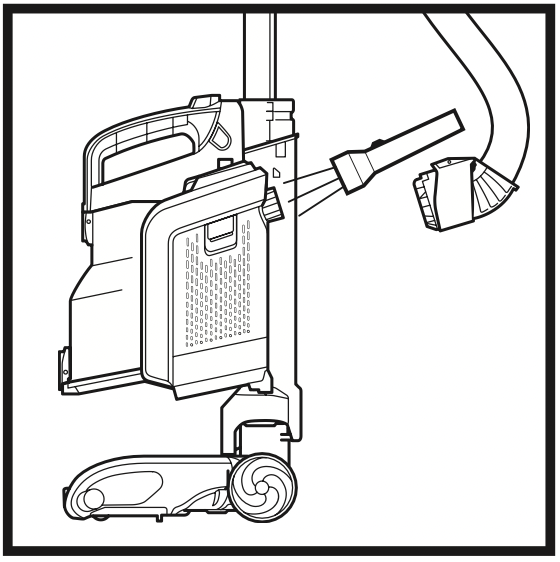
Detach the pod from the floor nozzle for powerful cleaning under furniture and in other hard-to-reach areas. Press the LIFTAWAY button and lift the pod off the nozzle.

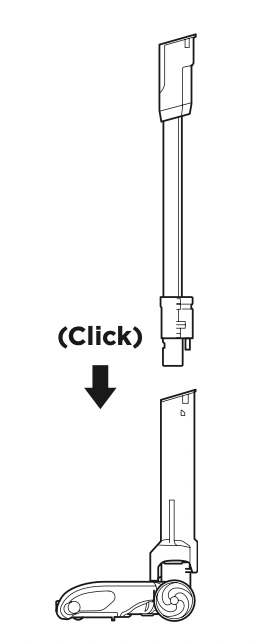
Detach the wand from the pod for more reach to clean above-floor areas. Press the Wand Release button and lift the wand to remove it from the nozzle.
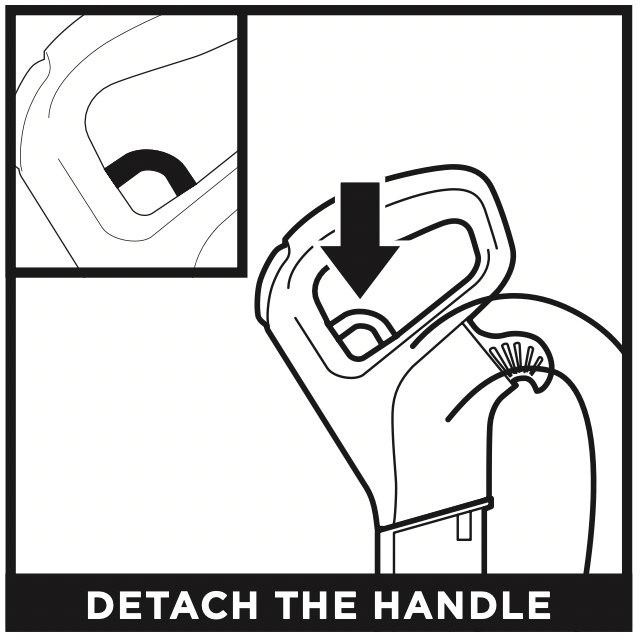
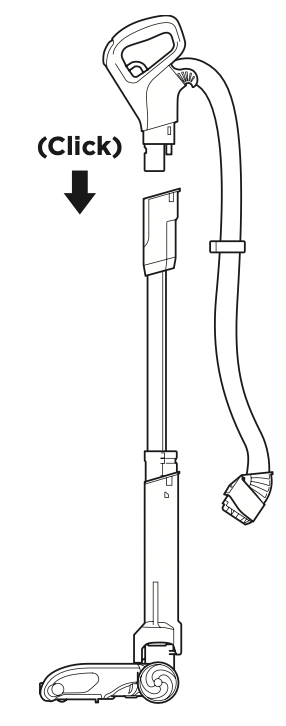
To clean above-floor areas close at hand, press the Handle Release trigger to detach the handle from the wand.
TIP: See next page for all the different ways you can use your vacuum.
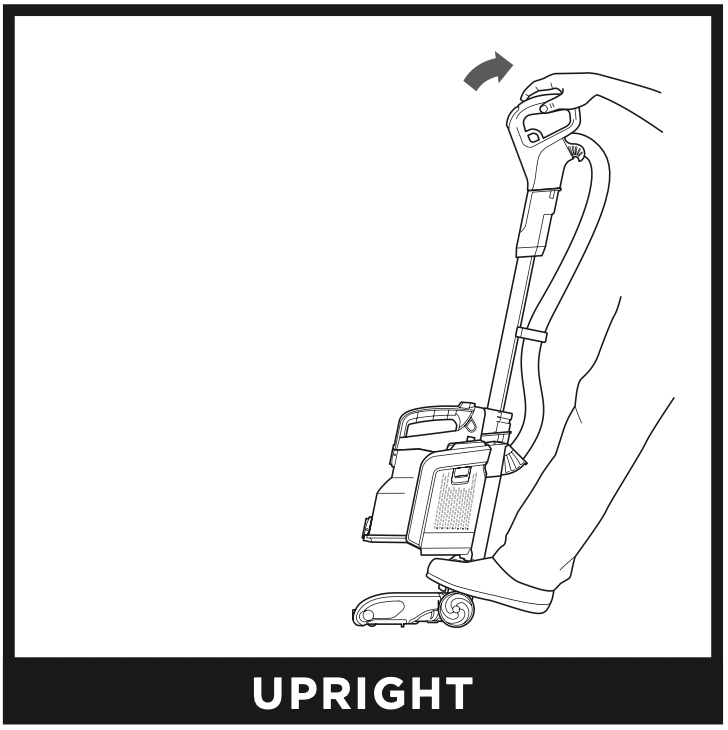
UPRIGHT
For cleaning carpets and hard floors. To activate brushroll, step on floor nozzle and tilt handle back.
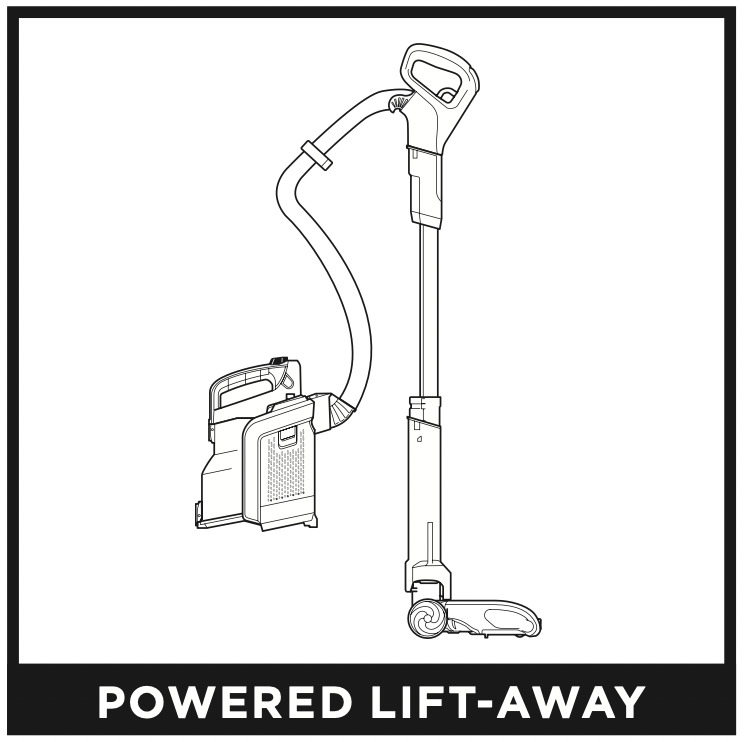
POWERED LIFT-AWAY
Detach the pod to go into Powered Lift-Away mode to reach under furniture to clean carpets and hard floors.
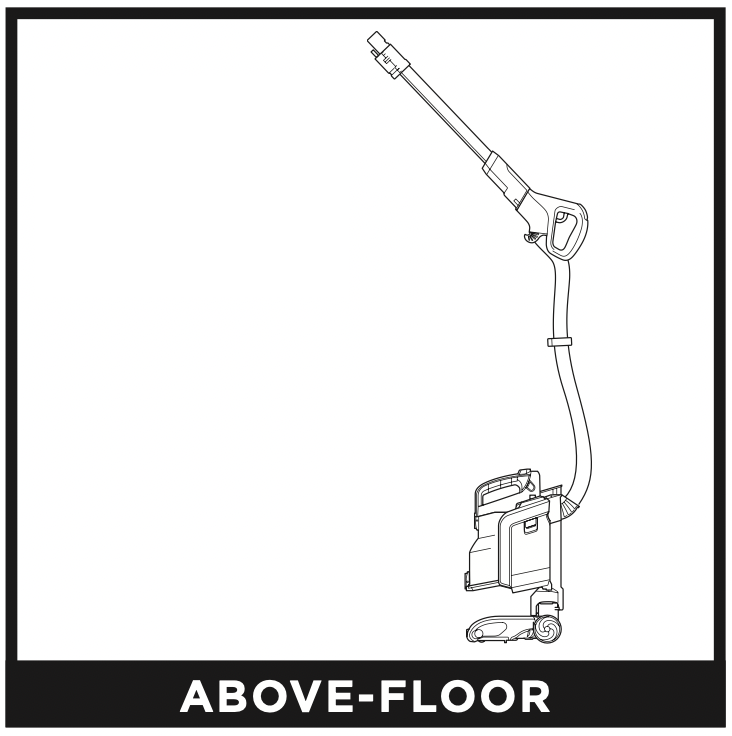
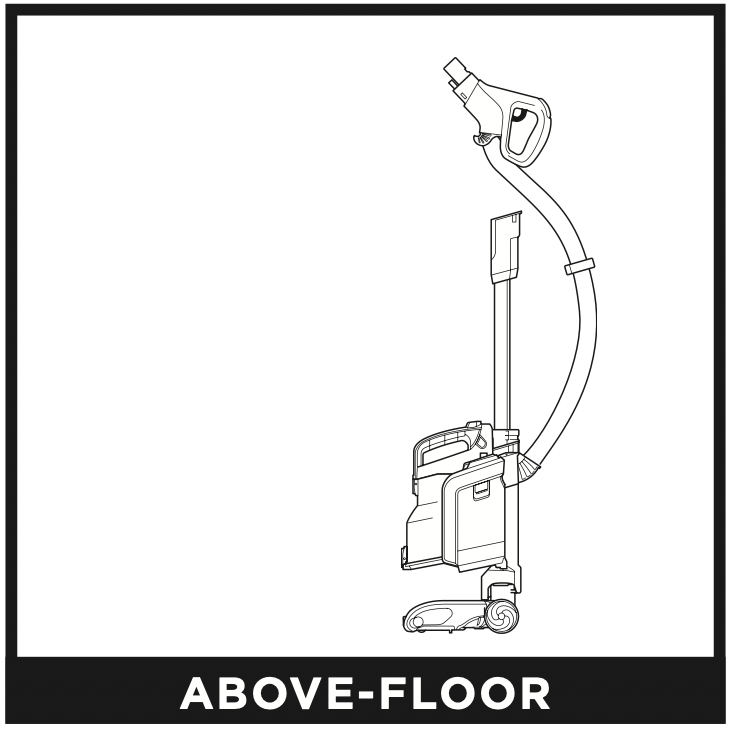
ABOVE-FLOOR
Use the wand in Above-Floor Mode for quick jobs above shoulder height.
With pod attached, detach the wand from the floor nozzle.
Use the handle in Above-Floor Mode for quick jobs off the floor.
With pod attached, detach the handle from the wand.
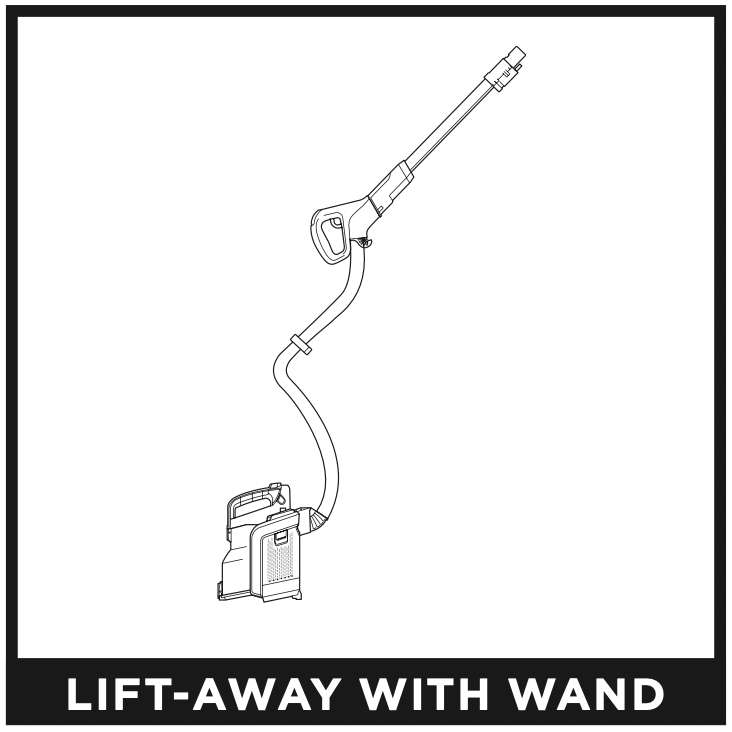
LIFT-AWAY WITH WAND
Use the wand in Lift-Away mode for more reach when cleaning above-floor areas like baseboards, corners, and ceilings.
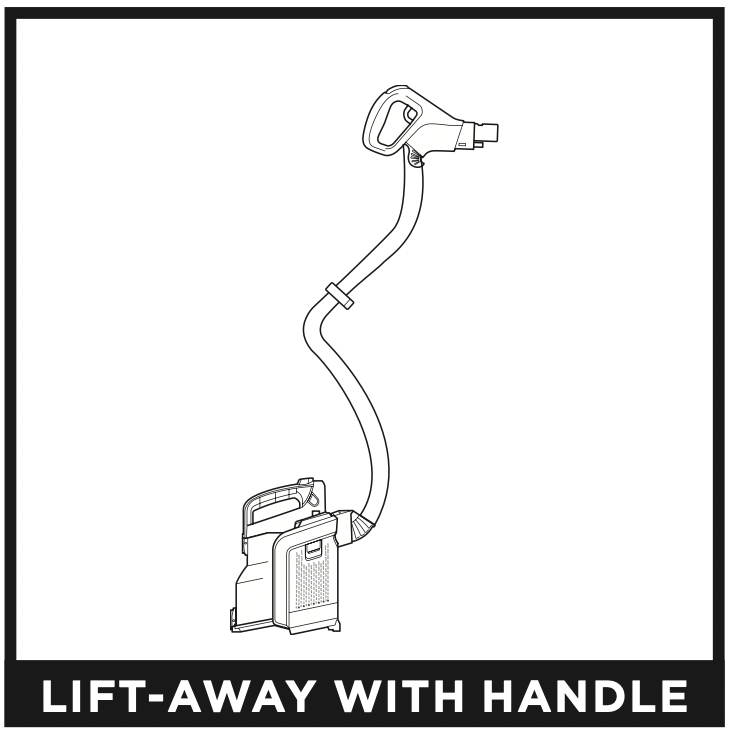
LIFT-AWAY WITH HANDLE
Use the handle in Lift-Away mode for more detailed cleaning of above-floor areas like upholstery, windowsills, or stairs.
NOTE: See previous page for instructions on how to detach the pod, wand, and handle.
IMPORTANT: Remove the battery before performing any maintenance. To remove, lift the handle on top of the battery and pull up.
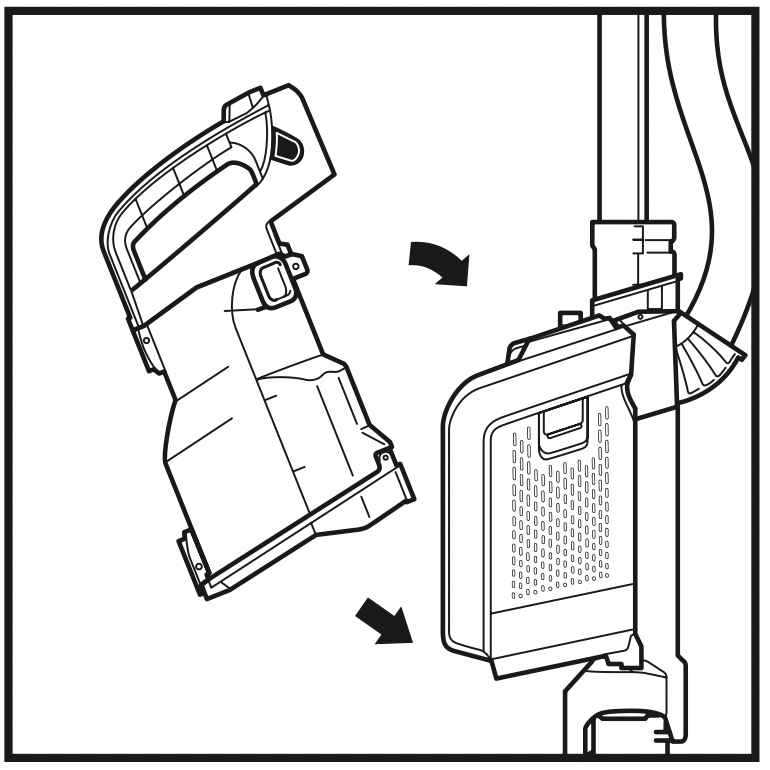
To remove Dust Cup, slide up the release tabs on both sides. Tilt the dust cup away from pod, and lift to remove.

Position the dust cup over the trash, then press the bottom button to release dust and debris.
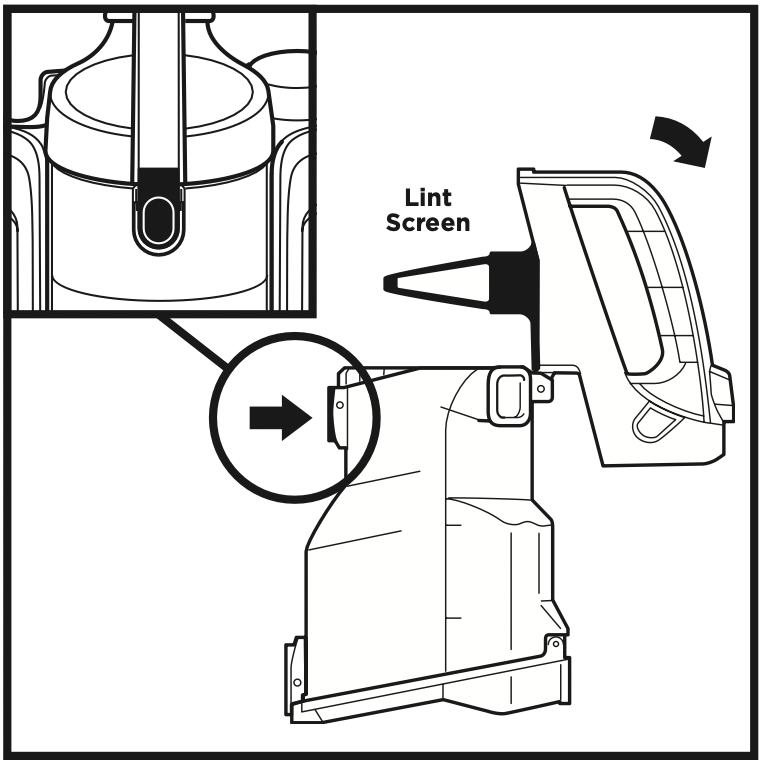
To access the Lint Screen inside the dust cup, press the top button and lift the handle to open the dust cup. Brush the screen lightly to remove collected debris.
To reinstall the dust cup, place the bottom into the pod and tilt the dust cup toward the wand until it clicks into place.
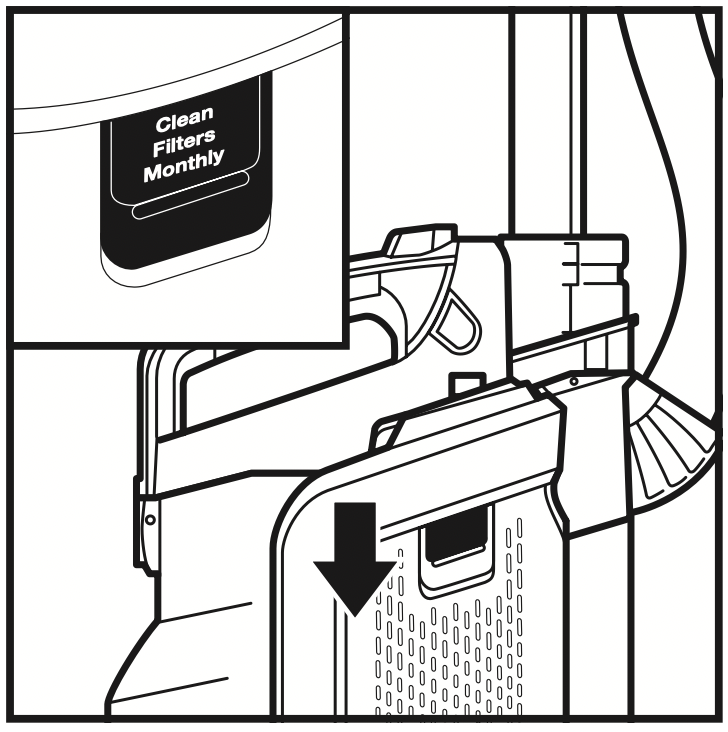
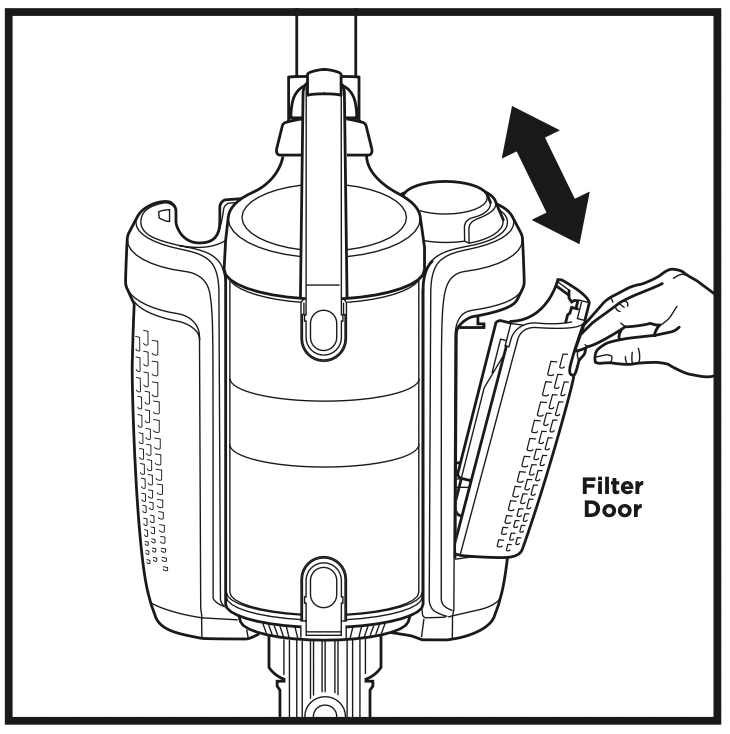
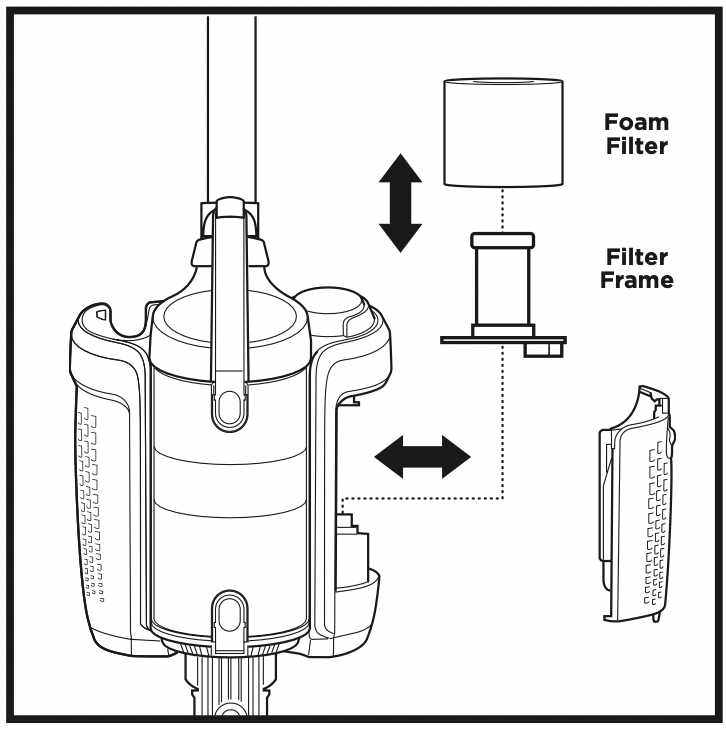
Regularly rinse and replace the pre-motor filter to maintain your vacuum's suction power.
IMPORTANT: To prevent damage, rinse filters with lukewarm water ONLY. DO NOT use soap. Allow filters to air-dry for at least 24 hours before reinstalling them to prevent liquid from being drawn into electric parts.
Rinse and replace the HEPA post-motor filter every year to maintain your vacuum's suction power.
IMPORTANT: Rinse HEPA Post-Motor Filter with lukewarm water ONLY. DO NOT use soap. Allow to air-dry for at least 24 hours or until completely dry before reinstalling. DO NOT scrub HEPA Post-Motor Filter.
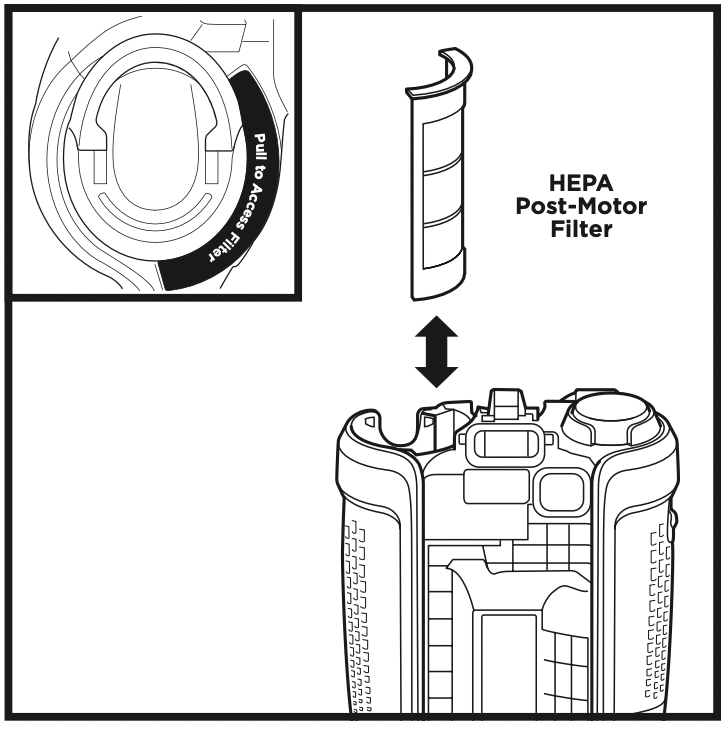
Note: Battery must be removed before HEPA Post-Motor Filter can be removed.
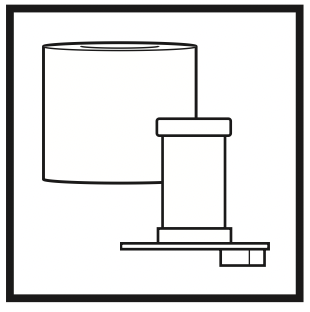
Follow the previous instructions for removing filters. The Foam Filter should be replaced every 2.5 years, and the HEPA Post-Motor Filter should be replaced every 3 years, subject to frequency of use.
Replacement Pre-Motor Filter and Frame
Replacement HEPA Post-Motor filter

BRUSHROLL
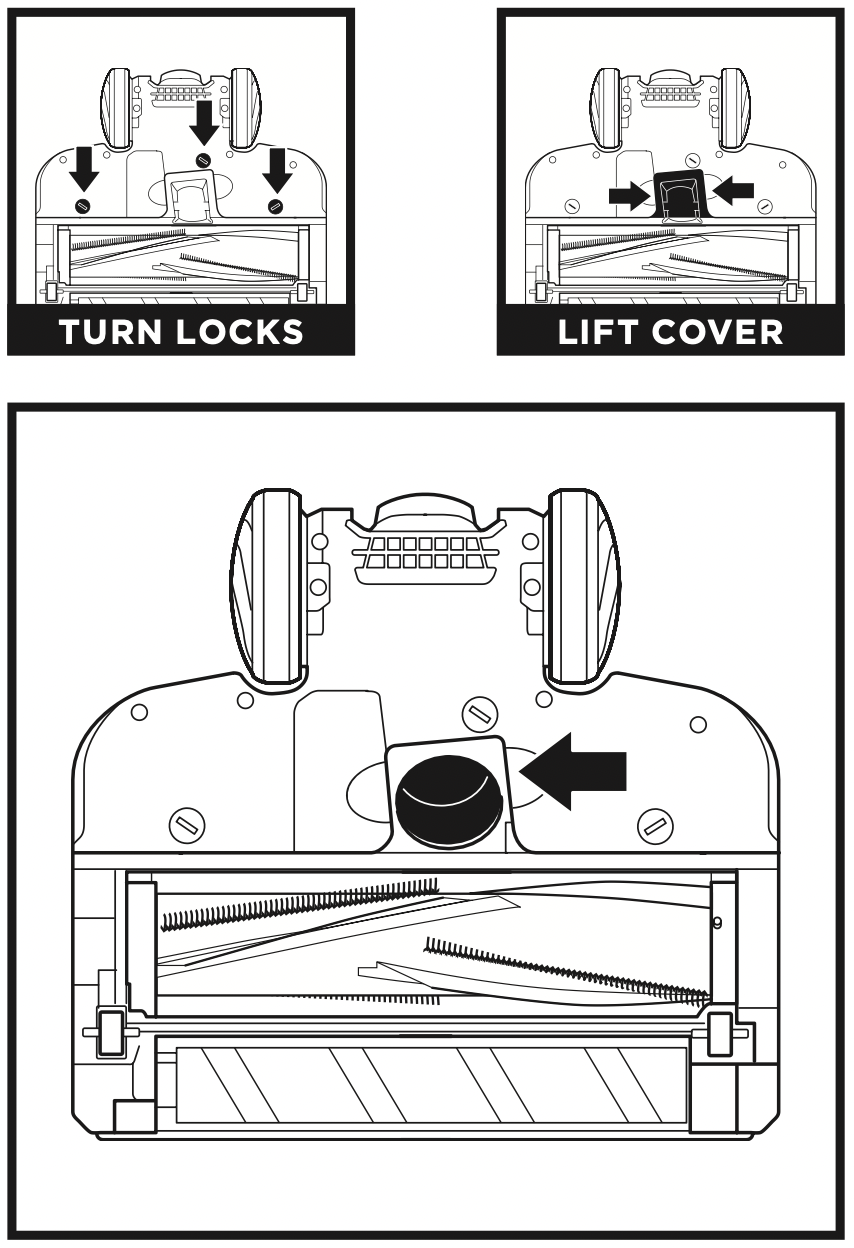
If you run over a hard or sharp object or notice a noise change while vacuuming, check for blockages or objects caught in the brushroll.
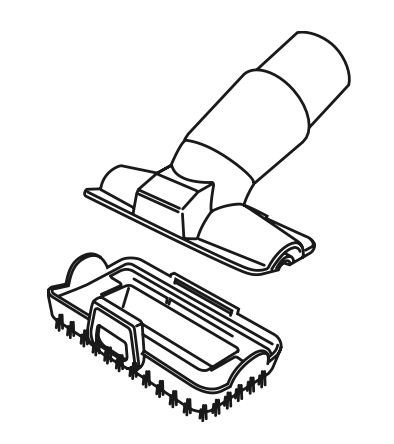
SOFT ROLLER

NOTE: The self-cleaning brushroll removes hair wrap as you clean. If any hair, string, or carpet fibers are wrapped around the brushroll, continue cleaning to allow the self-cleaning brushroll to remove them. If some hair or fibers remain wrapped around brushroll after continued use, open the brushroll cover on the bottom of the floor nozzle and carefully remove them.
IMPORTANT: DO NOT use sharp or metal objects to clear blockages.
Detach hose from vacuum pod, and check opening on back of pod for blockages.
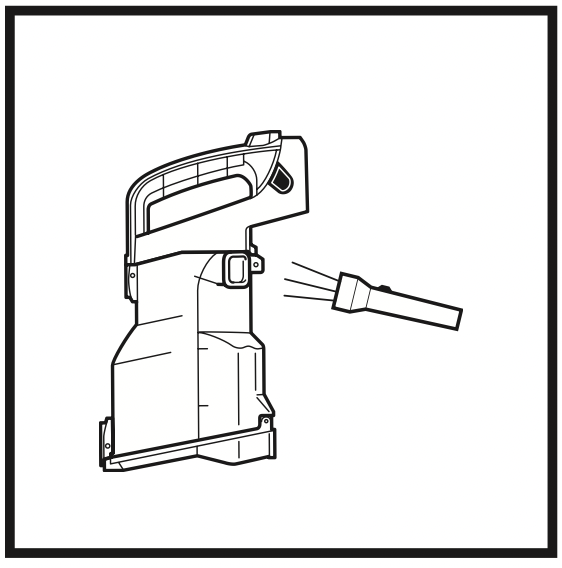
Detach dust cup from vacuum pod. Empty dust cup, remove debris from lint screen, and check for blockages.
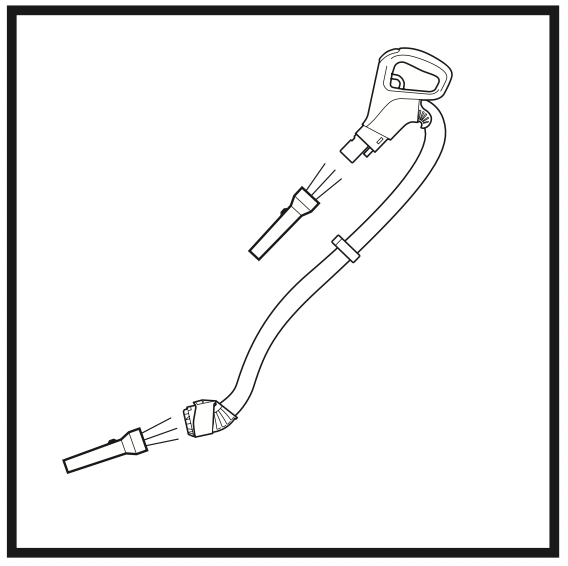
Detach handle from wand and hose from the vacuum pod, and check openings for blockages.
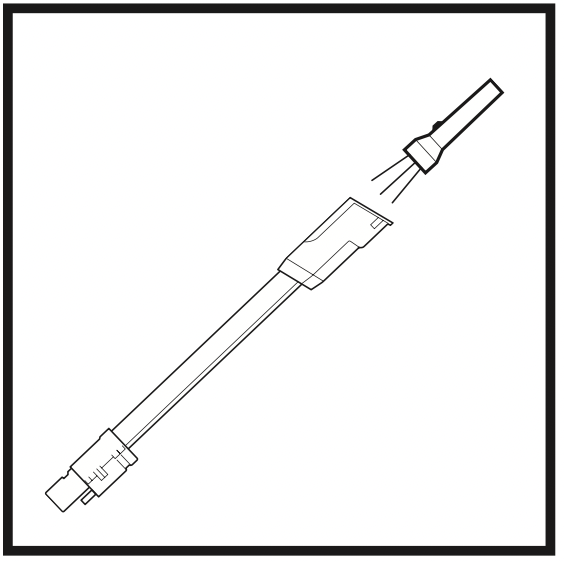
Detach wand from floor nozzle and handle, and check both ends of wand for blockages.
Detach wand from floor nozzle and remove brush roll cover. Tilt nozzle neck back to straighten the airway, and remove any blockages.
NOTE: Turn off vacuum and remove battery before checking for blockages
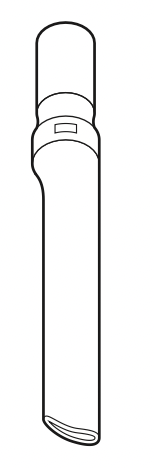
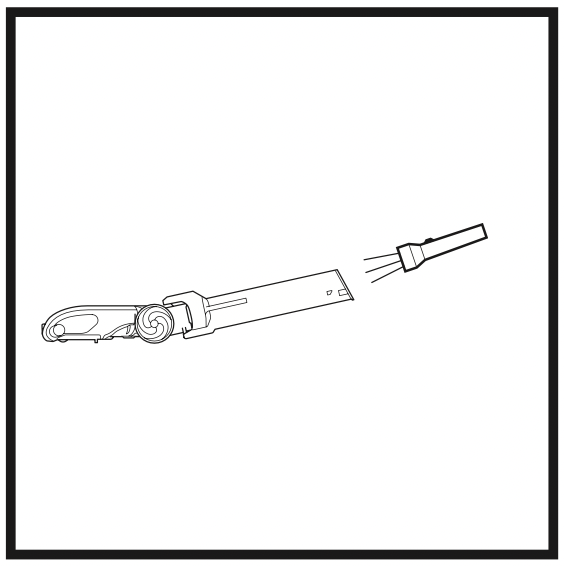
Crevice Tool

Accessory Bag
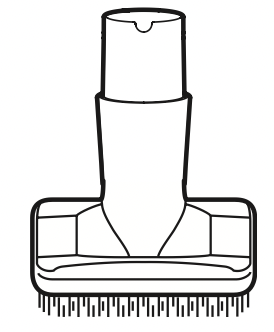
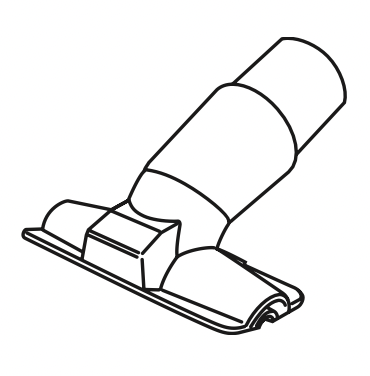
Dusting Brush
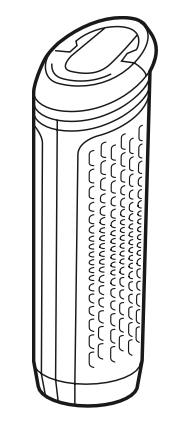
Lithium-Ion Battery
Wide Upholstery Tool
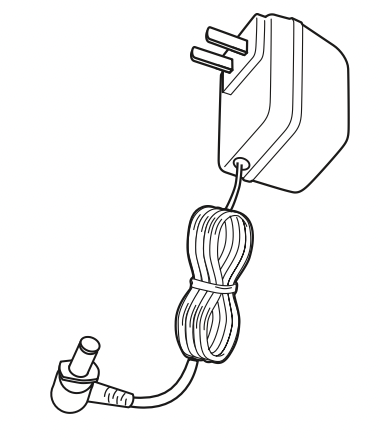
Charging Cord
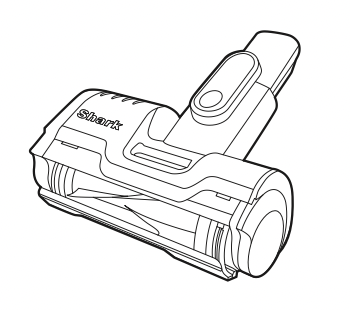
Motorized Pet Tool (certain models only)
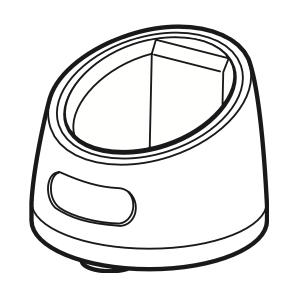
Battery Charging Cradle
NOTE: Not all accessories come with all units. Please see the top flap of your box for your unit's configuration.
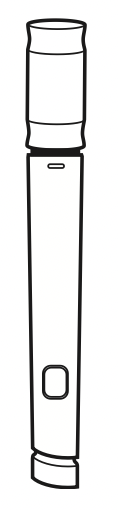
Flexi Crevice Tool
Upholstery Tool
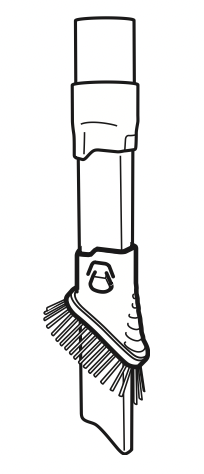
Duster Crevice Tool
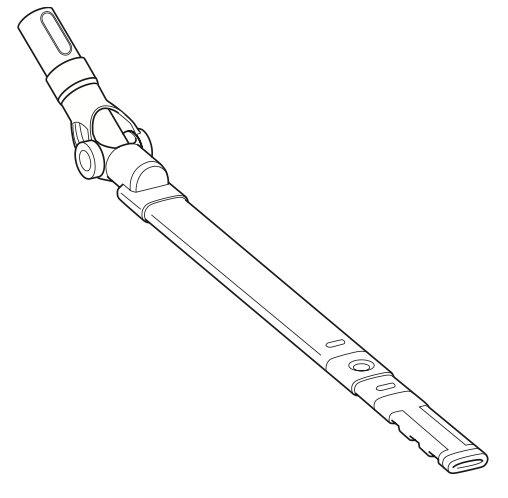
Under-Appliance Wand
Multi-Surface Tool
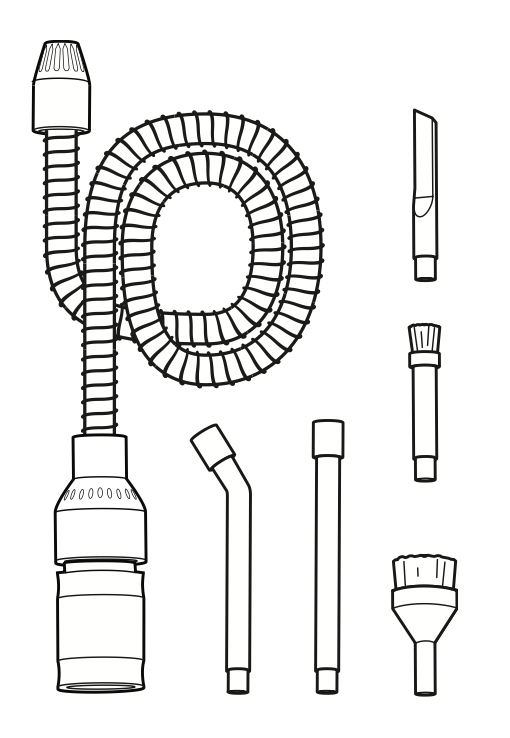
Car Maintenance Kit
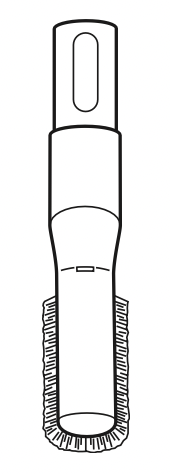
Anti-Allergen Dust Brush
|
LIGHT INDICATOR |
WHAT IT MEANS |
|---|---|
|
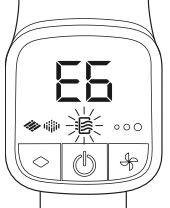
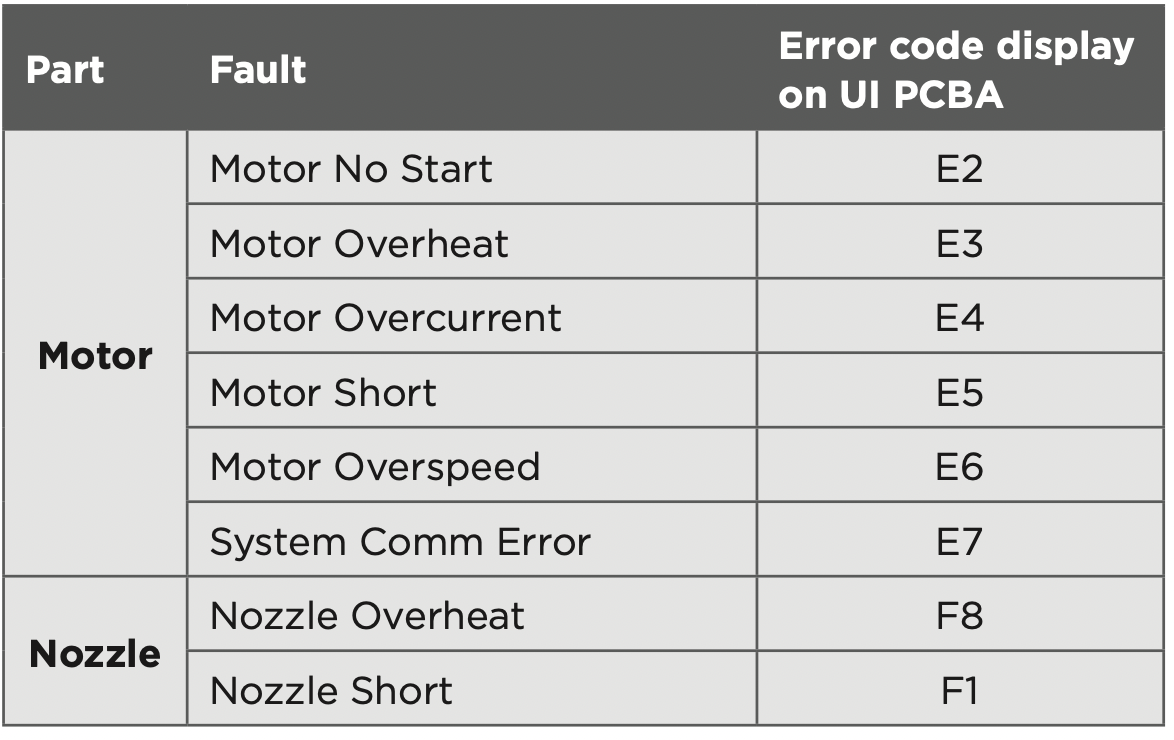
Error code E6 appears and red filter icon illuminates |
The red Filter icon will illuminate when a blockage is detected. Turn off unit and remove blockage. |
|
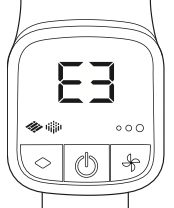
Error code E3 appears |
Unit temperature is high. Turn off vacuum and wait for approximately 45 minutes. While unit is cooling, clear any blockages. Filters may also need to be cleaned. See Maintenance Section. |
|
The first and third battery indicator lights flash alternately |
Battery temperature is not optimal so charging is temporarily paused. Leave battery plugged in and charging will resume soon. |
This product uses a lithium-ion rechargeable and recyclable battery. When the battery no longer holds a charge, it should be removed from the vacuum and recycled. DO NOT incinerate or compost the battery.
When your lithium-ion battery needs to be replaced, dispose of it or recycle it in accordance with local ordinances or regulations. In some areas, it is illegal to place spent lithium-ion batteries in the bin or in a municipal solid waste stream. Return spent battery to an authorized recycling center or to retailer for recycling. Contact your local recycling center for information on where to drop off the spent battery.
Vacuum is not picking up debris. No suction or light suction.
Vacuum lifts rugs.
Brushrolls do not spin.
Vacuum turns off on its own or will not turn on.
There are several possible reasons for the vacuum cleaner turning off on its own, including blockages, battery issues, and overheating. If the vacuum cleaner turns off on its own, perform the following steps:
Dust cup will not latch onto unit
Battery not charging.
Battery not inserting into vacuum.
Reference file: Shark ICZ362H Vertex Pro Cordless Vacuum
Additionally, the document applies to other Shark models: ICZ300