Loading ...
Loading ...
Loading ...
14
As two independent cooking zones
The flexible cooking zone is used like two independent
cooking zones.
Turning on
See section on
As a single cooking zone
Using the entire cooking zone by connecting both
individual zones.
Linking the two cooking zones
1.
Set down the cookware. Select one of the two cooking
zones assigned to the flexible cooking zone and set
the power level.
2.
Touch the JOIN I SPLIT touch key. The display lights
up.
The power level appears in the display for the lower
cooking zone.
The flexible cooking zone is activated.
Changing the power level
Select one of the zones in the flexible cooking zone and
change the power level in the settings area.
Add another piece of cookware
Set the new item of cookware down on the cooktop,
select one of the two cooking zones in the flexible
cooking zone and then touch the JOIN I SPLIT touch key
twice. The new item of cookware will be detected and the
power level that was previously selected will be retained.
Note: If the cookware is moved from the cooking zone
being used or lifted up, the cooking zone begins an
automatic search and the heat setting selected
previously is retained.
Separating the two cooking zones
Select one of the two cooking zones in the flexible
cooking zone and touch the JOIN I SPLIT touch key.
This deactivates the flexible cooking zone. The two
cooking zones will now function independently.
Notes
▯ If the cooking zone is switched off, and then switched
back on again later, the flexible cooking zone is reset
to function as two independent cooking zones.
▯ To change the configuration settings for the flexible
cooking zone, refer to the section on ~ "Basic
settings"
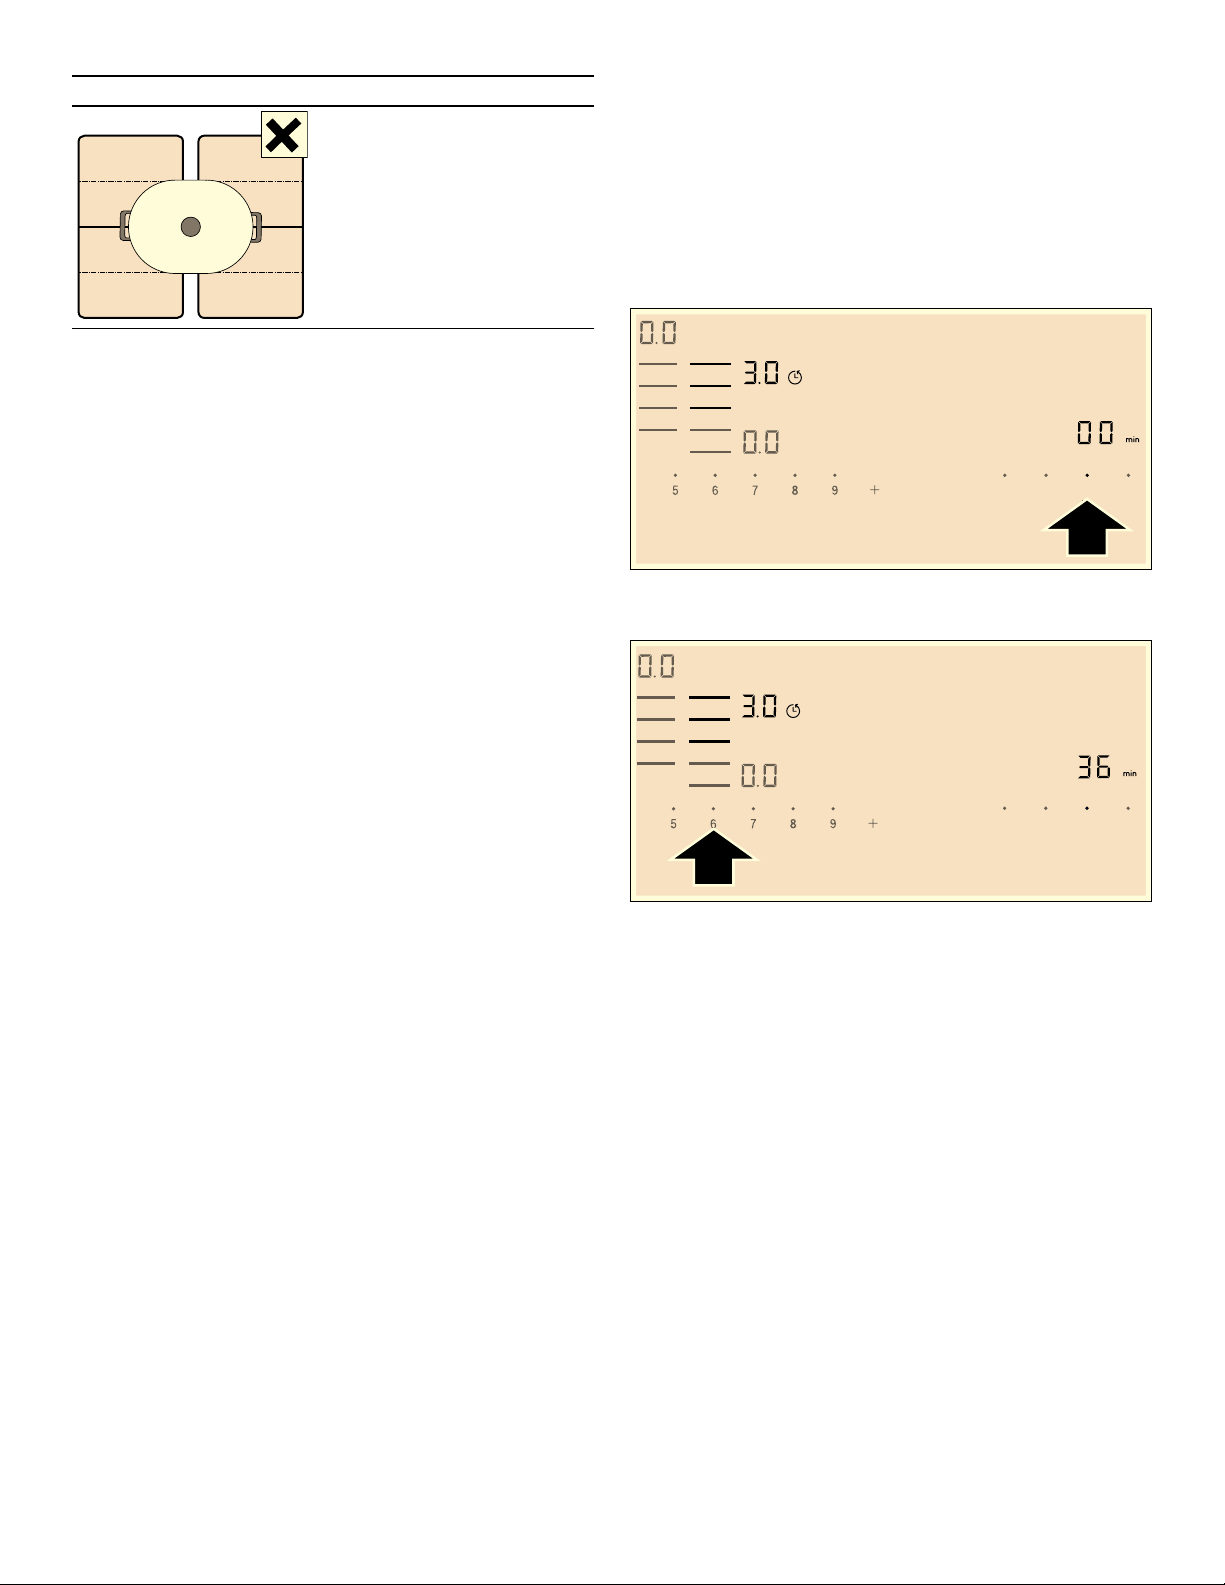
Cook Timer
The element automatically switches off after the set time
has elapsed.
Setting procedure:
1.
Select the cooking zone and the required power level.
2.
Touch the COOK TIMER key. The ‹‹ symbol and the
Ú indicator light up in the cook timer display.
y lights up in the display for the cooking zone.
3.
Within the next 10 seconds, set the required cooking
time using the number keys.
4.
Touch the COOK TIMER key to confirm the selected
setting.
The cooking time begins to elapse.
Note: The same cooking time can be set automatically
for all cooking zones. The set time for each of the
cooking zones counts down independently.
You can find information on automatically programming
the cooking time in section ~ "Basic settings"
Using Cook timer with CookSmart
®
When you are cooking with CookSmart
®
the
programmed cooking time will begin to count down once
the temperature for the selected frying level has been
reached.
Changing or deleting the time
Select the cooking zone and then touch the COOK
TIMER key.
Change the cooking time using the number keys or set
‹‹ to delete the programmed cooking time.
Touch the COOK TIMER key to confirm the selected
setting.
Recommendations
If the cooktop has more than
one flexible cooking zone,
place the cookware on top
so that it covers only one of
the flexible cooking zones.
Otherwise, the cooking
zones will not be activated
as intended and the cooking
result will not be satisfactory.
7,0(5
.,7&+(1
7,0(5
&22. 6723
:$7&+
/2&./,*+7
+22'
6<1&
7,0(5
.,7&+(1
7,0(5
&22. 6723
:$7&+
/2&.
/,*+7
+22'
6<1&
Loading ...
Loading ...
Loading ...