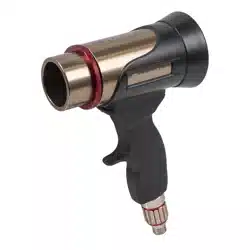
AIR OPERATED DRYING GUN WITH
ADJUSTABLE AIRFLOW
MODEL NO: SDA05
Thank you for purchasing a Sealey product. Manufactured to a high standard, this product will, if used according to these instructions,
and properly maintained, give you years of trouble free performance.
IMPORTANT: PLEASE READ THESE INSTRUCTIONS CAREFULLY. NOTE THE SAFE OPERATIONAL REQUIREMENTS, WARNINGS &
CAUTIONS. USE THE PRODUCT CORRECTLY AND WITH CARE FOR THE PURPOSE FOR WHICH IT IS INTENDED. FAILURE TO DO
SO MAY CAUSE DAMAGE AND/OR PERSONAL INJURY AND WILL INVALIDATE THE WARRANTY. KEEP THESE INSTRUCTIONS SAFE
FOR FUTURE USE.
1. SAFETY
IMPORTANT: This manual contains WARNINGS and INSTRUCTIONS. Equipment in this manual is exclusively for waterborne paint
drying purpose. DO NOT use for other purposes. The operator shall be fully conversant with the requirements stated in this instruction
manual, including important warnings, cautions, operation and correct handling. Read and understand the instruction manual before
use, and retain for reference.
WARNING Indicates a potentially hazardous situation which, if not avoided, may result in serious injury or loss of life.
CAUTION
Indicates a potentially hazardous situation which, if not avoided, may result in minor or moderate injury or
property damage.
1.1. INTENDED USE
This air dryer gun is used to accelerate drying of waterborne paints. One gun is suitable for manually drying smaller areas such as
doors or fenders. The use of several air dryer guns on a stand is recommended when drying larger surfaces. The use of the dry jet
blow gun for drying solvent-based materials is considered improper use
1.2. GENERAL SAFETY
WARNING
9 Locate the device in an adequate working area for its function.
9 Keep area clean, tidy, and free from unrelated materials.
9 Ensure there is adequate ventilation and lighting.
9 Keep children and unauthorised persons away from the working area.
9 Before using the device, ensure all connections are tightened and secure.
9 Ensure the air supply is suitable to the dryer consumption, (see specications).
9 Wear hearing protection whilst using the device. Noise level can exceed 78dB(A), depending on use and working conditions.
9 Wear suitable eye protection.
9 Use only with pressured air. NEVER use any other gas, as these may cause dicult breathing, serious bodily injury, re and explosion.
9 Maintain the dryer in good condition (use an authorised service agent)
9 Replace or repair damaged parts. Use recommended parts only. Unauthorised parts may be dangerous and will invalidate the warranty.
9 Avoid unintentional operation.
9 When not in use switch the dryer o, and disconnect from the air supply.
9 Disconnect from the air supply before performing any maintenance.
9 Keep the dryer clean for best and safest performance.
9 Anti-corrosive oil is applied inside the device to reduce issues with the paint nish.
8 DO NOT exceed the maximum working pressure for the device.
8 DO NOT use near or towards a person or animal. High air pressure can cause serious injury.
8 DO NOT use the device if faulty operation. Stop immediately and nd the cause. DO NOT reuse until the fault has been resolved.
8 DO NOT operate dryer if any parts are missing or damaged as this may cause failure or personal injury.
8 DO NOT use the dryer for any purpose other than for which it is designed.
2. INTRODUCTION
Extending body with lock ring for airflow control. Designed for drying water based paints. Panel dryer operates on workshop air supply.
Mesh filter prevents airborne particles contaminating paint surface. Adjustable airflow to regulate as required. May be handheld or
mounted on optional Double Support Stand - Model No. SDAST.
3. SPECIFICATION
Model No:.............................................................SDA05
Air Consumption: ................................. 13.4cfm @ 50psi
Air Inlet Size: .................................................... 1/4”BSPT
Maximum Working Pressure: ................................. 58psi
Nett Weight: ......................................................... 0.42kg
Refer to
instructions
Wear eye
protection
SDA05 Issue 1 13/01/2025
Original Language Version
© Jack Sealey Limited
Wear ear
protection
4. OPERATION
FIG.1
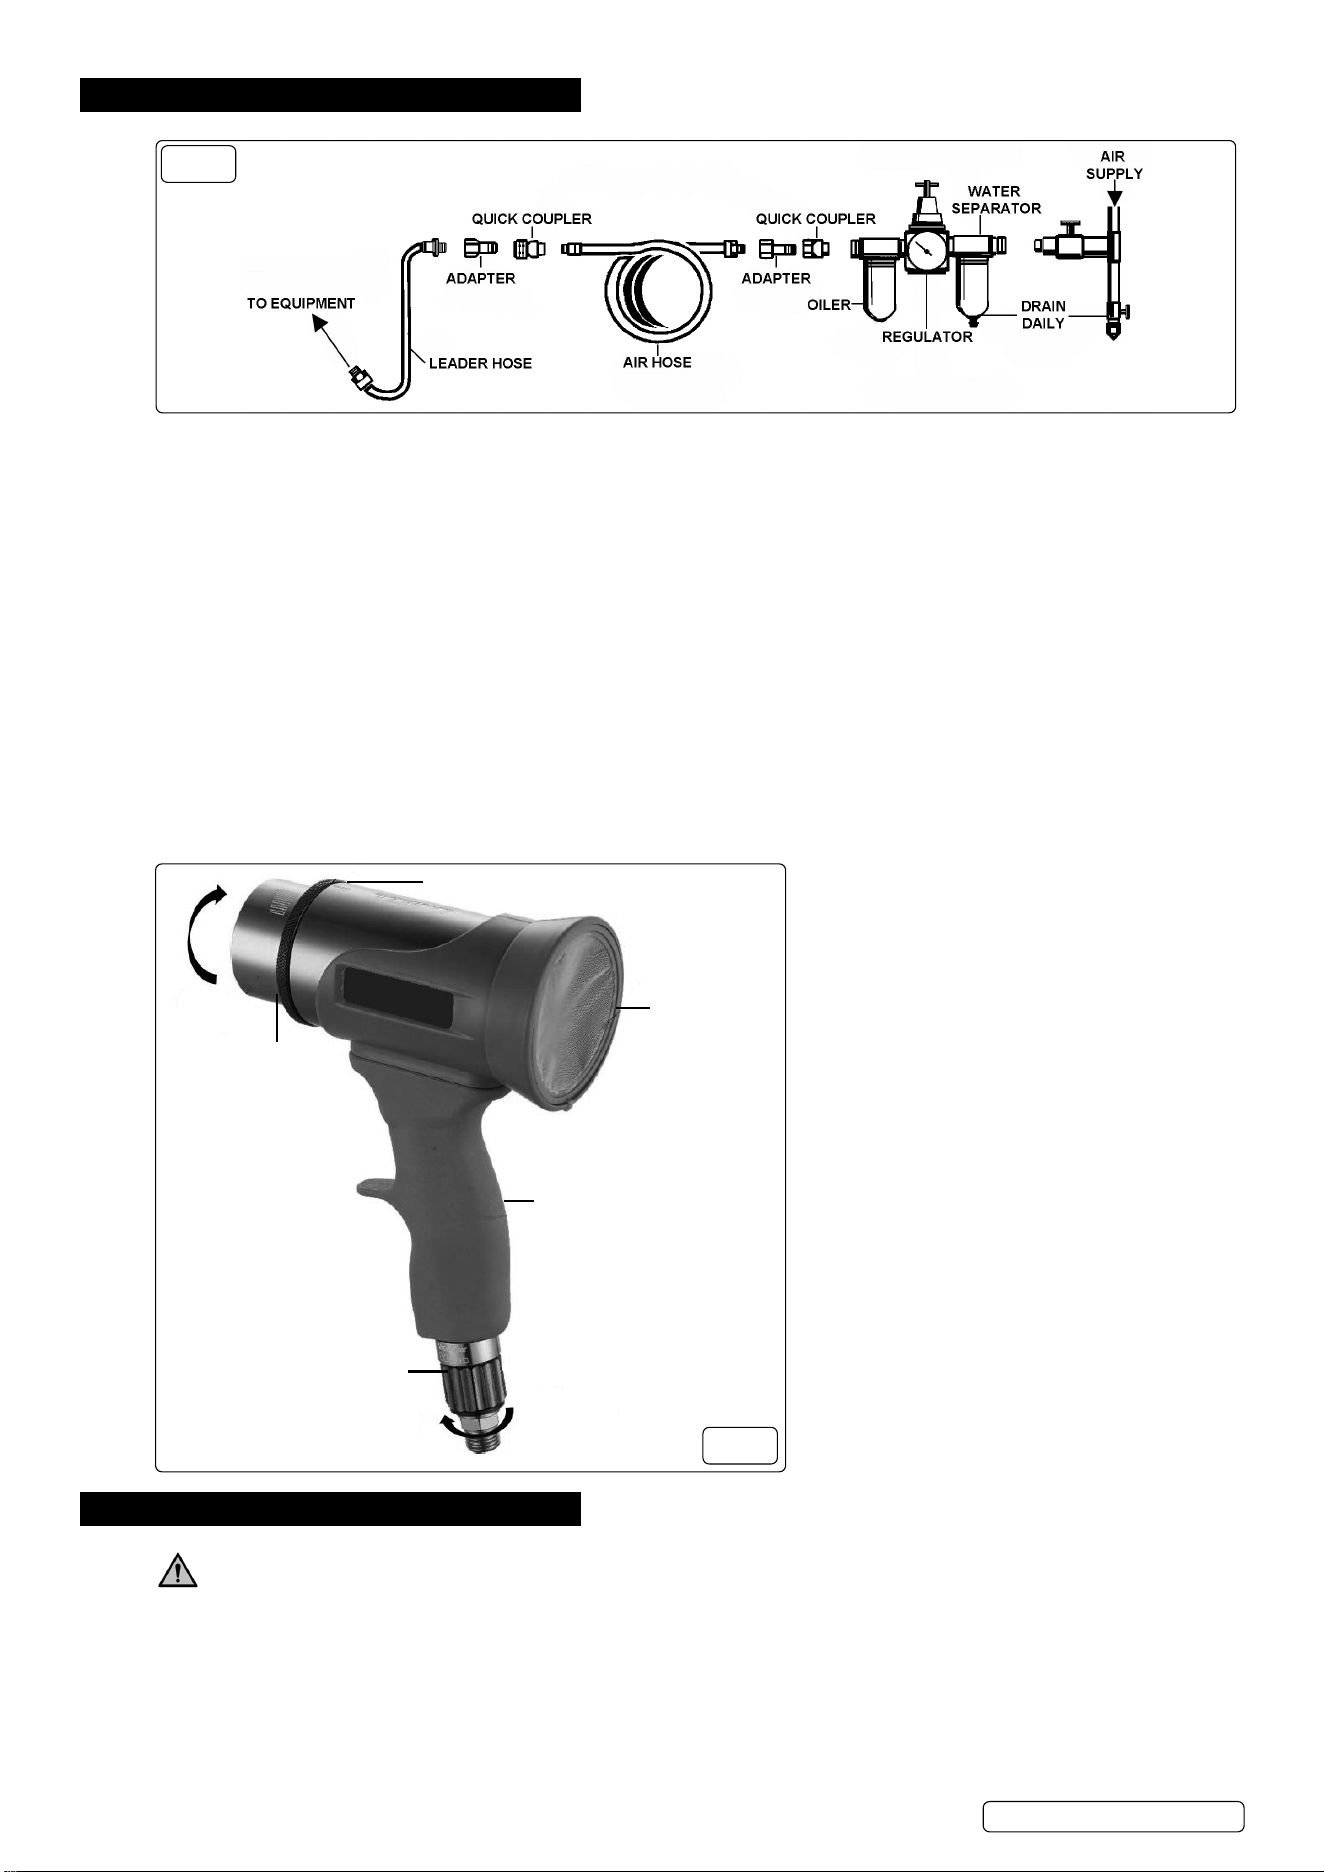
4.1. AIR SUPPLY (FIG.1)
4.1.1. Recommended hook-up procedure is shown in g.1.
4.1.2. Ensure dryer air valve is in the “o” position before connecting to the air supply.
4.1.3. You will require an air pressure of 58psi and an air ow according to specication.
WARNING! Ensure the air supply is clean and does not exceed 58psi while operating the dryer. Too high an air pressure and/or
unclean air will shorten the product life due to excessive wear and may be dangerous causing damage and/or personal injury.
4.1.4. Drain the air tank daily. Water in the air line will ruin the paint nish and damage the dryer.
4.1.5. Clean air inlet lter weekly.
4.1.6. Keep hoses away from heat, oil and sharp edges. Check hoses for wear, and make certain that all connections are secure.
4.2. SET UP
The dry jet blow gun can be used for manual application or with a stand. Make sure to aim the gun correctly when using either method.
The fan nozzle should be aimed at the painted surface, 30-50cm away at an angle of 20-40°.
4.3. OPERATION
4.3.1. Turn the inline air ow regulator left to right to the stop.
4.3.2. Connect the device to an appropriate air supply.
4.3.3. Turn the inline air ow regulator right to left until the required air ow is set.
4.3.4. Hold the device in the required working position as described above.
4.3.5. To stop blowing air, turn the inline air ow regulator to the stop and disconnect the gun from the compressed air circuit.
FIG.2
MAX
MIN
MAX
MIN
FILTER
HANDLE
FAN NOZZLE
LOCK RING
INLINE AIR FLOW
REGULATOR
5. MAINTENANCE
CAUTION
9 Always release air pressure before cleaning, disassembly or service.
9 Clean the exterior of the device with a damp cloth.
8 DO NOT soak the device into solvent for cleaning. Damage may occur.
8 DO NOT disassemble the gun without receiving proper training.
5.1. REPLACING THE FILTER
The lter cannot be cleaned and needs to be replaced when clogged.
5.1.1. Take the lter out and discard as per local regulations.
5.1.2. Insert a new lter by pressing it into the device.
SDA05 Issue 1 13/01/2025
Original Language Version
© Jack Sealey Limited
Sealey Group, Kempson Way, Suffolk Business Park, Bury St Edmunds, Suffolk. IP32 7AR
01284 757500 sales@sealey.co.uk www.sealey.co.uk
Note: It is our policy to continually improve products and as such we reserve the right to alter data, specications and component parts without prior notice.
Important: No Liability is accepted for incorrect use of this product.
Warranty: Guarantee is 36 months from purchase date, proof of which is required for any claim.
ENVIRONMENT PROTECTION
Recycle unwanted materials instead of disposing of them as waste. All tools, accessories and packaging should be
sorted, taken to a recycling centre and disposed of in a manner which is compatible with the environment. When
the product becomes completely unserviceable and requires disposal, drain any uids (if applicable) into approved
containers and dispose of the product and uids according to local regulations.
REGISTER YOUR
PURCHASE HERE
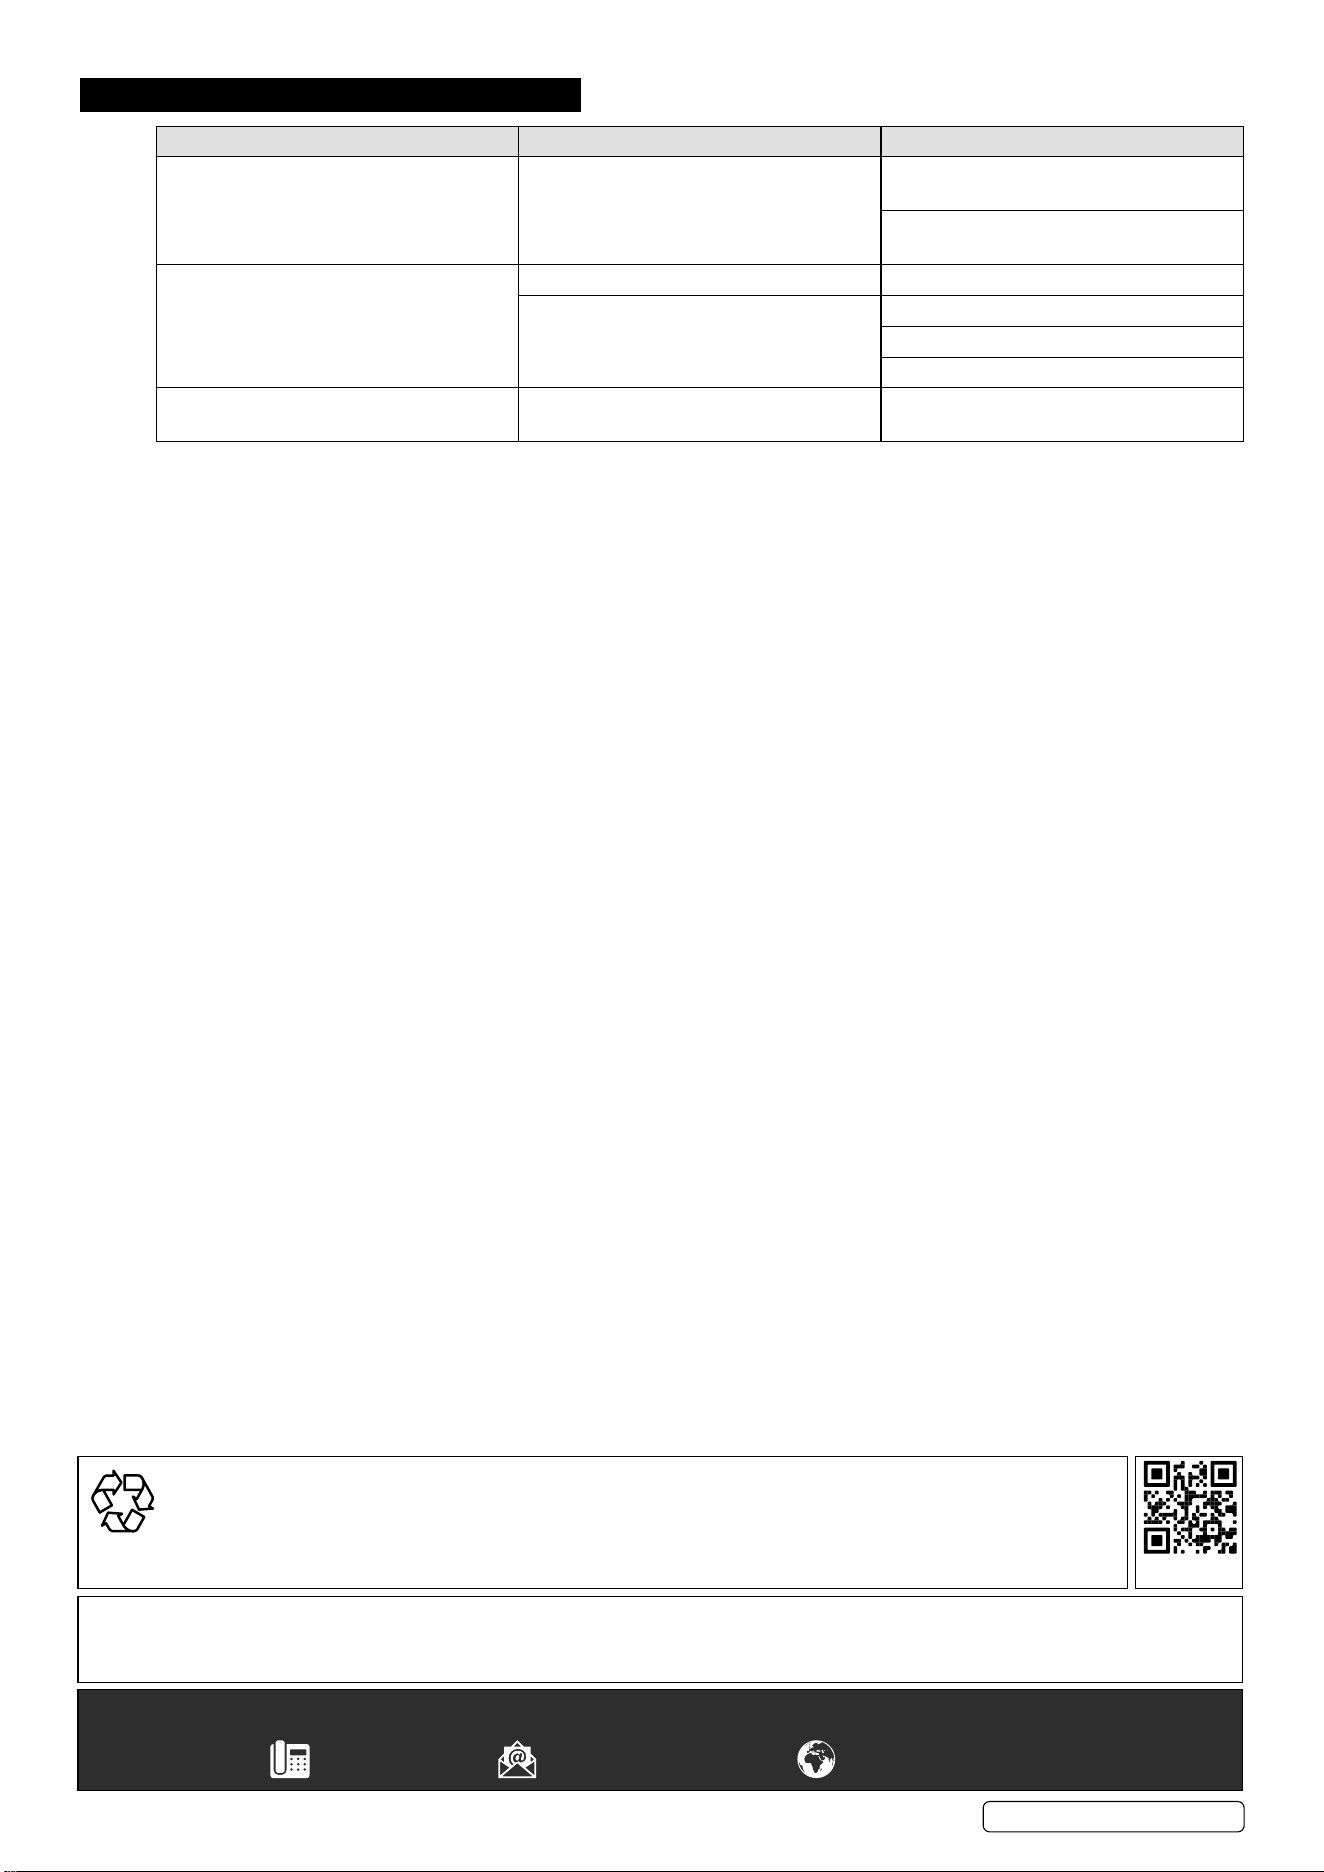
6. TROUBLESHOOTING
PROBLEM POSSIBLE CAUSE POSSIBLE SOLUTION
Uneven or weak air ow. Blocked lter. Replace the lter immediately, and at
regular intervals.
Protect the device during painting
processes.
Dirt particles on painted surface. Filter not installed. Install lter.
Air contaminated. Use appropriate lter.
Use in clean environment.
Avoid pointing jets of air at the oor.
Damaged paintwork. Device too close to the work surface. Maintain the correct angle and distance
from the work surface.
SDA05 Issue 1 13/01/2025
Original Language Version
© Jack Sealey Limited
