Loading ...
Loading ...
Loading ...
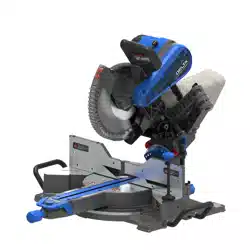
17
ADJUSTMENTS
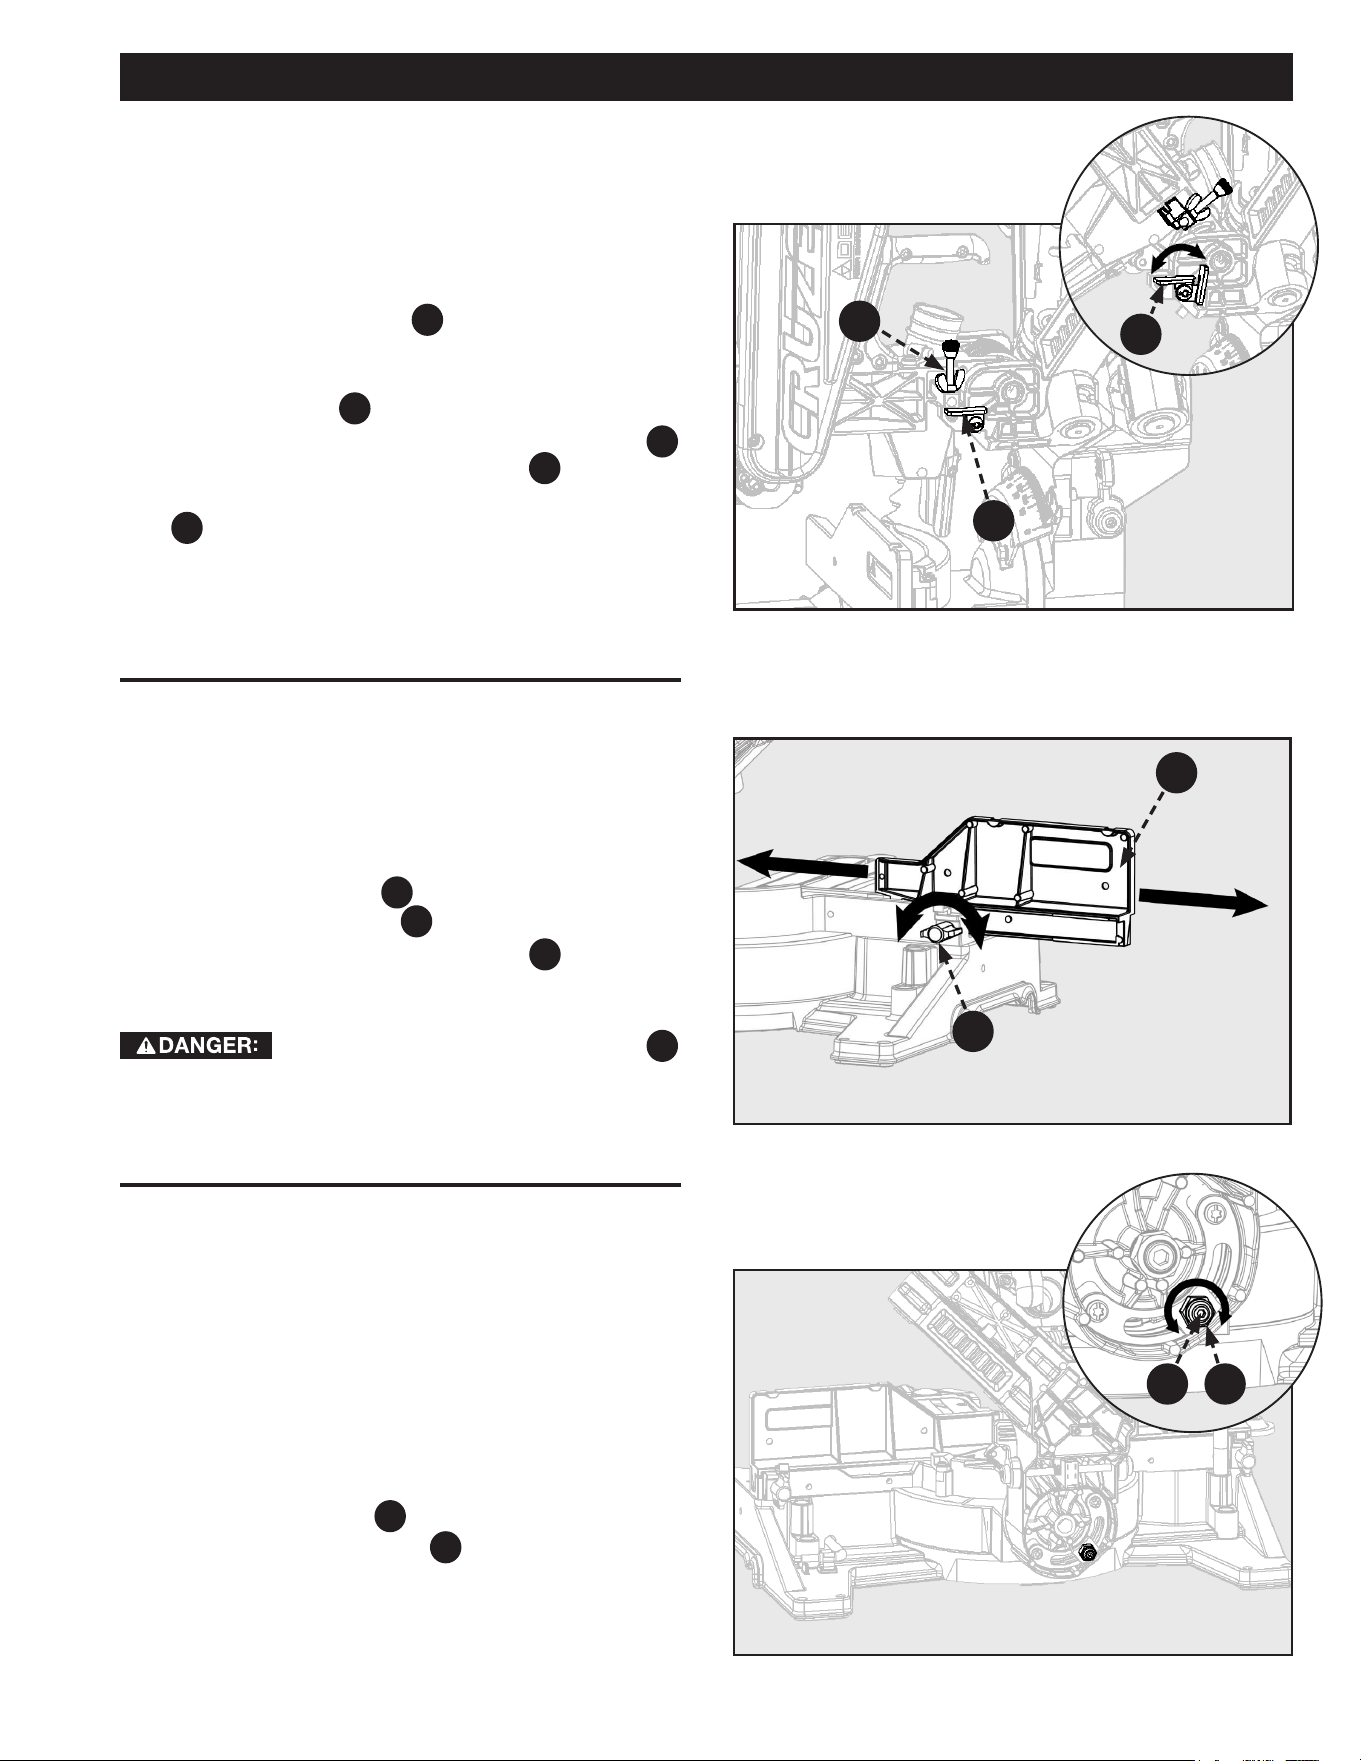
Figure 15
Figure 17
DEPTH STOP ADJUSTMENT
BEVEL LOCK TENSION
ADJUSTMENT
Figure 16
FENCE EXTENSION
This miter saw is equipped with an adjustable depth stop for
making non-through cuts.
See Figure 15 and follow these instructions in order to
set the depth stop at a specific cut depth:
1. Flip the depth stop plate
F5
counterclockwise into the
down position.
2. The cut depth can now be adjusted by turning the
depth stop screw
F5
.
3. Lock the adjustment screw by turning the wing-nut
A
until snug against the depth stop plate
F5
.
NOTE: When finished with non-through cut, flip depth stop
plate
F5
clockwise to return to through cut position.
See Figure 17.
1. With the miter saw head in an unindexed and locked
bevel angle, check that the head will hold it’s position
when pushed with moderate sideways pressure.
2. If head moves easily, then adjustment is required.
3. Release the bevel lock/unlock lever.
4. Hold the central post
C
using a T-25 Torx wrench and
tighten the 17mm Lock Nut
D until the head will resist
side pressure when locked in an unindexed bevel angle.
NOTE: Correct tension is when the cutting head will hold
position when not indexed and unlocked. This ONLY applies at
angles 0 - 20°.
See Figure 16.
This saw is equipped with an adjustable sliding fence. To
extend or retract the fence follow these instructions:
1. Loosen the lock knob
B
by rotating Counterclockwise
and then slide the fence
F7
into the desired position.
2. Make sure to re-tighten lock knob
B
by rotating
clockwise.
ALWAYS check to make sure lock knob
B
is tightened before making a cut. Failure to do so may result in
injury.
A
F5
TIGHTEN
LOOSEN
F7
B
F5
DC
Loading ...
Loading ...
Loading ...