Loading ...
Loading ...
Loading ...
Network Speed Dome·Quick Start Guide
44
Steps:
1. Feed the network cable through ① and ③ in order.
2. Fix ② on the network cable between ① and ③.
3. Place ⑤ onto the end of ⑥, and plug the RJ45 male connector into RJ45 female
connector.
4. Screw ③ to ⑥ clockwise.
5. Push ② into ③.
6. Secure ① with the ③ in clockwise direction.
2.10 Installation of Water-proof Tape
Purpose:
If the camera is installed outdoor, you can use supplied water-proof tape to protect
cable connectors and unused cables after the camera is secured on the installation
surface.
Steps:
1. Tear off the yellow release paper on the back of the water-proof tape.
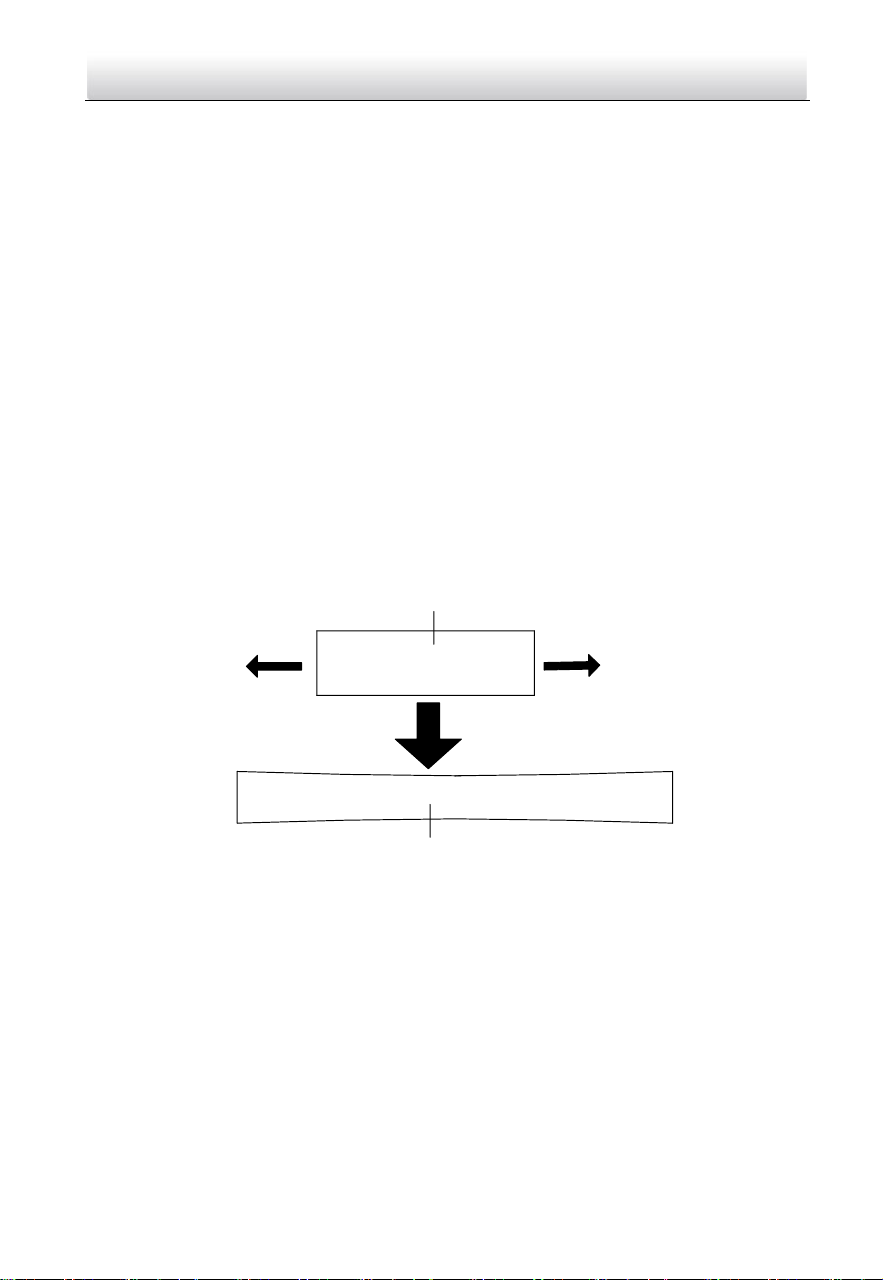
2. Stretch the water-proof tape to reach twice the initial length.
Stretch
Stretch
Initial Length
Waterproof Tape Length After Stretching
Figure 2-81 Stretch the Water-proof Tape
3. Wrap the water-proof tape around the cable connector tightly as the figure below.
Loading ...
Loading ...
Loading ...