Loading ...
Loading ...
Loading ...
3
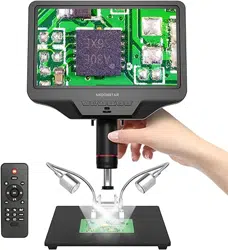
(correct) (wrong)
(
Figure 4: install two clips
)
Installation
1. Screw the optical bracket on to the base (see the Figure 3)
2. Loosen the small thumbscrews on the optical bracket.
3. Slide the optical stack in to the ring of the optical bracket.
4. Adjust the direction and position of the microscope, then tighten the thumbscrews to hold the optical stack
in place.
5. If needed, install two metal clips to the base. Note the correct direction of the clips.
If any questions about the installation, please contact us promptly to avoid any damage to the product
caused by improper installation and thus affect normal use.
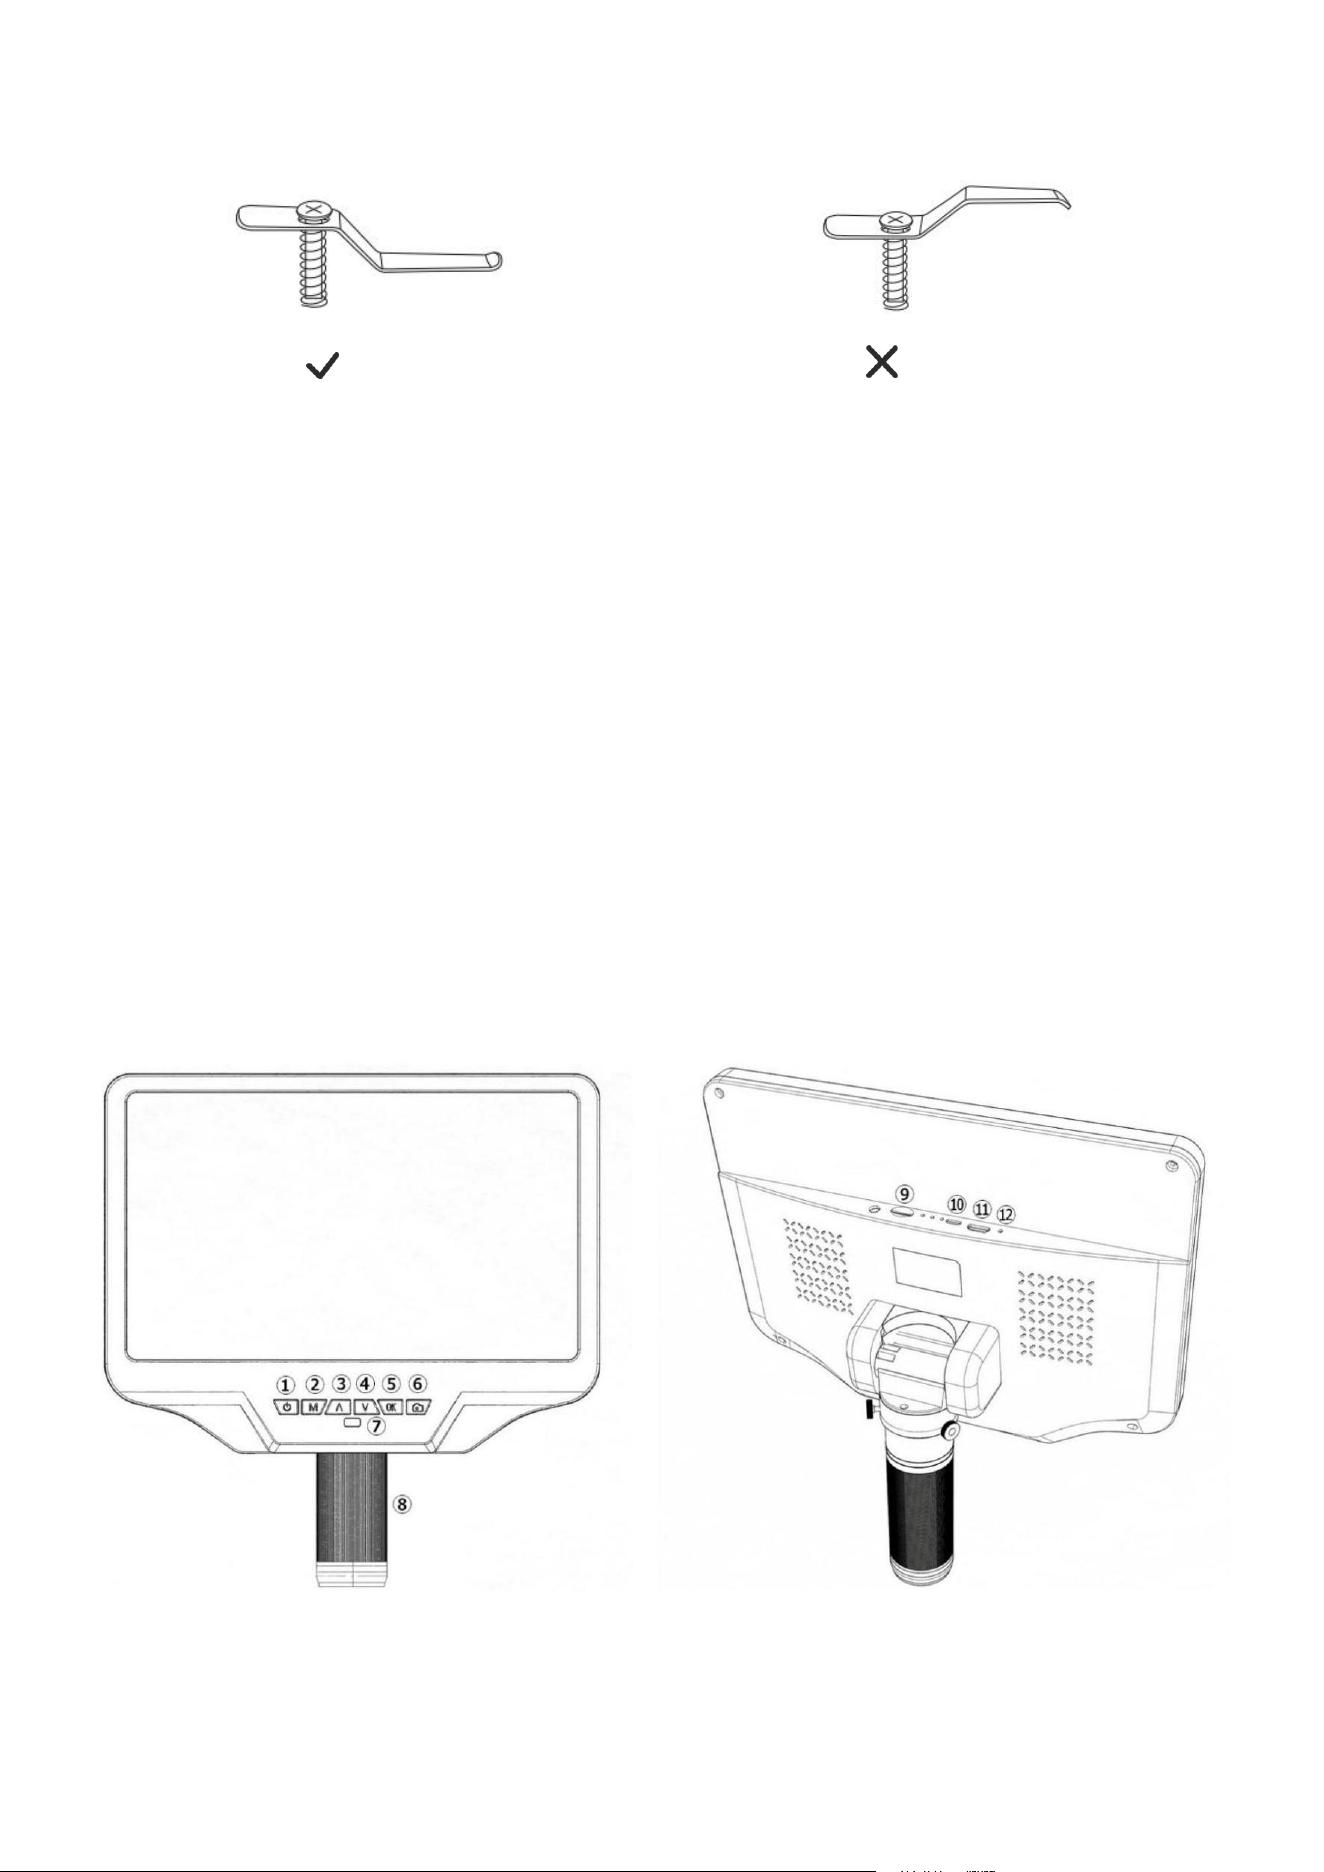
Button Instructions
(
Figure 5: Button Instructions
)
Loading ...
Loading ...
Loading ...