Loading ...
Loading ...
Loading ...
4. While comparing the difference between
the altitude you found on the map and the
altitude differential indicated by the
watch’s function hand, advance towards
your destination.
●
When the altitude differential you found
on the map is the same as that indicated
by the function hand, it means you are
close to your destination.
Example: Altitude differential of -30 m (-98
feet) (-300 m (-984 feet))
100
50
0
−50
−100
Altitude
differential
indicator
Unit: m
Range: ±100 m (1000 m)
(±328 feet (3280 feet))
Note
●
If the altitude differential is outside the
specified range, the function hand will
indicate [OVER] or [UNDER].
If either of these is indicated while
using the ±100 m (328 feet)
measurement range, change the
range setting to ±1,000 m (3,280 feet).
●
The function hand will point [0] if a
reading is outside the allowable
altitude measurement range (-700 m to
10,000 m (-2,300 to 32,800 feet)), or if
a reading error occurs.
Setting the Auto
Measurement Interval
You can select an auto measurement interval
of either five seconds or two minutes.
1. Enter the Altimeter Mode.
l
Navigating Between Modes
2. Loosen the crown and then pull it out.
This displays the altitude for your current
location.
Crown
3. Press (B).
This causes the auto measurement
interval to appear on the display.
4. Rotate the crown to select [0’05] or [2’00]
as the auto measurement interval.
[0’05]: Readings taken every second for
the first three minutes, and then every five
seconds for about the next one hour.
[2’00]: Readings taken every second for
the first three minutes, and then every two
minutes for about the next 12 hours.
5. Push the crown back in and then lock it.
Note
●
If you do not perform any operation for
about two minutes after pulling out the
crown, crown operations will
automatically become disabled. If that
happens, push the crown back in and
then pull it out again.
●
The watch will automatically return to
the Timekeeping Mode if you do not
perform any operation in the Altimeter
Mode for about one hour while [0’05] is
selected as the measurement interval
or about 12 hours while [2’00] is
selected.
Recording Altitude Readings
Use the procedure below to record altitude
measurements manually. Auto
measurements are also recorded
automatically.
●
Use the Altitude Record Recall Mode to
view or delete records.
l
Viewing Altitude Records
●
Recording Altitude Data Manually
1. Enter the Altimeter Mode.
l
Navigating Between Modes
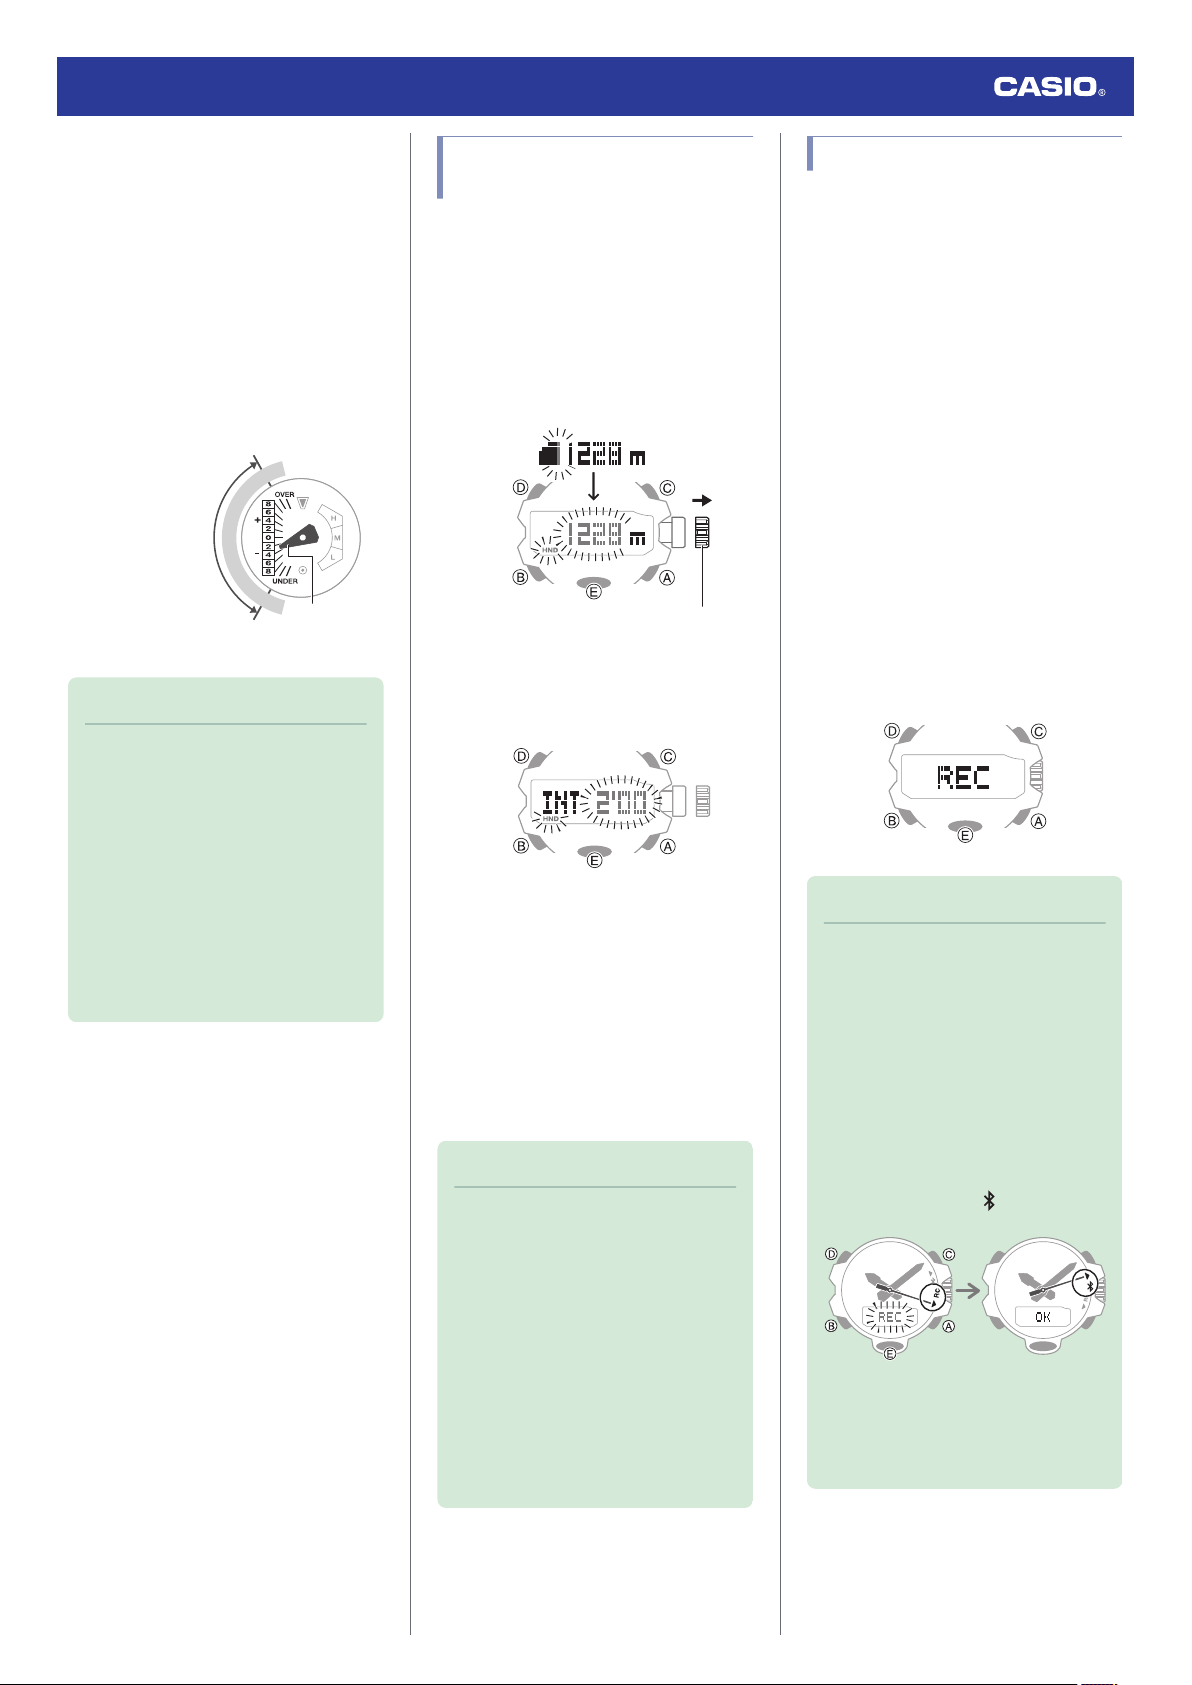
2. Hold down (A) for at least two seconds
until [REC] appears on the display.
This records the current altitude, date,
and time.
●
There is enough memory to hold up to
30 altitude records.
●
Recording altitude data when there are
already 30 records in memory
automatically deletes the oldest record
to make room for the new one.
Note
●
If Mission Log is disabled, the watch
will automatically return to normal
Altimeter Mode operation following
recording of altitude data.
●
If Mission Log is enabled and altitude
data is recorded, the watch will
connect with the phone and transfer
the data to it.
When a connection between the watch
and phone is established, [REC]
changes to [OK], and the second hand
moves from [RC] to
.
l
Recording Waypoints and Their
Altitudes (Mission Log)
●
[ERR] will appear on the display if
connection fails for some reason.
Watch Operation Guide 5713
37
Loading ...
Loading ...
Loading ...