Loading ...
Loading ...
Loading ...
Getting to Know Your Table Saw (continued) .....................
2. Elevation Handwheel...elevates or lowers the
blade Turn clockwise to elevate, counterclockwise to
lower
3, Tilt Handwheel...tilts the blade for bevel cutting
Turn clockwise to tilt toward left, counterclockwise to
tilt toward right.
When the blade is tilted to the left as far as it will go,
it should be at 45 ° to the table and the bevel pointer
should point to 45 °
NOTE: There are limit stops inside the saw which
prevent the blade from tilting beyond 45 ° to the left
and 90° to the right. (See "Adjustments" section
"Blade Tilt, or Squareness of Blade to Table")
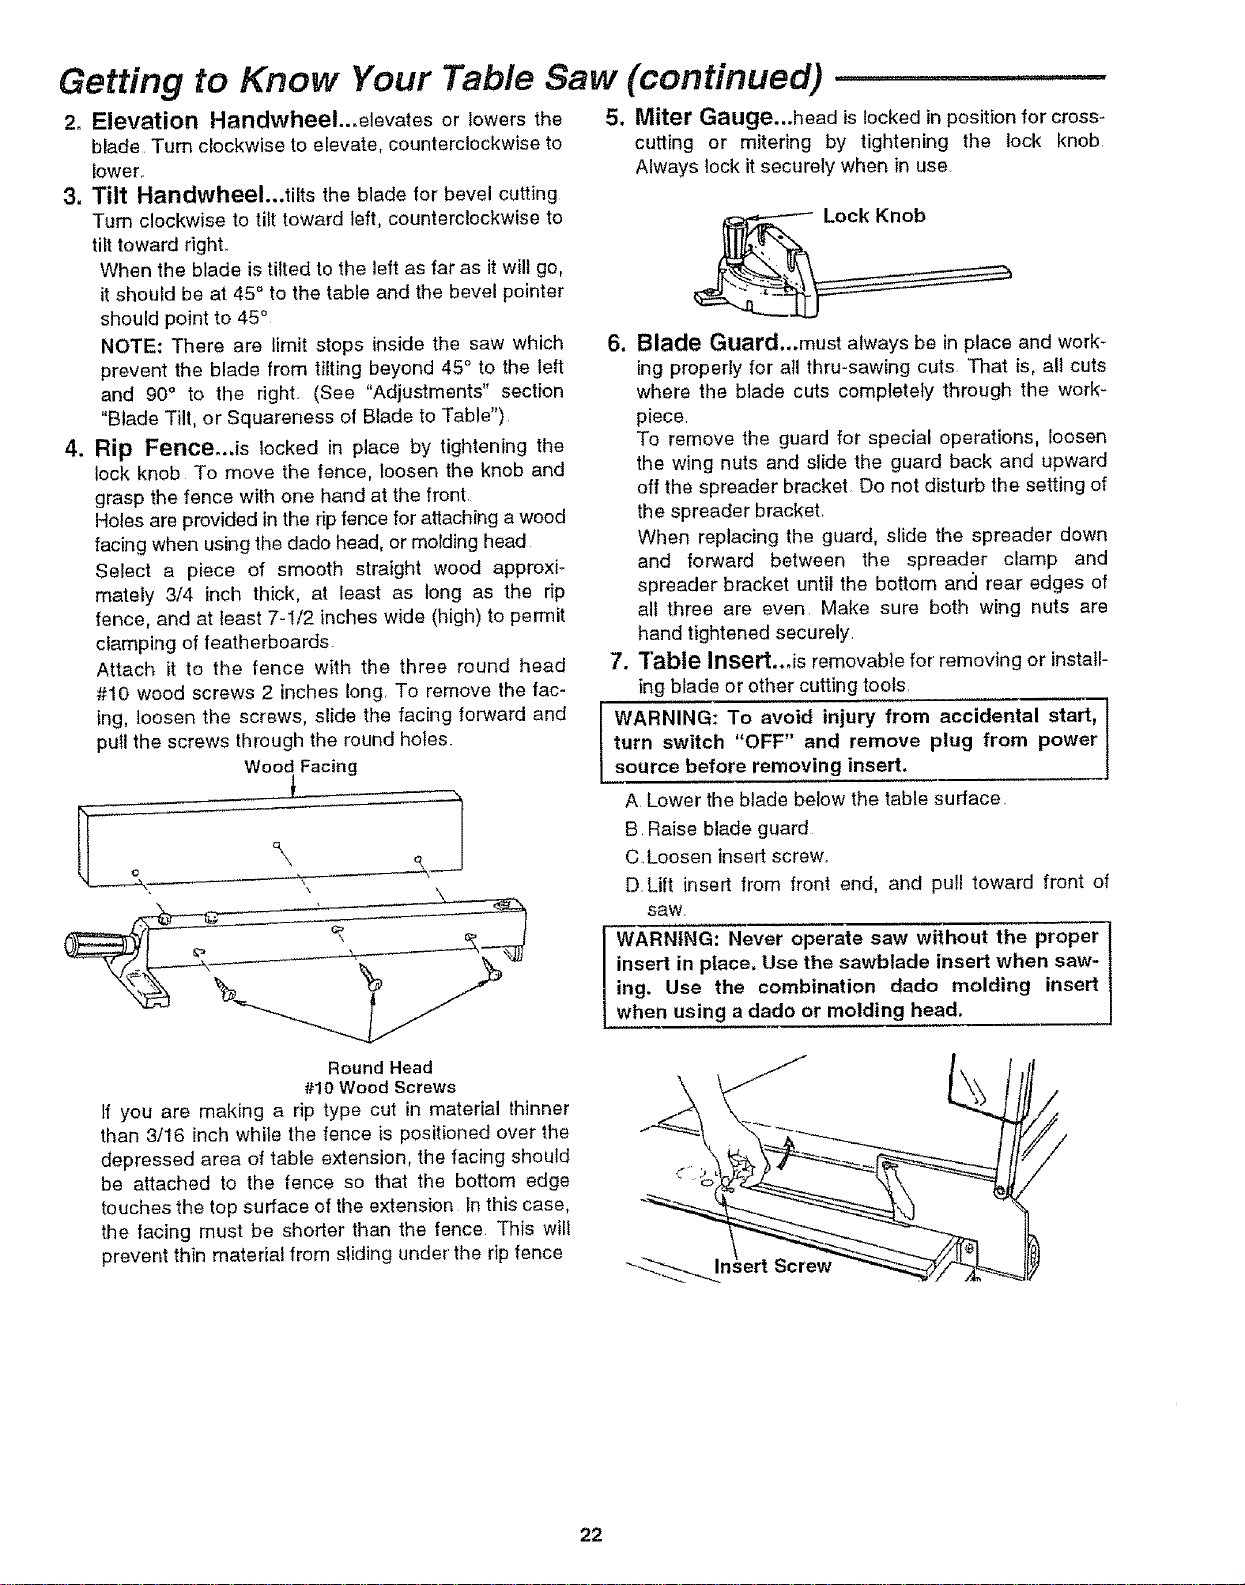
4, Rip Fence_Js locked in place by tightening the
lock knob To move the fence, loosen the knob and
grasp the fence with one hand at the front
Holes are provided in the rip fence for attaching a wood
facing when using the dado head, or molding head
Select a piece of smooth straight wood approxi-
mately 3/4 inch thick, at least as long as the rip
fence, and at least 7-1/2 inches wide (high) to permit
clamping of featherboards
Attach it to the fence with the three round head
#10 wood screws 2 inches long. To remove the fac-
ing, loosen the screws, slide the facing forward and
pu_lthe screws through the round hotes.
Wood Facing
5. Miter Gauge...head is locked in position for cross-
cutting or mitering by tightening the lock knob
Always lock it securely when in use
Lock Knob
6. Blade Guard...must always be in place and work-
ing properly for all thru-sawing cuts That is, all cuts
where the blade cuts completeIy through the work-
piece
To remove the guard for special operations, loosen
the wing nuts and slide the guard back and upward
off the spreader bracket Do not disturb the setting of
the spreader bracket
When replacing the guard, slide the spreader down
and forward between the spreader clamp and
spreader bracket until the bottom and rear edges of
all three are even Make sure both wing nuts are
hand tightened securely
7. Table Insert..ois removable for removing or install-
ing blade or other cutting tools
WARNING: To avoid injury from accidental start, l
turn switch "OFF" and remove plug from power
source before removing insert.
A Lower the blade below the table surface
B Raise blade guard
C Loosen insert screw
D Lift insert from front end, and pull toward front of
saw,
WARNING: Never operate saw without the proper
insert in place. Use the sawblade insert when saw-
ing. Use the combination dado molding insert
when using a dado or molding head.
Round Head
#10 Wood Screws
If you are making a rip type cut in material thinner
than 3/16 inch while the fence is positioned over the
depressed area of table extension, the facing should
be attached to the fence so that the bottom edge
touches the top surface of tf3eextension _nthis case,
the facing must be shorter than the fence This will
prevent thin material from sliding under the rip fence
22
Loading ...
Loading ...
Loading ...