Loading ...
Loading ...
Loading ...
1C
2C
Installation
6
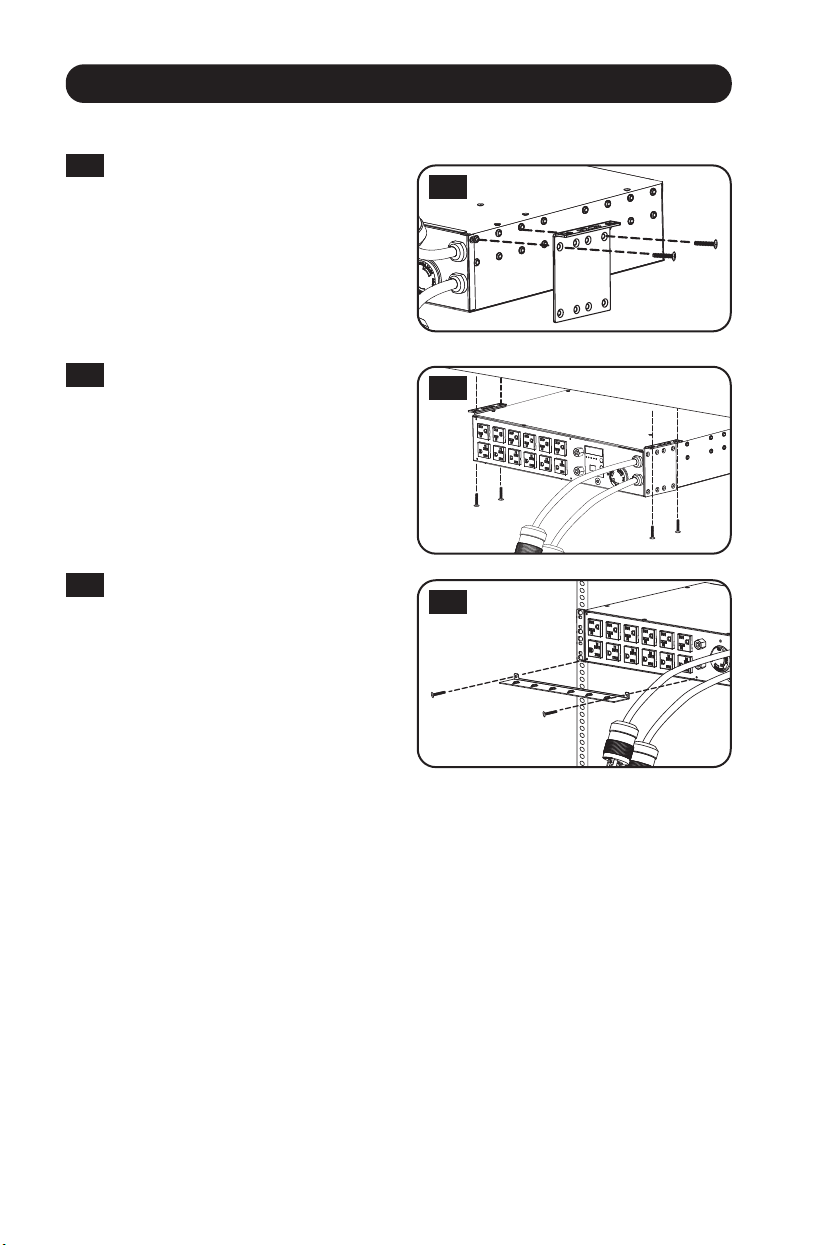
Surface Mounting
1C
Attach the included mounting
brackets to the sides of the PDU
with the included screws.
Note: If you need to change the orientation
of the PDU to match the mounting surface,
rotate the mounting brackets in 90°
increments as required before attaching.
2C
Mount the PDU to a stable surface
by inserting four user-supplied
screws through the bracket ears
and into appropriate mounting
holes. Make sure the mounting
surface and screws are capable of
supporting the combined weight of
the PDU and any attached
equipment cords.
3C
Attach Cord Retention Brackets
(Optional): Attach the cord
retention brackets to the PDU with
the included screws.
3C
Loading ...
Loading ...
Loading ...