- 1 -
Product names listed herein are trademarks of AS America, Inc.
© AS America, Inc. 2020
Thank you for selecting American Standard...
the benchmark of ne quality for over 140 years.
To ensure that your installation proceeds smoothly-please
read these instructions carefully before you begin.
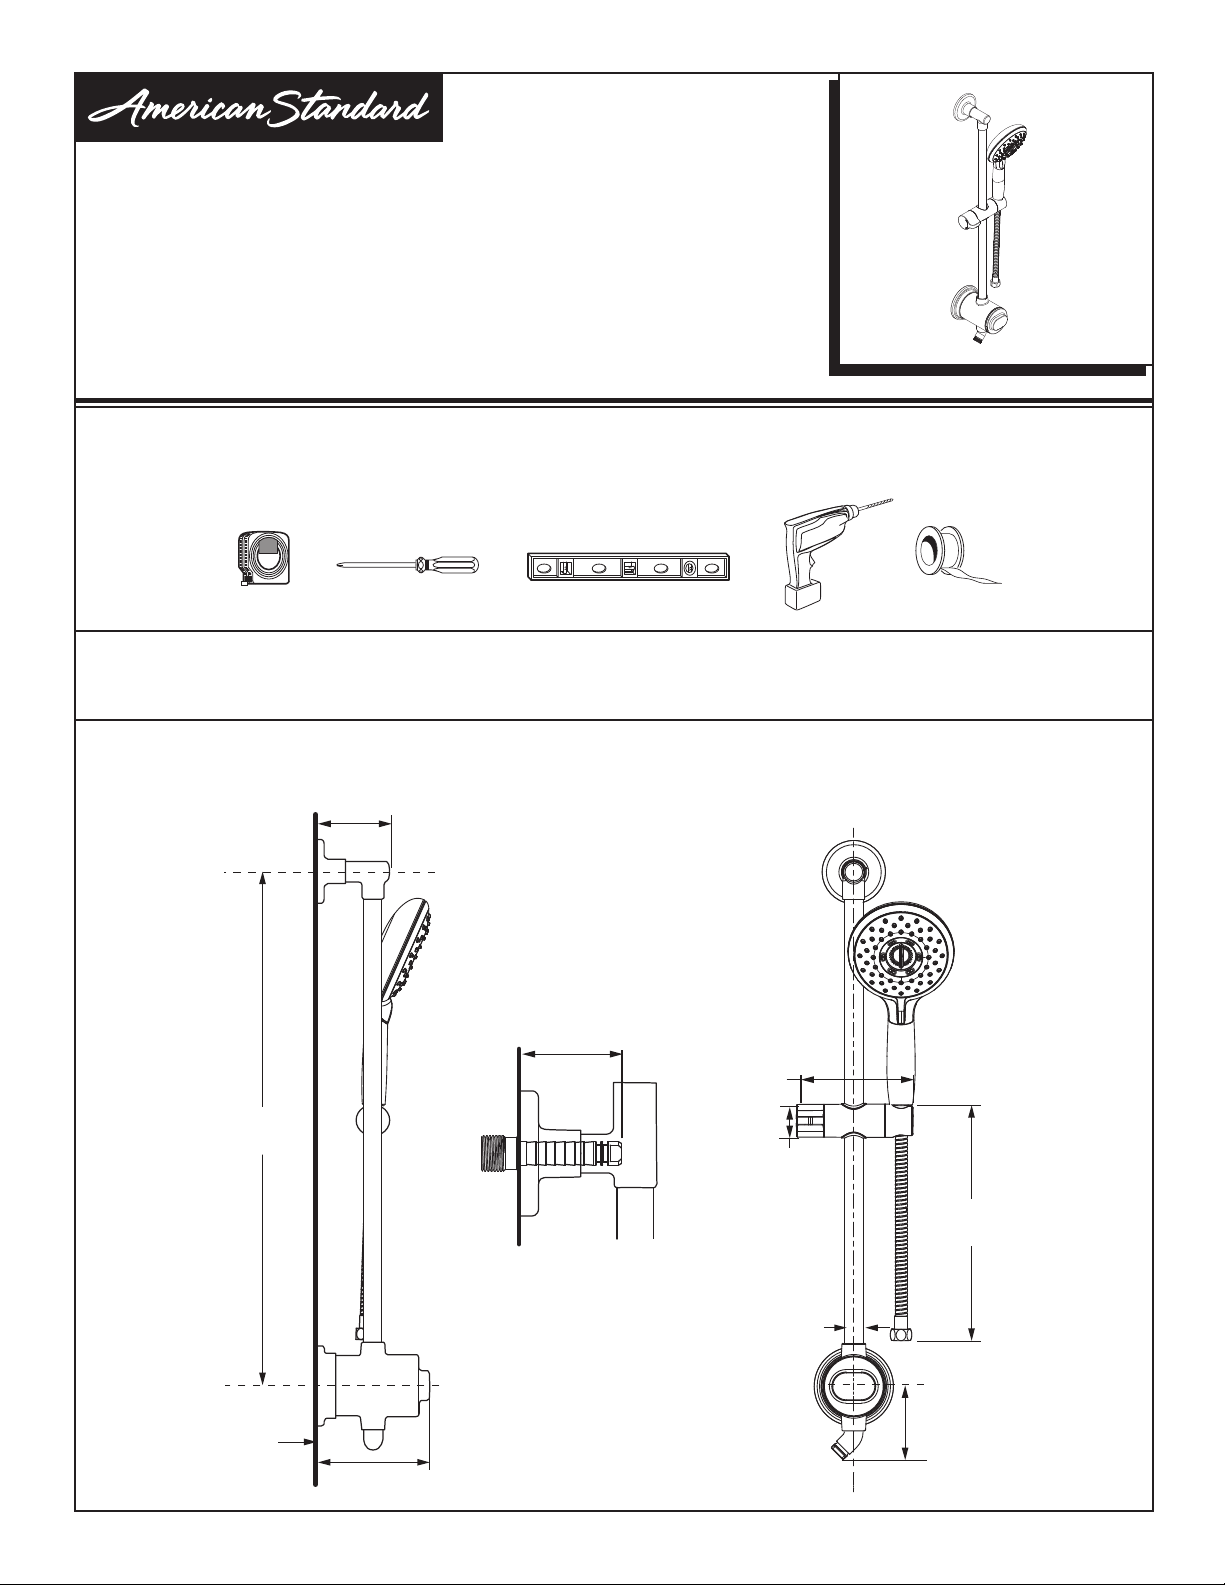
RECOMMENDED TOOLS AND MATERIALS
Most of the procedures require the use of common tools and materials, which are available from hardware and plumbing
supply stores. It is essential that the tools and materials be on hand before work is begun.
M985041 (3/20)
Spectra
Filter Shower Rail
ROUGHING-IN DIMENSIONS:
• For reference
3-5/16"
(84 mm)
3-7/16"
(86.7 mm)
Ø 7/8"
(22 mm)
5-7/16"
(138 mm)
1-1/2"
(38.7 mm)
FINISHED
WALL
60"
(1524 mm)
5-1/4"
(133 mm)
24"
(609 mm)
MIN. 1" – MAX. 2-5/16"
(25 – 58 mm)
DrillPhillips Head Screwdriver Level
10'
Tape Measure
Plumbers Tape
O-Ring Grease
CARE AND CLEANING
Do: Simply rinse the product clean with clear water, dry with a soft cotton flannel cloth.
Do Not: Clean the product with soaps, acid, polish, abrasives, harsh cleaners, or a cloth with a coarse surface.
INSTALLATION
INSTRUCTIONS
9238759.XXX
(24" Bar 1.8 gpm)
1 Cenntenial Avenue, Piscataway, New Jersey 08855
- 2 -
M985041 (3/20)
1
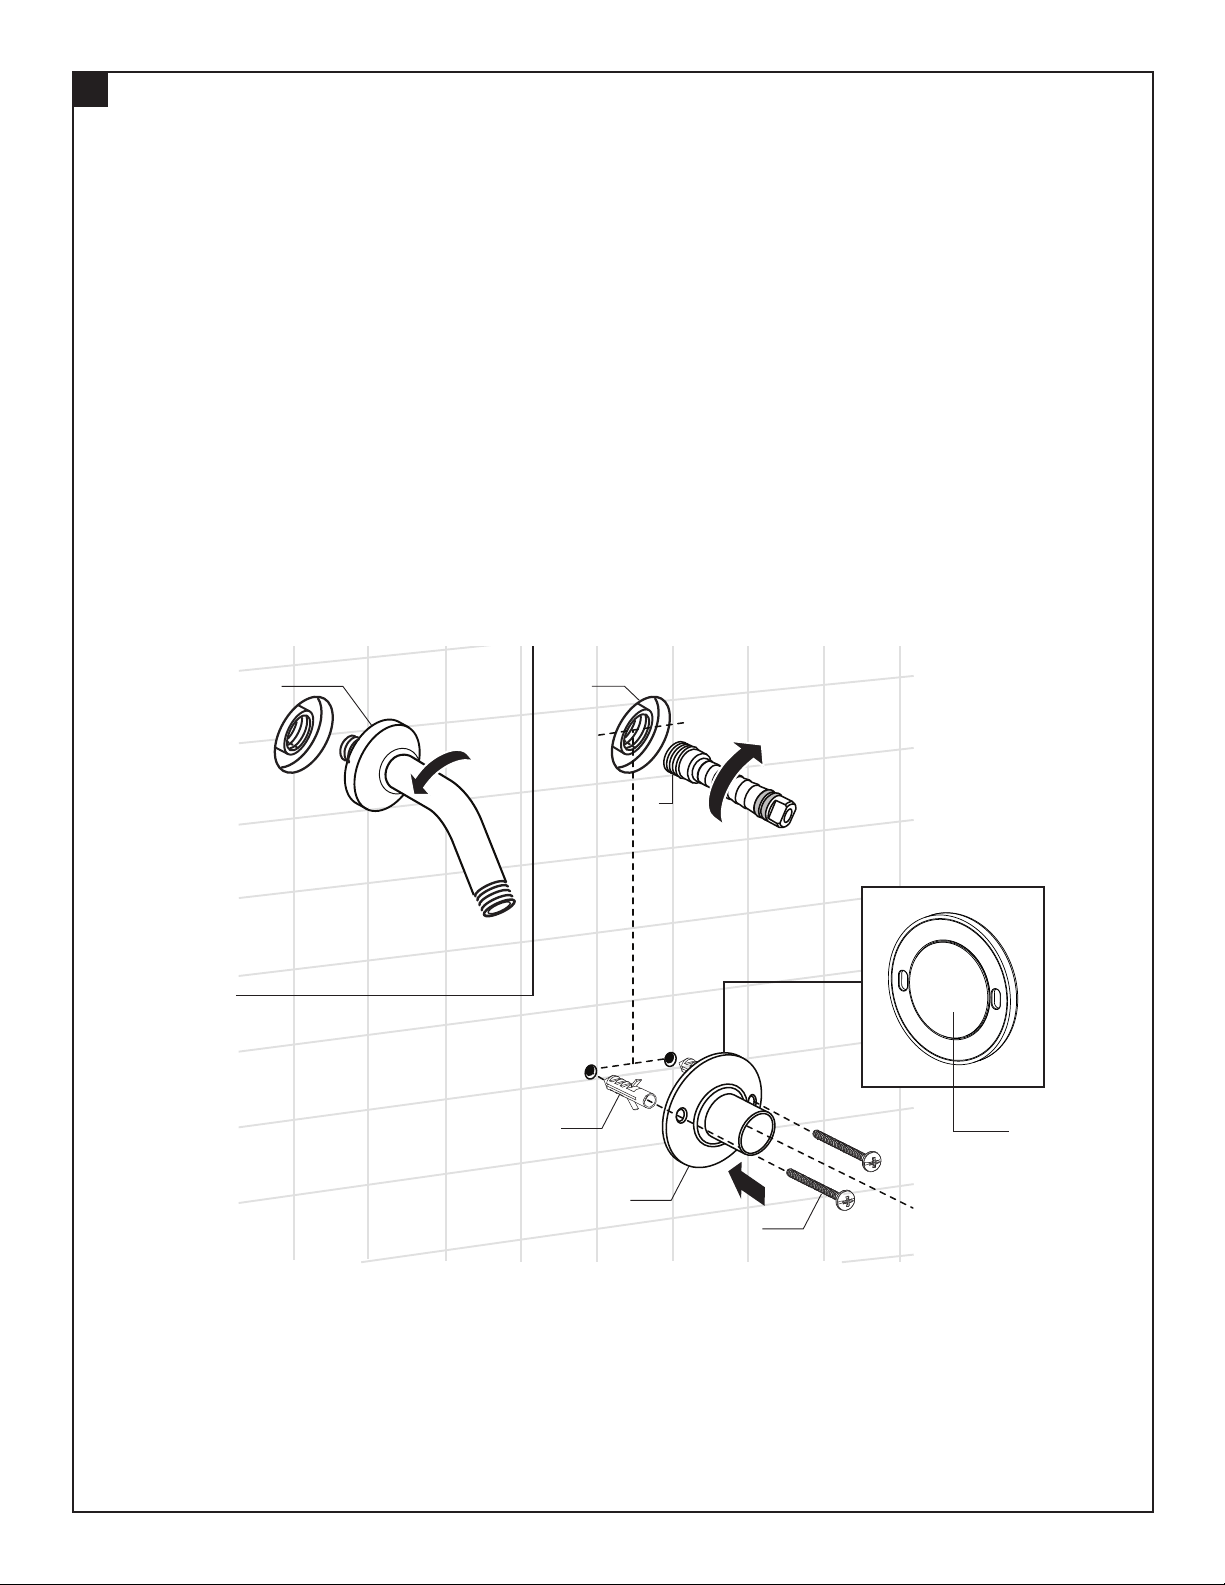
• Remove Old Shower Arm (1).
• STEP 1a Install adapter (3) by screwing it onto the pipe. Use teon tape on the threads to ensure a water tight connection
is made. Adapter (3) must protrude from the wall a minimum distance of 1" (25 mm) and a maximum distance of
2-5/16" (58 mm).
• Mark the bottom center line. Use a level to help mark the vertical center line for the mounting location. The distance between
the two mounting holes is 24" (610mm).
Optional: The shower bar itself may be used as a template in place of measuring. Slide the shower bar onto Adapter (3), attach
Adapter (4) to the shower bar, and mark the location of the two mounting holes from Adapter (4) on the wall.
• The adjustable shower bar works best if secured to a wall stud or cross brace within the wall using screws supplied.
Note: The 24" dimension is important and must be maintained. If Bottom Adapter (4) is secured to a stud or cross brace
with in the wall, drill small pilot holes for SCREWS (2).
• For installations on drywall or tiled walls: Use ANCHORS (2A) and SCREWS (2) for securing ESCUTCHEON to nished wall.
Drill two 1/4" (6 mm) dia. holes a minimum of 1-3/4" (44 mm) deep. Insert the two ANCHORS (2A) ush with face
of the nished wall.
Optional: Bottom Adapter may also be installed using DOUBLE SIDED TAPE (5) (already installed on the back surface).
For proper installation wipe clean the surface. Peel off the backing and place it at a desired location. Apply pressure
and hold it for 30 seconds before releasing it. Note: This installation requires 24 hours of dry surface to adhere properly.
INSTALL WALL ADAPTERS
5
3
2
3
4
1
5
2
3
1
4
6
6
2
1
4
3
2A
4
2
1A1
24" (610 mm)
7
Center
Line
Center
Line
5

- 3 -
M985041 (3/20)
2
INSTALL SHOWER BAR
• Slide Escutcheon (1) and (2) onto the Shower Bar (5). Escutcheons must be slid all the way onto the bar so
that they are not obstructing the holes for SET SCREWS (6).
• Apply o-ring grease to the two o-rings on Adapter (3).
• Push and slide Shower Bar (5) onto Adapter (3) and (4).
• Tighten Set Screws (6) with provided Hex Wrench.
• Slide Escutcheon (1) against the wall.
• Escutcheon (2) is installed with DOUBLE SIDED TAPE (7). Remove the double sided tape backing then slide
and press ESCUTCHEON (2) against wall. Press rmly and hold for at least 30 seconds.
5
3
2
3
4
1
5
2
3
1
4
6
6
2
1
4
3
2A
4
2
1A1
24" (610 mm)
7
Center
Line
Center
Line
M985041 (3/20)
- 4 -
3
3
2
1
4
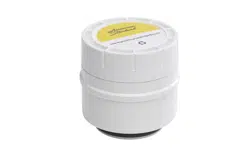
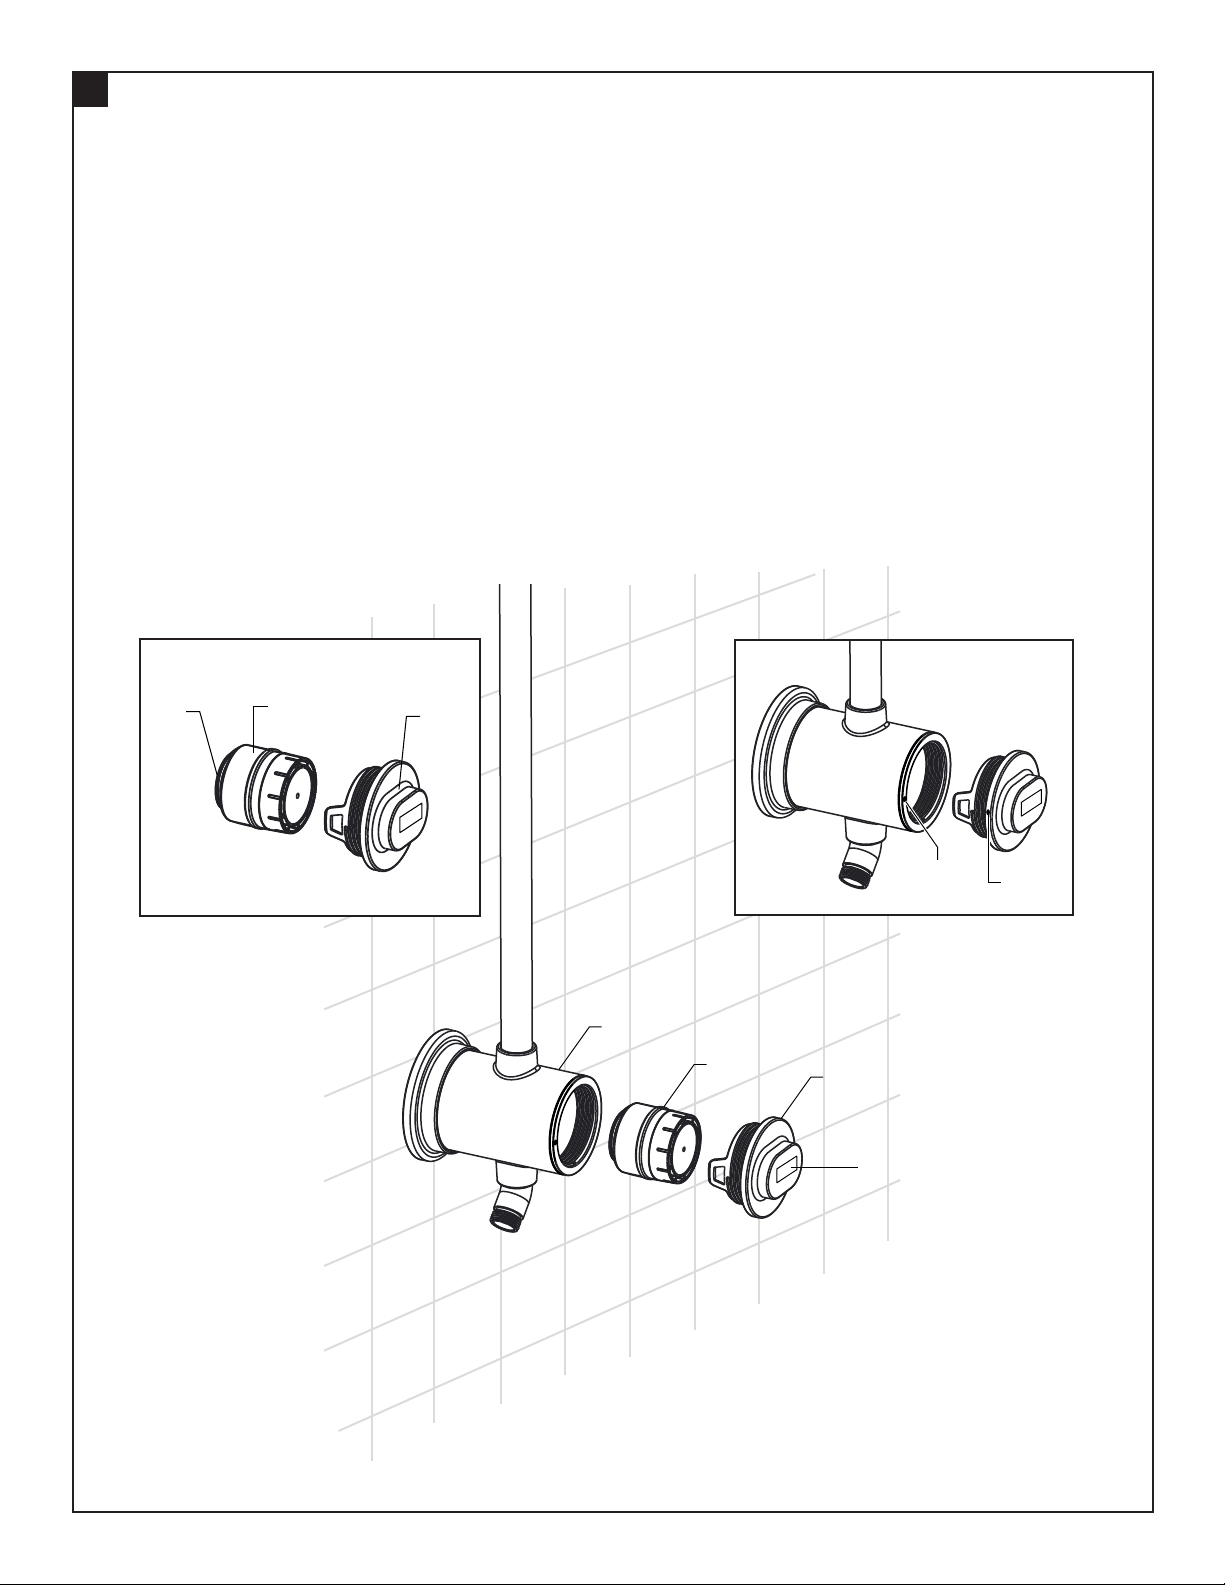
REPLACE OR INSTALL FILTER
• Remove plastic wrap from FILTER (2). Remove FILTER LABEL (5). Minor particles found outside the lter are normal.
Rinse the lter.
• Unthread Filter Cover (1) from Filter Housing (3).
• Replace or install Filter (2). The Filter is a snap t onto Filter Cover (1) and can be installed by pushing or removed by pulling.
NOTE: Filter orientation must be maintained as in Figure A. O-rings on FILTER (2) face away from
FILTER COVER (1).
• Thread Filter Cover (1) onto Filter Housing (3). To ensure American Standard Logo (4) is upright after threading,
begin threading with the Logo (4) upsided down. Alternatively, the CIRCULAR MARKING (6) on the lter cap should be
aligned with the matching CIRCULAR MARKING (7) on the lter housing before threading as in Figure B.
• Allow cold water to run through the new lter to ush the system fo 1 minute.
NOTE: Filter life is approximately 4 months. Based on a usage of a hosehold of 4 showering once per day for 6 minutes per
shower. Total capacity is 5000 gallons.
7
6
FIGURE BFIGURE A
2
5
1
- 5 -
M985041 (3/20)
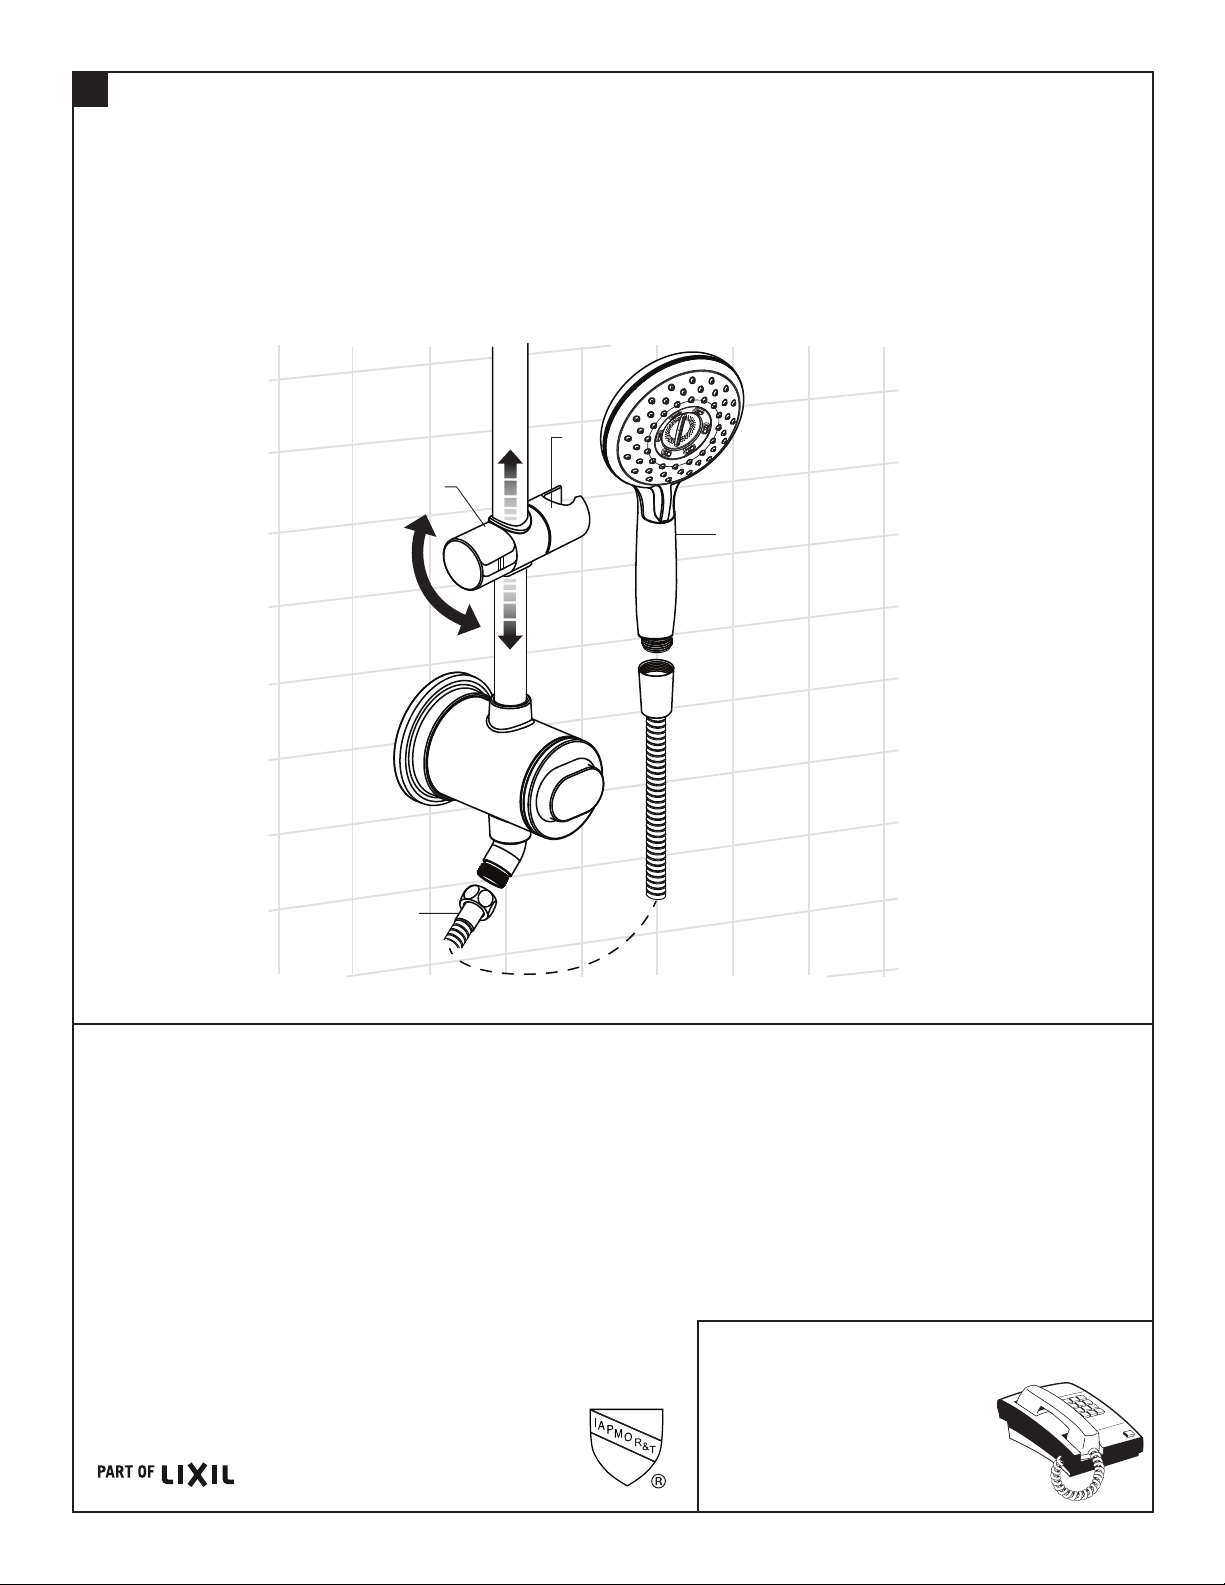
4
THREAD HOSE
• Thread Hose (1) onto shower bar.
• Direct shower hose into tub and turn hand shower valve on. Run water for 1 minute to condition lter
for optimal performance.
• Thread Hose (1) into Hand Shower (2).
• Use KNOB (3) on HOLDER (4) to adjust hand Shower (2) height on the slide bar.
5
3
2
3
4
1
2
3
2
4
6
6
2
1
4
3
2A
4
2
1A1
5
24" (610 mm)
or
36" (914 mm)
Center
Line
Center
Line
• Water Filtering System Specications
– Rated Service Life of 5000 gallons (18927 L)
– Pressure: 20 – 125 psi (0.7 – 8.6 bar)
– Temperature: 50 - 150°F (10 - 66°C)
– Flow Rate: 1.8 gpm (6.8 L/min)
• The system and installation shall comply with applicable state and local regulations.
• System certied by IAPMO R&T according to NSF/ANSI 177 standard for the reduction of free available chlorine.
• System is not intended to be used as a drinking water treatment unit.
• Important Notice: Read the Manufacturer’s Performance Data Sheet.
• NOTE: Use only FS50 Replacement Cartridge.
HOT LINE FOR HELP
For toll-free information and answers to your questions, call:
1 (800) 442-1902
Mon. - Fri. 8:00 a.m. to 8:00 p.m. EST
Saturday 10:00 a.m. to 4:00 p.m. EST
IN CANADA 1-800-387-0369
(TORONTO 1-905-306-1093)
Weekdays 8:00 a.m. to 7:00 p.m. EST
IN MEXICO 01-800-839-1200
