Loading ...
Loading ...
Loading ...
Operating the Serf°Cleaning Oven
Normal Cleaningqime: 4 hours
Before a Clean Cycle
Quick Reminder:
I. Prepare the oven for cleaning,
2. Close and latch the oven door
3. Press the CLEAN pad
4. Press the INCREASE pad,
If you wish to change preset clean time of 4
hours, press the INCREASE or DECREASE pad
until desired stop time appears in the display,
1. Remove the broiler pan, broiler rack, al! cookware
and any aluminum foil from the oven--they cannot
withstand the high cleaning temperatures, (Oven
shelves may be left in oven. NOTE: Shelves will
discolor after the self-clean cycle,)
2. Wipe up heavy soil on the oven bottom. If you use
soap, rinse thoroughly before self cleaning to pre-
vent staining,
cooking oi! after self-cleaning to make shelves slide
more easily
Caution: Drip pans should never be cleaned in the
self-cleaning oven.
Do not use commercial oven cleaners or oven
protectors in or near the self-cleaning oven. A
combination of any of these products plus the high
clean cycle temperatures may damage the porcelain
finish of the oven_
Important
The oven door must be closed and latched and all
controls must be set correctly for the clean cycle to
work properly
How to Set Oven for Cleaning
1. Follow steps above to prepare the oven
for cleaning,
2. Close the oven door and slide
--_ the latch handle to the right
U_I_W_.,,,,,_ as far as it will go.
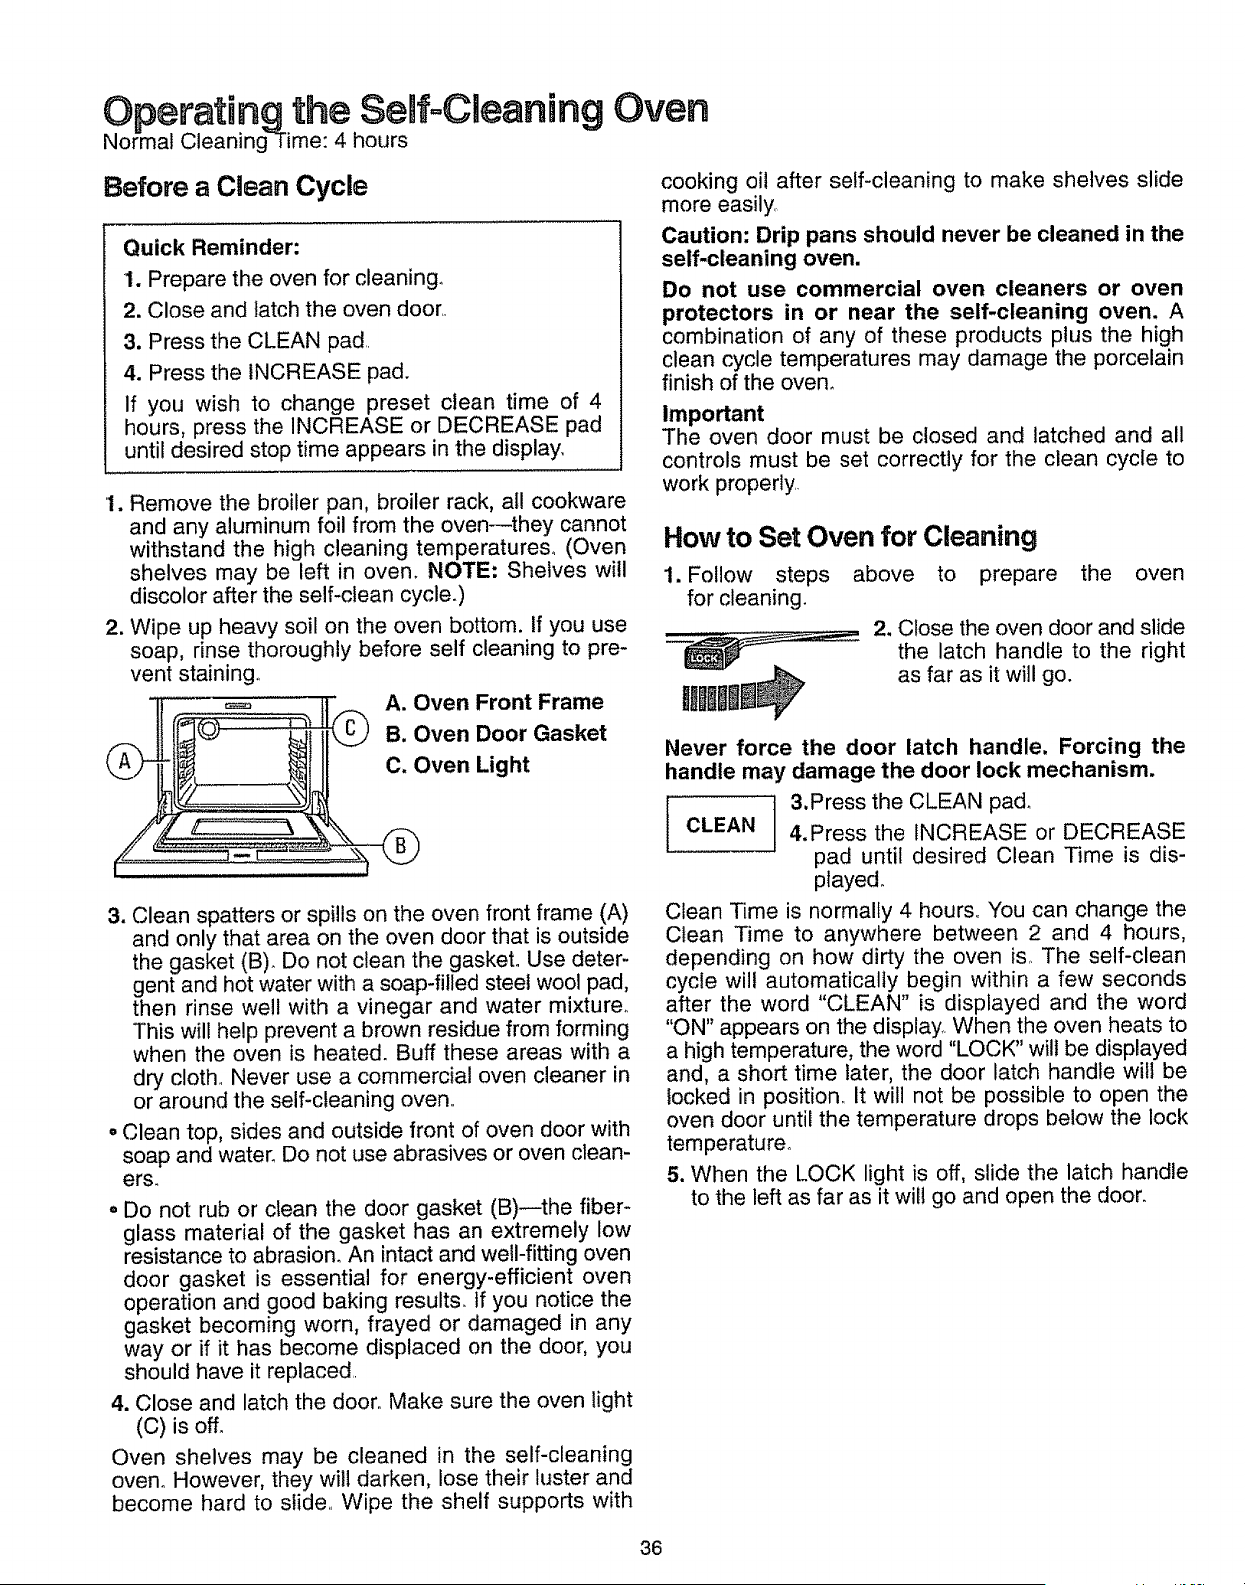
3. Clean spatters or spills on the oven front frame (A)
and only that area on the oven door that is outside
the gasket (B)o Do not clean the gasket. Use deter-
gent and hot water with a soap-filled steel wool pad,
then rinse well with a vinegar and water mixture°
This will help prevent a brown residue from forming
when the oven is heated, Buff these areas with a
dry cloth Never use a commercial oven cleaner in
or around the self-cleaning oven.
o Clean top, sides and outside front of oven door with
soap and water, Do not use abrasives or oven clean-
er&
o Do not rub or clean the door gasket (B)--the fiber-
glass material of the gasket has an extremely low
resistance to abrasion, An intact and well-fitting oven
door gasket is essential for energy-efficient oven
operation and good baking results, tf you notice the
gasket becoming worn, frayed or damaged in any
way or if it has become displaced on the door, you
should have it replaced
4. Close and latch the door. Make sure the oven light
(C) is off_
Oven shelves may be cleaned in the self-cleaning
oven° However, they will darken, lose their luster and
become hard to slide, Wipe the shelf supports with
Never force the door latch handle. Forcing the
handle may damage the door lock mechanism.
3.Press the CLEAN pad,
CLEAN 4,Press the INCREASE or DECREASE
pad until desired Clean Time is dis-
played_
Clean Time is normally 4 hours.. You can change the
Clean Time to anywhere between 2 and 4 hours,
depending on how dirty the oven is,. The self-clean
cycle will automatically begin within a few seconds
after the word "CLEAN" is displayed and the word
"ON" appears on the display. When the oven heats to
a high temperature, the word "LOCK" wilt be displayed
and, a short time later, the door latch handle will be
locked in position. It will not be possible to open the
oven door until the temperature drops below the lock
temperature°
5. When the LOCK light is off, slide the latch handle
to the left as far as it will go and open the door_
36
Loading ...
Loading ...
Loading ...