Loading ...
Loading ...
Loading ...
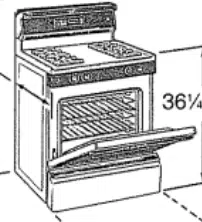
How to Convert the Range for Use with LP Gas or Natural Gas
Prepare Range for Conversion
CAUTION--Before converting the range:
(1) Turn off gas supply at the wall and
(2) Turn off the electrical power to the range.
If range has not yet been connected to gas supply,
or if flexible connection was made, range may be
pulled out from the wall to make conversion easier°
Tools Required:
T_I 0 Torxdriver (for sealed burners)
1/2" and 3/4" open-end wrench
Fiat blade screwdriver (small)
Nut drivers or wrenches: 7mm or 5/16"
(depending on the size of the spuds)
WARNING: Do not remove the pressure regulator from the range.
Step t
Convert The Pressure Regulator
1. For models equipped with sealed burners, remove
the storage drawer, broiler drawer or kick panel and
locate the pressure regulator at rear of the range_
On some models, you may have to remove an
access cover atsoo
For models equipped with dual burners, remove the
cooktop and locate the pressure regulator at right
rear of range.
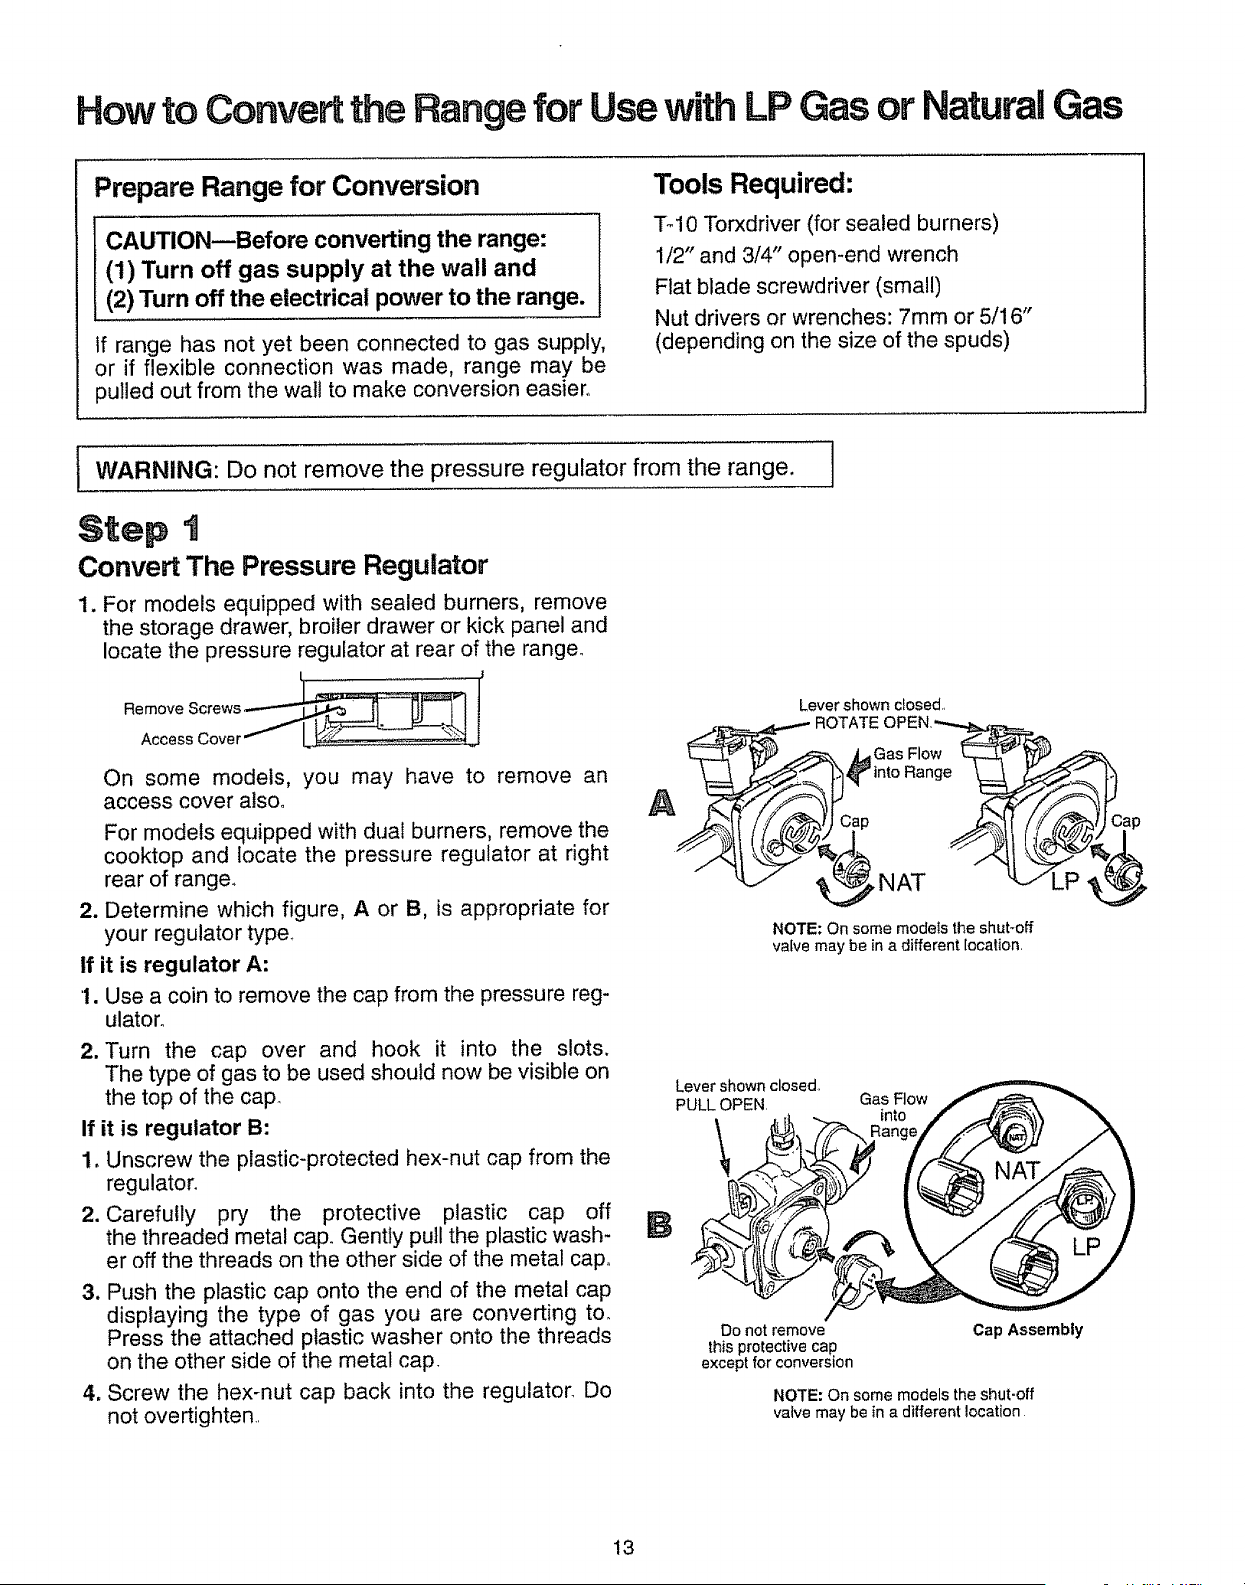
2. Determine which figure, A or B, is appropriate for
your regulator type.
If it is regulator A:
1. Use a coin to remove the cap from the pressure reg-
ulatoro
2. Turn the cap over and hook it into the slots.
The type of gas to be used should now be visible on
the top of the cap
If it is regulator B:
1. Unscrew the plastic-protected hex-nut cap from the
regulator.
2. Carefully pry the protective plastic cap off
the threaded metal caF Gently pull the plastic wash-
er off the threads on the other side of the metal cap.
3. Push the plastic cap onto the end of the metal cap
displaying the type of gas you are converting to.
Press the attached plastic washer onto the threads
on the other side of the metal cap.
4. Screw the hex-nut cap back into the regulator_ Do
not overtighten.,
B
Lever shown dosed,
)Cap _tf ////,_"_lJ Cap
_NAT _JLP
NOTE: On some models the shut-off
vatve may be in a different location.
Lever shown closed,,
PULL OPEN.
\
Gas Flow
into
Do not remove
this protective cap.
except for conversion
Cap Assembly
NOTE: On some models the shut-off
valve may be in a different location
!3
Loading ...
Loading ...
Loading ...