Loading ...
Loading ...
Loading ...
18
1. Tablet
2. Main Test Cable
3. OBDII-16 Connector
4. Vehicle
*Caution
:
Please make sure all the cables are connected tightly; The vehicle’s
DLC is not always located under the dash; for the location of the DLC, please
refer to the vehicle’s user manual.
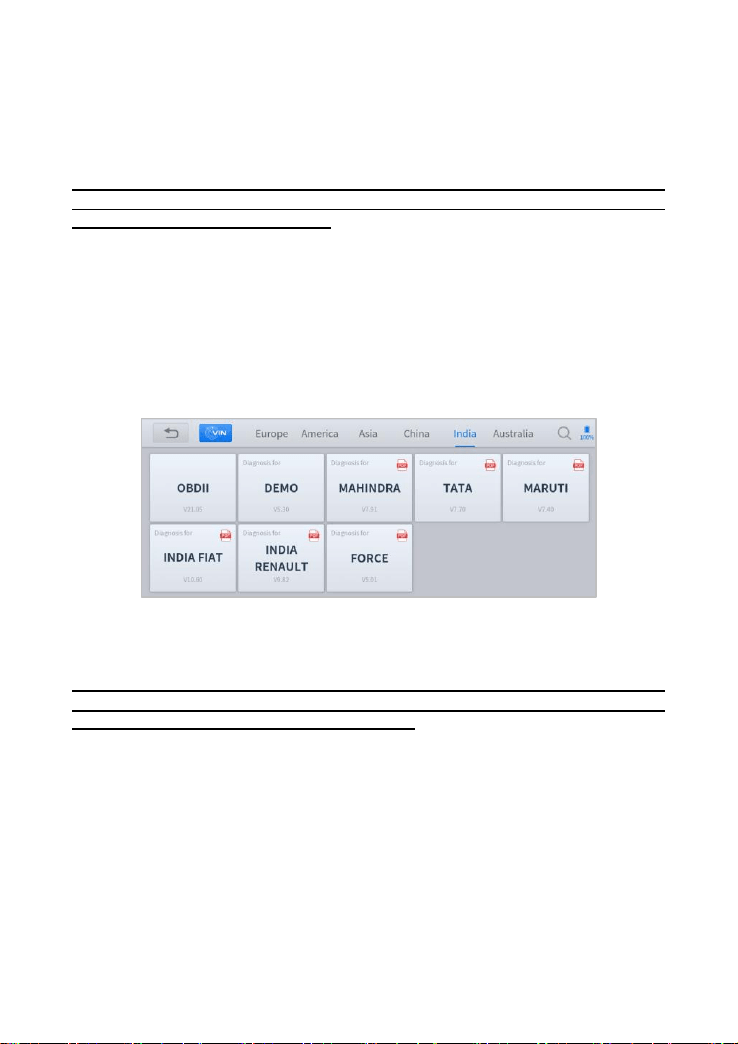
DIAGNOSIS
After the tablet device is properly connected to the vehicle, the system can
begin vehicle diagnosis. You can select the vehicle model that needs to be
diagnosed according to the area, as shown below:
Fig 4-2 Sample of Europe Vehicles
*Note: OBD
Ⅱ
supports reading the common fault codes in the engine; DEMO,
is a demonstration program. Click this button to experience and learn the
operation process of the diagnostic function.
VEHICLE SELECTION
EZ400PRO Smart Diagnosis System supports 2 ways to access the vehicle
diagnosis system.
You can select "Automatic Detection" or "Manual Selection" to enter the
diagnosis system. Automatic detection will automatically identify the
vehicle's VIN code, and then read the information of your target diagnostic
Loading ...
Loading ...
Loading ...