Loading ...
Loading ...
Loading ...
TRUE RESIDENTIAL
®
TEC_TM_156 | REV. D | EN9/12/2022Page 52 of 96
CABINET SETUP
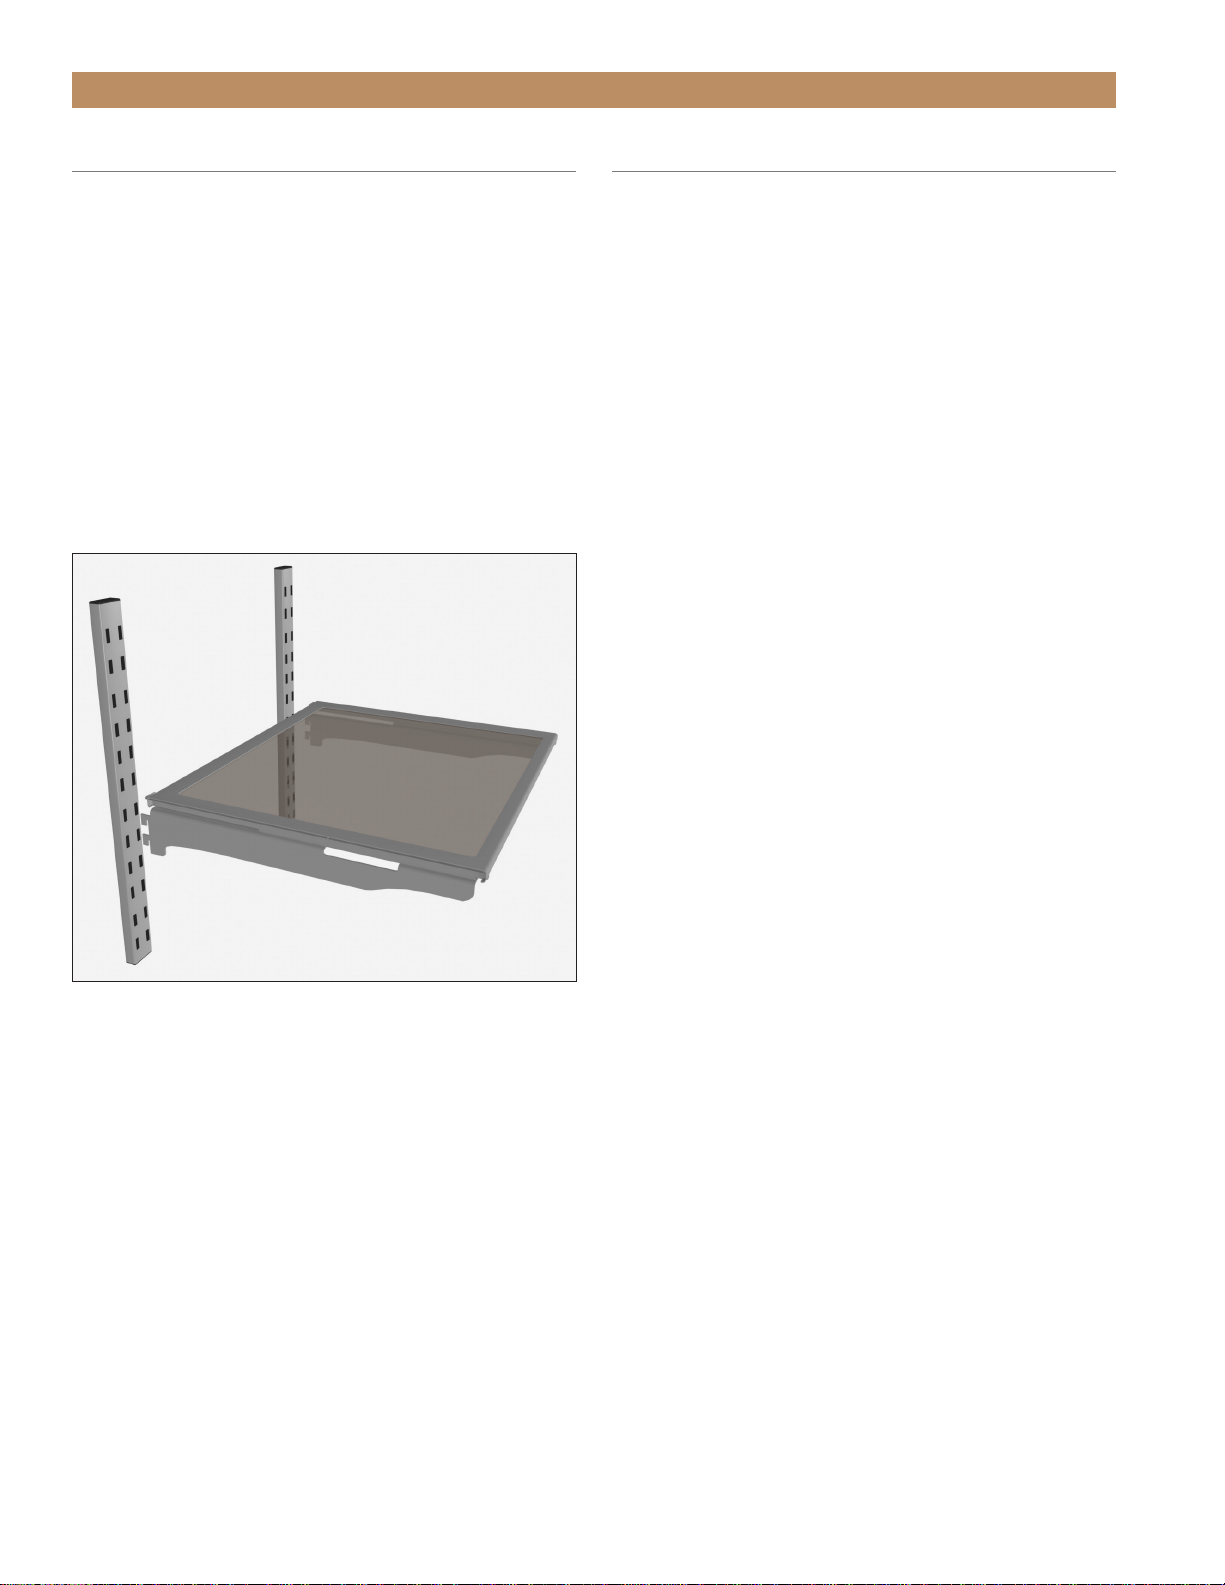
GLASS SHELF ADJUSTMENT
The mounting brackets / glide assemblies ship installed
on the glide out glass shelves.
INSTALLATION
Hook the mounting brackets / glide assemblies into the
pilasters. See fig. 1.
REMOVAL
Carefully lift the shelf assembly up. Then, pull the shelf
assembly forward. See fig. 1.
WINE RACK ADJUSTMENT
Wine racks in TBC, TWC, and TWZ-DZ consist of two
mounting bracket / glide assemblies and the wire wine
rack.
REMOVAL
1. Gently lift the wine rack handle and pull the wine
rack forward. See fig. 1.
2. Lift the mounting brackets and pull the brackets
forward.
3. Repeat steps 1 and 2 as needed.
INSTALLATION
1. Hook the mounting bracket with the anti-vibration
bumpers (see fig. 2) into the hinge-side pilaster.
2. Hook the remaining mounting bracket into the
other pilaster.
3. Position the wine rack on the slides and carefully
push the wine rack towards the back of the unit.
See fig. 3.
NOTE: BE SURE THE WINE RACK SITS UNDER
THE SLIDES’ REAR TABS. SEE FIG. 4.
4. Repeat steps 1-3 as needed.
CORRECT FIT
The glide’s front tab must fit securely in the gap
between the handle and the rack. See fig. 5. If the
fit is too tight, loosen the screws on the back of the
handle to increase the gap.
The wine shelves are held securely by the anti-
vibration bumpers. If there is too much play side-to-
side, tighten the bumpers against the compartment
walls by rotating them with your fingers.
FIG. 1
. Slide the mounting bracket tabs into the pilaster.
Loading ...
Loading ...
Loading ...