Loading ...
Loading ...
Loading ...
67
P Mode
Tv, Av, M, and C Mode
Playback Mode
Wireless Features
Setting Menu
Accessories
Appendix
Before Use
Index
Basic Guide
Advanced Guide
Camera Basics
Auto Mode /
Hybrid Auto Mode
Other Shooting Modes
● For easier viewing, try choosing MENU > [ 2] tab > [Night
Display] > [On] (
=
172) before shooting.
● To make stars brighter, choose MENU (
=
31) > [ 6] tab >
[Star Emphasis] > [Sharp]. To emphasize the bright stars in a
starry sky, set [Star Emphasis] to [Soft]. This setting can produce
eye-catching shots by enlarging bright stars while de-emphasizing
dimmer stars. To disable starlight processing, select [Off].
● Try switching to manual focus mode (
=
89) to more accurately
specify the focal position before shooting.
Shooting Star Trails (Star Trails)
Still Images
Movies
Streaks created by the movement of stars through the sky are recorded in
a single image. After determining the shutter speed and number of shots,
the camera shoots continuously. A shooting session can last up to about
two hours. Check the battery level in advance.
1
Choose [ ].
z Follow steps 1 – 2 in “Specic Scenes”
(
=
56) and choose [ ], and then
press the [ ] button.
z Press the [ ][ ] buttons or turn the [ ]
dial to choose [ ], and then press the
[ ] button.
z Zoom is set to maximum wide angle and
cannot be adjusted.
2
Specify the duration of the shooting
session.
z Turn the [ ] dial to choose the
shooting duration.
Special Modes for Other Purposes
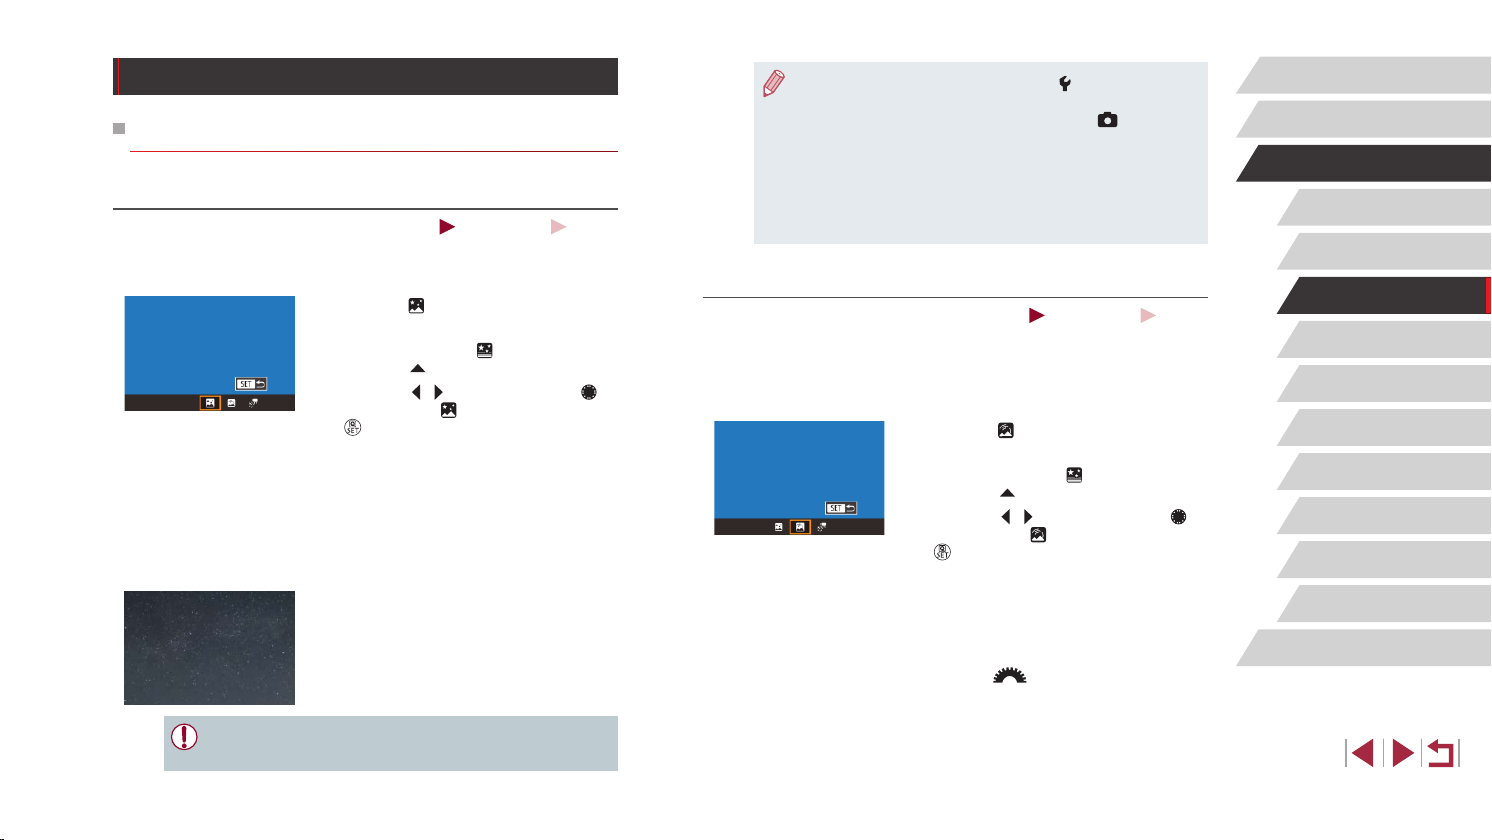
Shooting Starry Skies (Star)
Shooting Night Scenes under Starry Skies (Star Nightscape)
Still Images
Movies
Capture impressive shots of starry skies above night scenes. Starlight in
the image is automatically enhanced, making starry skies look beautiful.
1
Choose [ ].
z Follow steps 1 – 2 in “Specic Scenes”
(
=
56) and choose [ ], and then
press the [ ] button.
z Press the [ ][ ] buttons or turn the [ ]
dial to choose [ ], and then press the
[ ] button.
z Zoom is set to maximum wide angle and
cannot be adjusted.
2
Secure the camera.
z Mount the camera on a tripod or take
other measures to keep it still and
prevent camera shake.
3
Shoot.
● There will be a delay before you can shoot again, as the camera
processes the images.
Loading ...
Loading ...
Loading ...