Loading ...
Loading ...
Loading ...
24
6.4 Setting Clock
1. Clock setting mode can be activated by pressing MENU < Main menu >
< System settings > < Time/Date >, press SELECT to confirm.
Note:
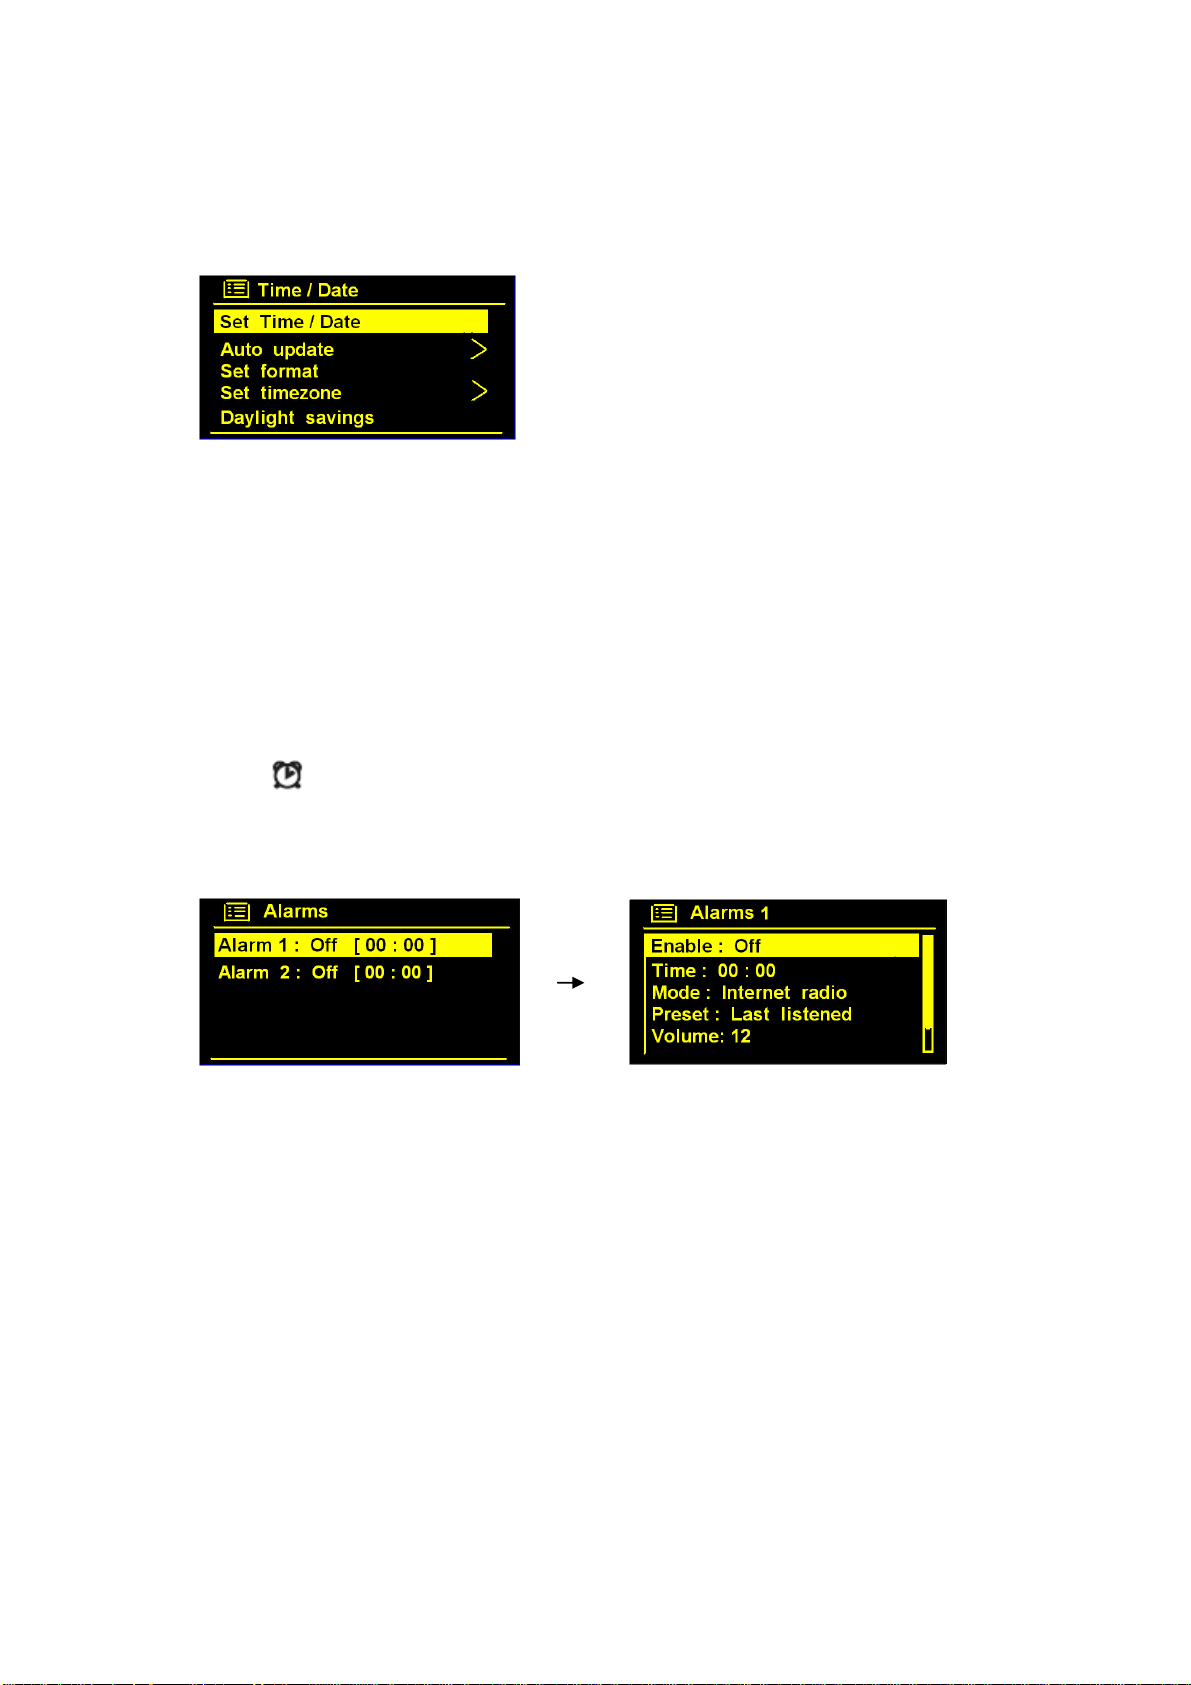
Turn SELECT to see the range of time settings
available, which includes the functionality to set:
<Set Time/date>: Manually set-up both Time and Date
<Auto update>: ‘Update from DAB’, ‘Update from Network’ and ‘No update’
<Set format>: ‘Set 24 hour’ and ‘Set 12 hour’
<Set timezone>: Turn SELECT to your local timezone, and then press SELECT to confirm
<Daylight savings>: Turn SELECT to ‘ON’, and then press SELECT to confirm.
6.5 Setting Alarm
Note: When setting the Alarm, make sure you have set the time first.
1. Press button on remote control to activate alarm settings, or press MENU
< Main menu > < Alarms >, press SELECT to confirm.
2. Turn SELECT to your selecting one, press SELECT to confirm.
3. Configure the following parameters:
Enable: Off, Daily, Once, Weekends or Weekdays
Time: 00:00
Mode: Buzzer, Internet radio, DAB or FM.
Preset: This option depends on which alarm mode you have selected, this option won’t
be available unless you choose Internet radio, DAB or FM as the alarm source.
Volume: Turn SELECT to your preferred volume level, then press SELECT to confirm.
Note: remember don’t set your radio volume level to zero (Mute), otherwise, when alarm is
activated, the alarm sound cannot be heard.
Save: Finally, turn SELECT to this option, and press SELECT to make sure the alarm is
saved. The screen shows active alarms with an icon at the bottom left.
Loading ...
Loading ...
Loading ...