Loading ...
Loading ...
Loading ...
INSTALLATION
8 • Residen al Hybrid Electric Heat Pump Water Heater Use and Care Guide
BACKGROUND: Water expands when
heated, and the increased volume
of water must have a place to go, or
thermal expansion will cause large
increases in water pressure (despite
the use of a Pressure Reducing Valve
on the home’s main water supply
line). The Safe Drinking Water Act of
1974 requires the use of backfl ow
preventers and check valves to restrict
water from your home reentering
the public water system. Backfl ow
preventers are o en installed in water
meters and may not be readily visible.
As a result, most all plumbing systems
today are now “closed,” and almost all
homes now need a Thermal Expan-
sion Tank.
A Thermal Expansion Tank is a
prac cal and inexpensive way to help
avoid damage to the water heater,
washing machine, dishwasher, ice
maker and even toilet valves. If your
toilet occasionally runs for no appar-
ent reason (usually briefl y at night),
that may be due to thermal expansion
increasing the water pressure tempo-
rarily.
✓
Water pipe and
tank leaks
Leaks from plumbing pipes or from
the water heater itself can damage
property and could cause a fi re risk.
• Install an automatic leak detec-
tion and shutoff device (available
at your local plumbing supplier).
These devices can detect water
leaks and can shut off the water
heater’s water supply if a leak
occurs.
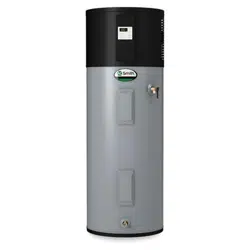
Figure 8 - A suitable drain pan piped to an
adequate drain can help protect flooring
from leaks and drips.
• Install a suitable drain pan (avail-
able at your local plumbing suppli-
er) under the water heater (Figure
8) to catch condensation or leaks in
the piping connections or tank.
Most codes require and we recom-
mend installing the water heater in
a drain pan that is piped to an ade-
quate drain. The drain pan must be
at least two inches wider than the
diameter of the water heater.
Install the drain pan so the water
level would be limited to a maxi-
mum depth of 1-3/4”.
✓
Water tempera-
ture regula on
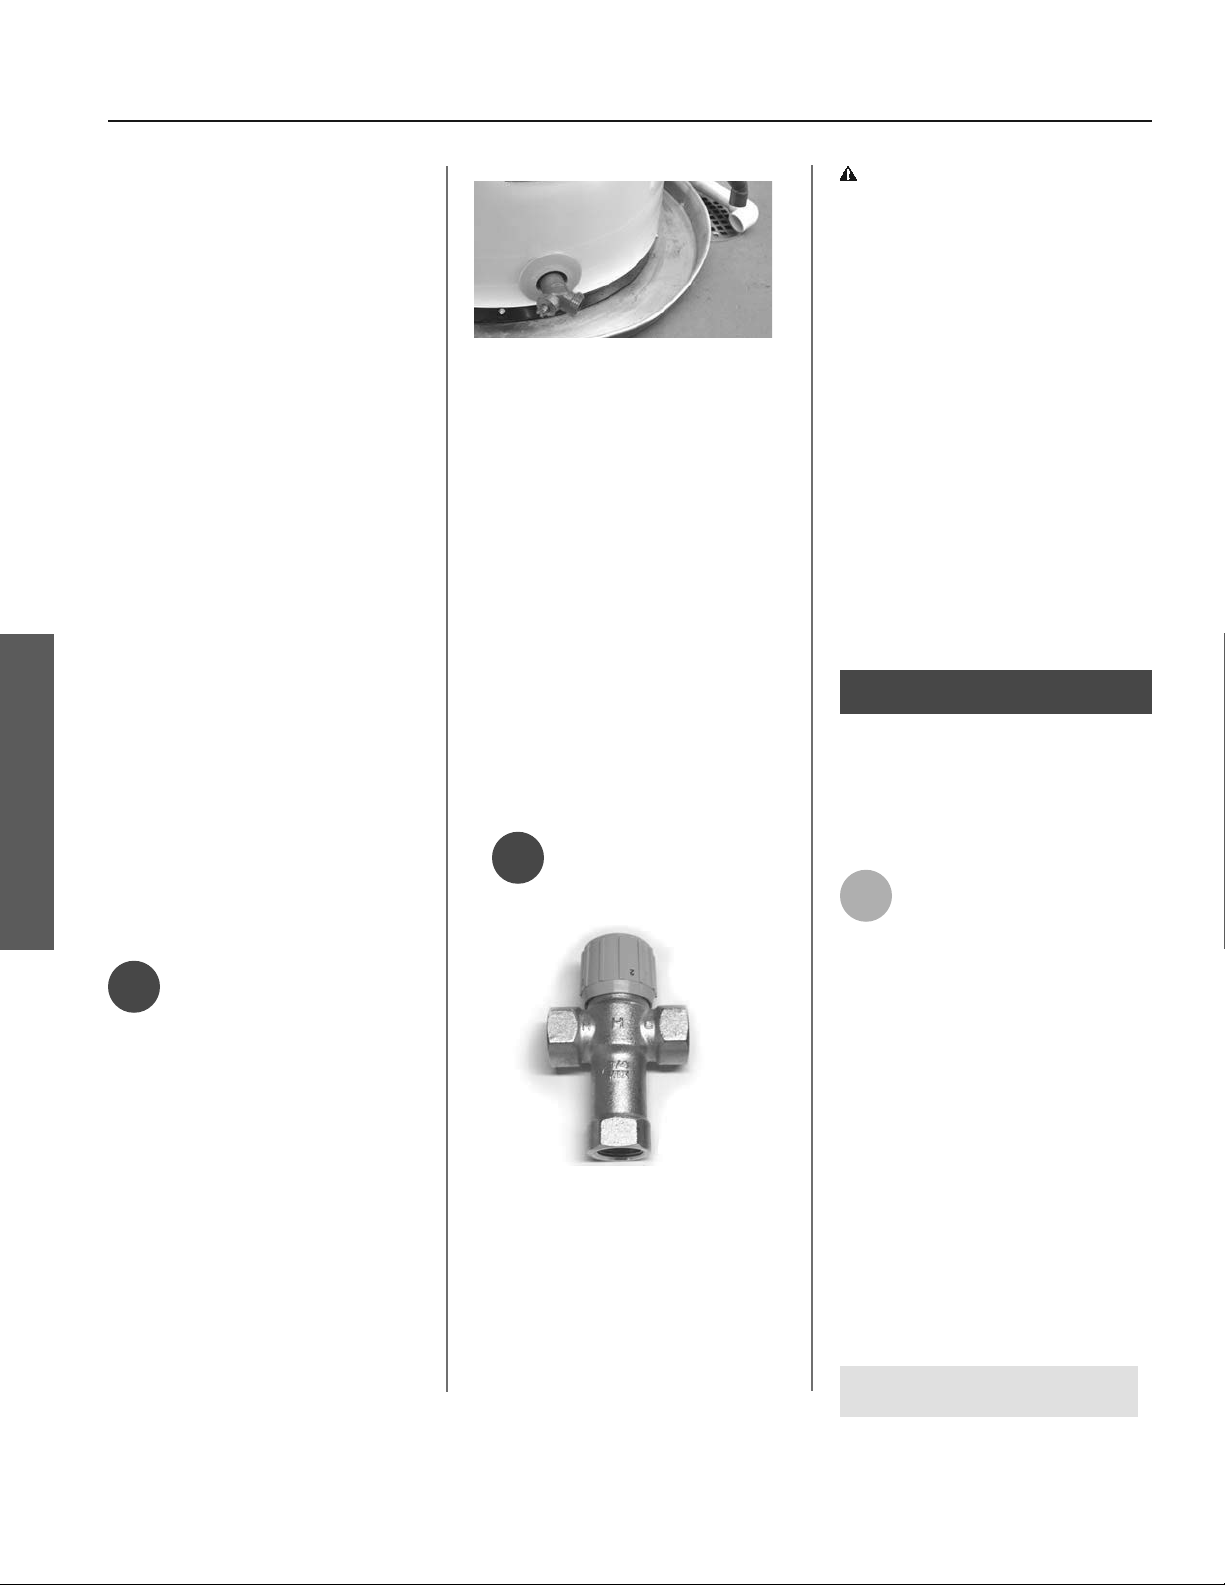
Figure 9 - Thermostatic Mixing Valves
installed at each point -of-use can help
prevent scalds.
Install Thermosta c Mixing Valves
(Figure 9) to regulate the temperature
of the water supplied to each point-
of-use (for example, kitchen sink,
bathroom sink, bath, shower). Con-
sult the valve manufacturer’s instruc-
ons or a qualifi ed person.
WARNING! Even if the water heater
thermostat is set to a rela vely low
temperature, hot water can scald.
Install Thermosta c Mixing Valves at
each point-of-use to reduce the risk of
scalding (page 4).
BACKGROUND: A Thermosta c Mix-
ing Valve, installed at each point-
of-use, mixes hot water from the
water heater with cold water to more
precisely regulate the temperature of
hot water supplied to fi xtures. If you
aren’t sure if your plumbing system
is equipped with properly installed
and adjusted Thermosta c Mixing
Valves at each point where hot water
is used, contact a qualifi ed person for
more informa on.
Step 2:
Verify that the loca on
is appropriate
Before installing your water heater,
ensure that:
1
The water heater will be:
• Installed indoors close to
the center of the plumbing
system.
• In a suitable drain pan piped to an
adequate floor drain or external to
the building (Figure 8).
• In an area that will not freeze
• In an area that is suitable for install-
ing the water heater vertically and
on a level surface.
• Install where a typical home appli-
ance sound would not cause a dis-
turbance
• Should not be used for space heat-
ing.
NOTE: Water heater must be level!
NOTE: Water heater must be level!
INSTALLATION
Loading ...
Loading ...
Loading ...