Loading ...
Loading ...
Loading ...
INSTALLATION
16 • Residen al Hybrid Electric Heat Pump Water Heater Use and Care Guide
Operation
The water heater is now ready for
normal operation. To keep your water
heater working safely and efficiently
and extend its life, perform mainte-
nance as described in maintenance
section beginning on page 25.
Start-up and Opera on
NOTE: The default opera ng mode is
Hybrid, to select a diff erent mode see
Opera ng Modes sec on on page 20.
PRIOR TO BEGINNING OPERATION:
Air fi lter is factory installed with tabs
oriented down for shipping. Please see
maintenance sec on for instruc ons
on removal, cleaning and replacing.
1
Turn on electrical power to
the water heater.
2
Press the Mode/Enter bu on
to set the opera ng mode.
NOTICE: The water heater will
conduct a system diagnos c (approxi-
mately 8 minutes) prior to returning to
opera on.
3
Once the diagnos c sequence
has fi nished, the fan should
turn on. This typically takes 8
minutes, (the User Interface Module
will display “-”, “--”, “---” repe vely
during this period).
NOTICE: The heat pump’s fan will not
turn on if the incoming water tempera-
ture is less than 59°F/15°C and/or the
ambient air temperature is above
120°F/15°C, or below 45°F/7.2°C.
Should the internal diagnos cs detect
a problem with the heat pump, an
error code will be displayed.
4
Set the desired opera onal
mode. For typical installa ons,
the factory default mode,
Hybrid Mode off ers the best combina-
on of effi ciency and hot water
delivery. For detailed descrip ons of all
opera onal modes see “Adjus ng the
User Interface Module/Opera onal
Modes” sec on.
Step 12:
Adjus ng the
Temperature
With the installa on steps completed,
you may adjust the water heater’s
temperature se ng if desired.
1
The water heater’s tempera-
ture se ng has been factory
set to approximately 120°F to
reduce the risk of scald injury. You may
wish to set a higher temperature to
provide hot water for automa c
dishwashers or laundry machines, to
provide more hot water capacity, and
to reduce bacterial growth. Higher
tank temperatures (140° F) kill bacteria
that cause a condi on known as
“smelly water” and can reduce the
levels of bacteria that cause water-
borne diseases.
WARNING! Higher temperatures
increase the risk of scalding, but even
at 120°F, hot water can scald (page
4).
If you increase the water heater’s tem-
perature se ng, install Thermosta c
Mixing Valve(s) at each point-of-use to
reduce the risk of scalding.
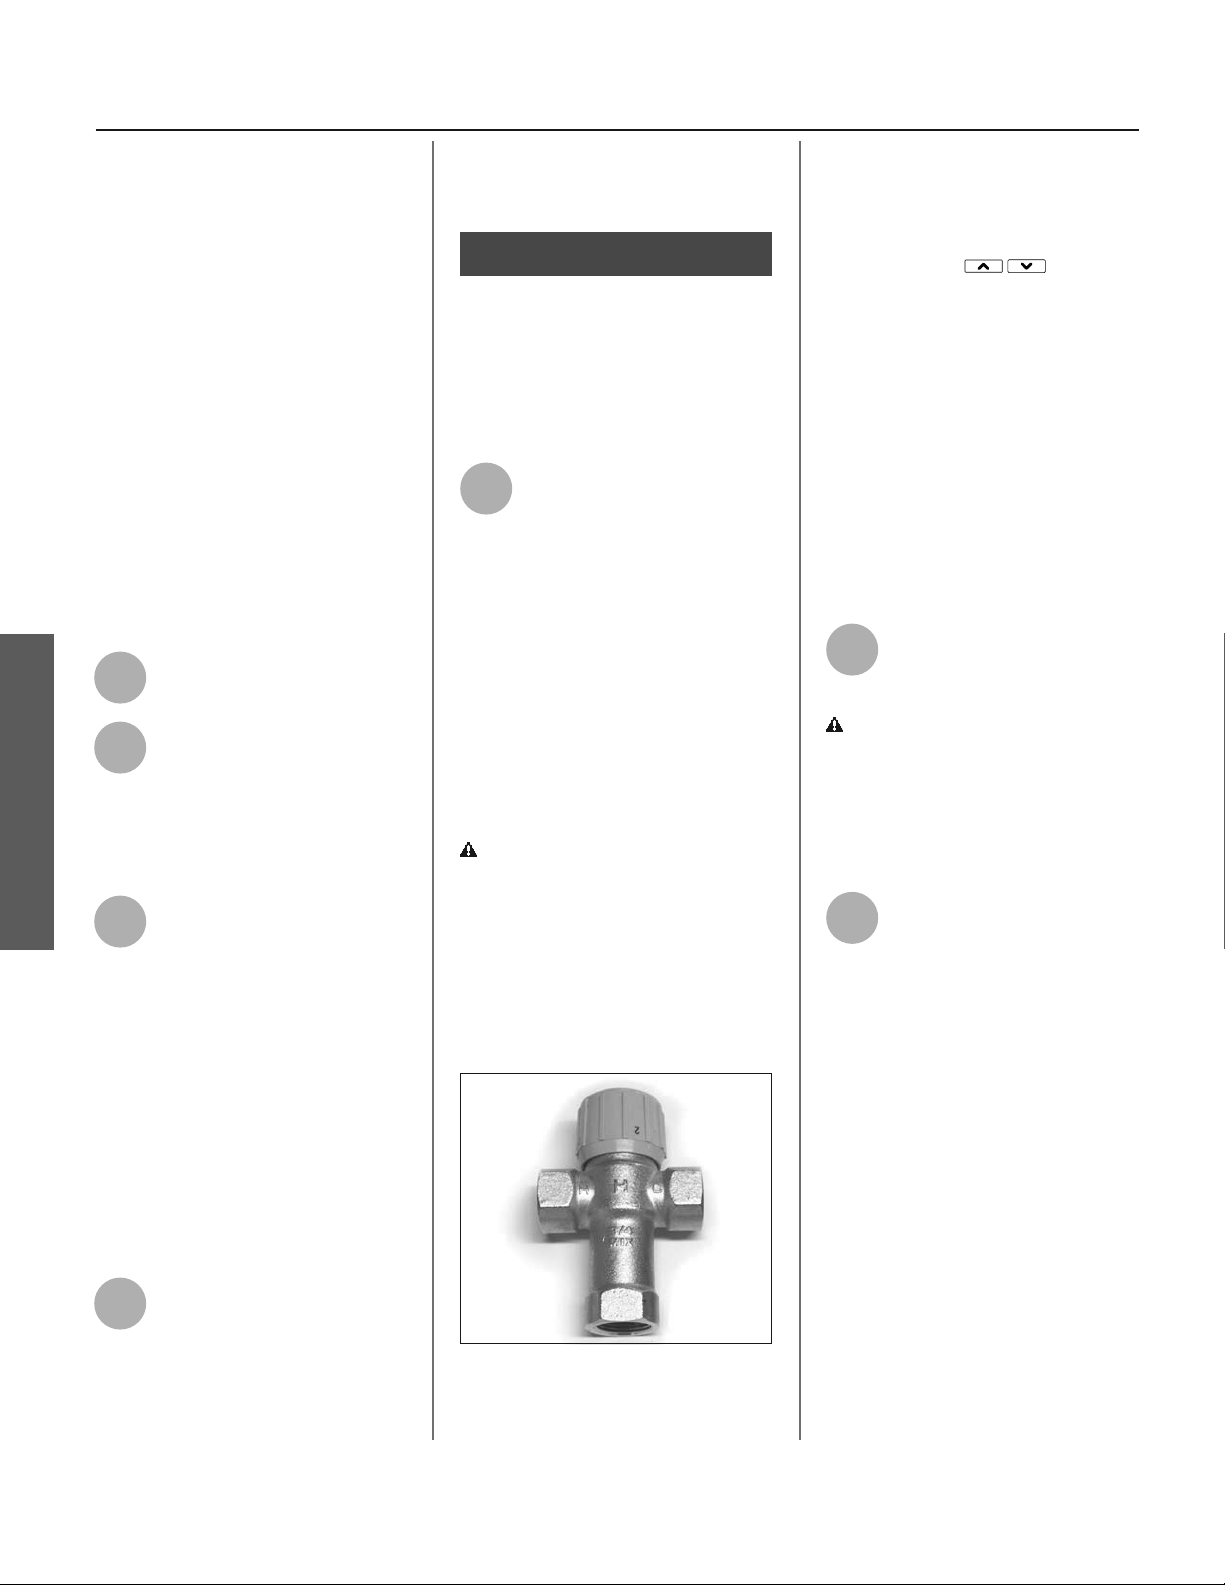
Figure 24 - Adjust Thermostat Mixing
Valves at each point-of-use 120°F or
lower.
To adjust the water heater’s tempera-
ture se ng:
• The water temperature setting can
be adjusted by using the Up and
Down buttons
on the
UIM (User Interface Module). Using
the up or down buttons, cycle
through the available temperature
set points until the desired temper-
ature is displayed. The temperature
setting will blink on the display;
press the Mode/Enter button to
confirm the selection (see figure 26
on page 19).
• The available temperature set
points can be cycled through quick-
ly by pressing and holding the Up
button.
2
Please allow adequate me
for the heater to provide hot
water.
WARNING! If you have increased
the temperature se ng and the
Thermosta c Mixing Valves are not
set properly (or not installed) you
could scald yourself while checking
the temperature.
3
Check water temperature at
several points of use in your
home (for example, bathtub
faucet, shower, or lavatory sink) and
adjust the Thermosta c Mixing Valves
as needed. If you aren’t sure how to
adjust the Thermosta c Mixing Valve
se ngs, or aren’t sure if you have
Thermosta c Mixing Valves, contact a
qualifi ed person.
INSTALLATION
Loading ...
Loading ...
Loading ...