Loading ...
Loading ...
Loading ...
INSTALLATION
14 • Residen al Hybrid Electric Heat Pump Water Heater Use and Care Guide
IF YOU HAVE COPPER PIPES:
If your home has copper water pipes,
you can solder the water pipe connec-
ons or use compression fi ngs which
don’t require soldering. Compression
fi ngs are easier to install than solder-
ing pipe. Check with local plumbing of-
fi cials to determine what types of pipe
materials are suitable for your loca on.
Do not use lead-based solder.
NOTICE: Do not solder pipes while they
are a ached to the water heater. The
water heater’s inlet and outlet connec-
ons contain non-metallic parts which
could be damaged. The proper way to
connect the water heater to copper
water pipes is as follows:
• Solder a short length of pipe (about
a foot or so) to a threaded adapter
using only 95/5 n-an mony or
equivalent solder. A ach the thread-
ed adapters to the water heater’s
connec ons (using Tefl on® tape or
pipe joint compound). Connect the
home’s water pipes by soldering,
keeping the connec ons at the water
heater cool with wet rags.
NOTE: Do not over apply joint com-
pound.
NOTICE: This water heater model con-
tains an outlet connec on (J-tube) that
has an orienta on mark that must line
up with arrow (in a 12 o’clock posi on).
3
Connect the hot water supply
using 3/4 inch NPT to the hot
water outlet. Follow the same
connec on guidelines as for the cold
water supply.
4
Install insula on (or heat tape)
on the water pipes especially
if the indoor installa on area
is subject to freezing temperatures.
Insula ng the hot water pipes can
increase energy effi ciency.
5
Double check to make sure
the hot and cold water pipes
are connected to the correct
hot and cold water fi ngs on the
water heater.
6
If needed, install (or adjust)
the home’s Pressure Reducing
Valve to 50-60 psi and install a
Thermal Expansion Tank.
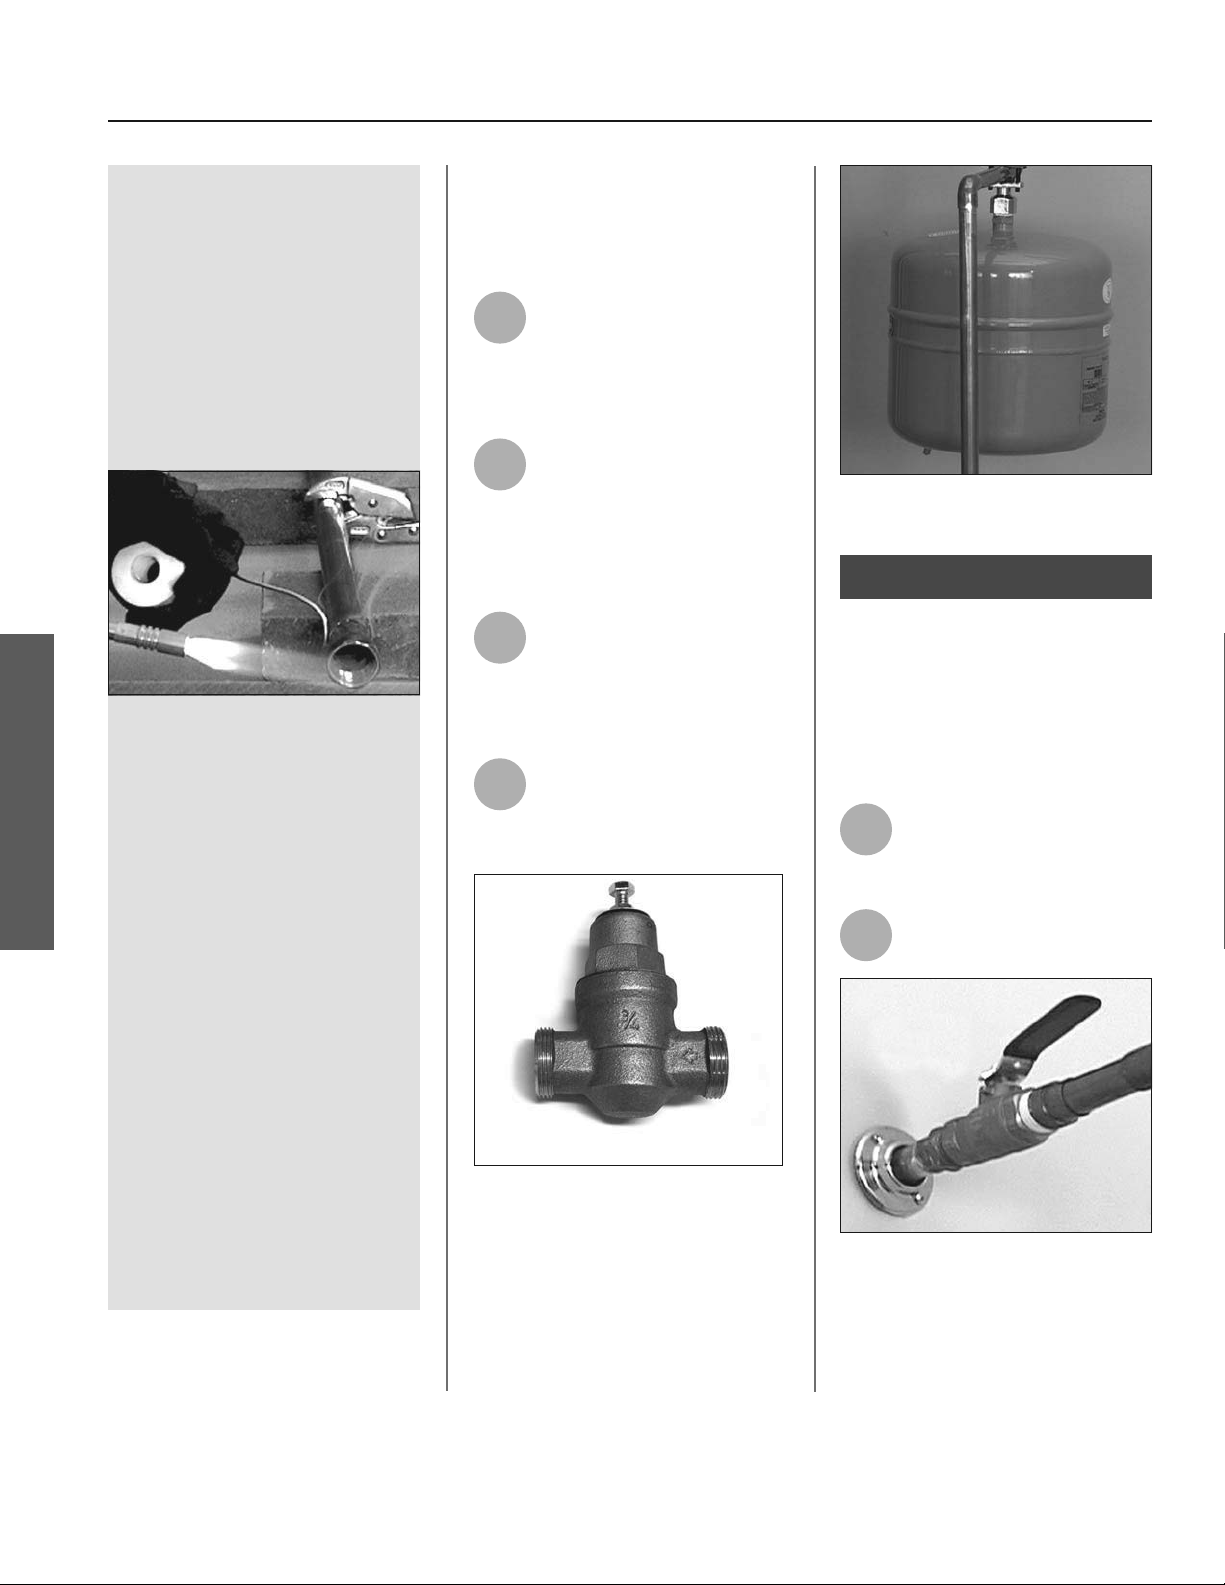
Figure 19 - A Pressure Reducing Valve is
required if your home’s water pressure is
above 80 psi.
Figure 20 - The Thermal Expansion Tank
should be pressurized with air, to match the
home’s incoming water pressure.
Step 10:
Verify connec ons and
completely fi ll tank
To remove air from the tank and allow
the tank to fi ll completely with water,
follow these steps:
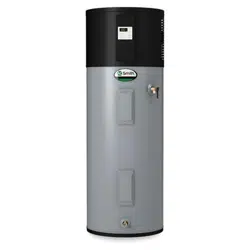
1
Remove the aerator at the
nearest hot water faucet. This
allows any debris in the tank
or plumbing system to be washed out.
2
Turn the cold water supply
back on.
Full-fl ow ball valve
Figure 21 - Fully open the cold water supply
valve.
INSTALLATION
Loading ...
Loading ...
Loading ...