Loading ...
Loading ...
Loading ...
care & maintenance 29
ICE & WATER DISPENSER
HOW THE WATER DISPENSER WORKS
The water dispenser water tank is located behind the
upper crisper bin in the refrigerator compartment.
After the refrigerator is connected to water fill the water tank
by holding a large container against the dispenser paddle
to run the water and clear air from lines. This may take a
few minutes. Purge and dispense a minimum of 2 litres of
water. Initial water may be black in colour. This is residual
carbon dust from the filter and is non toxic. If the water is
slow to shut off or the dispenser is dripping air may still be
in the lines. Either purge more water through the system to
remove the air or allow some time for the air to be removed
over subsequent dispensing. The tank will automatically refill
as you dispense water.
CAUTION
Remember,donotdrinkthispurgedwaterasitmay
contain impurities!
TIPS & INFORMATION
The water connection to your ice and water product
should only be done by a licensed refrigeration mechanic,
plumber or electrician.
Normal Operation — For cool water, add ice.
To provide the convenience of filtered water in the same
location as the ice dispenser, it is necessary to route the
tubes from the refrigerator compartment. This means the first
half glass of water will not be quite as cold as the following
3 or 4 glasses. If you require cool water from the first glass,
we recommend that you first add crushed or cubed ice to
your glass then the water. In times of high use, water may
be dispensed before it has time to cool. Once this occurs,
the dispensed water temperature will be similar to that of
your normal tap water until the tank has had a chance to
re-cool. The addition of cubed or crushed ice will allow
you to still enjoy cool water should this occur.
CAUTION
Chemicals from a malfunctioning softener can damage
the ice maker. If the ice maker is connected to soft water,
ensure that the softener is maintained and working properly.
HOW THE ICE DISPENSER WORKS
The ice maker is located in the top section of the freezer
compartment. After installation, switch the ice maker on at
the controls on the door to begin making ice. A full tray of
ice may not be created for the first few batches, due to air
intherefrigerator’snewplumbinglines.Thefirstbatches
of ice cubes may be discoloured or have an odd flavour,
duetotherefrigerator’snewplumbingconnections.Discard
this ice until batches are free of discolouration or taste
problems. The ice maker turns off automatically when the
ice container is full. To stop ice production, turn the ice
maker off at the electronic display on the door.
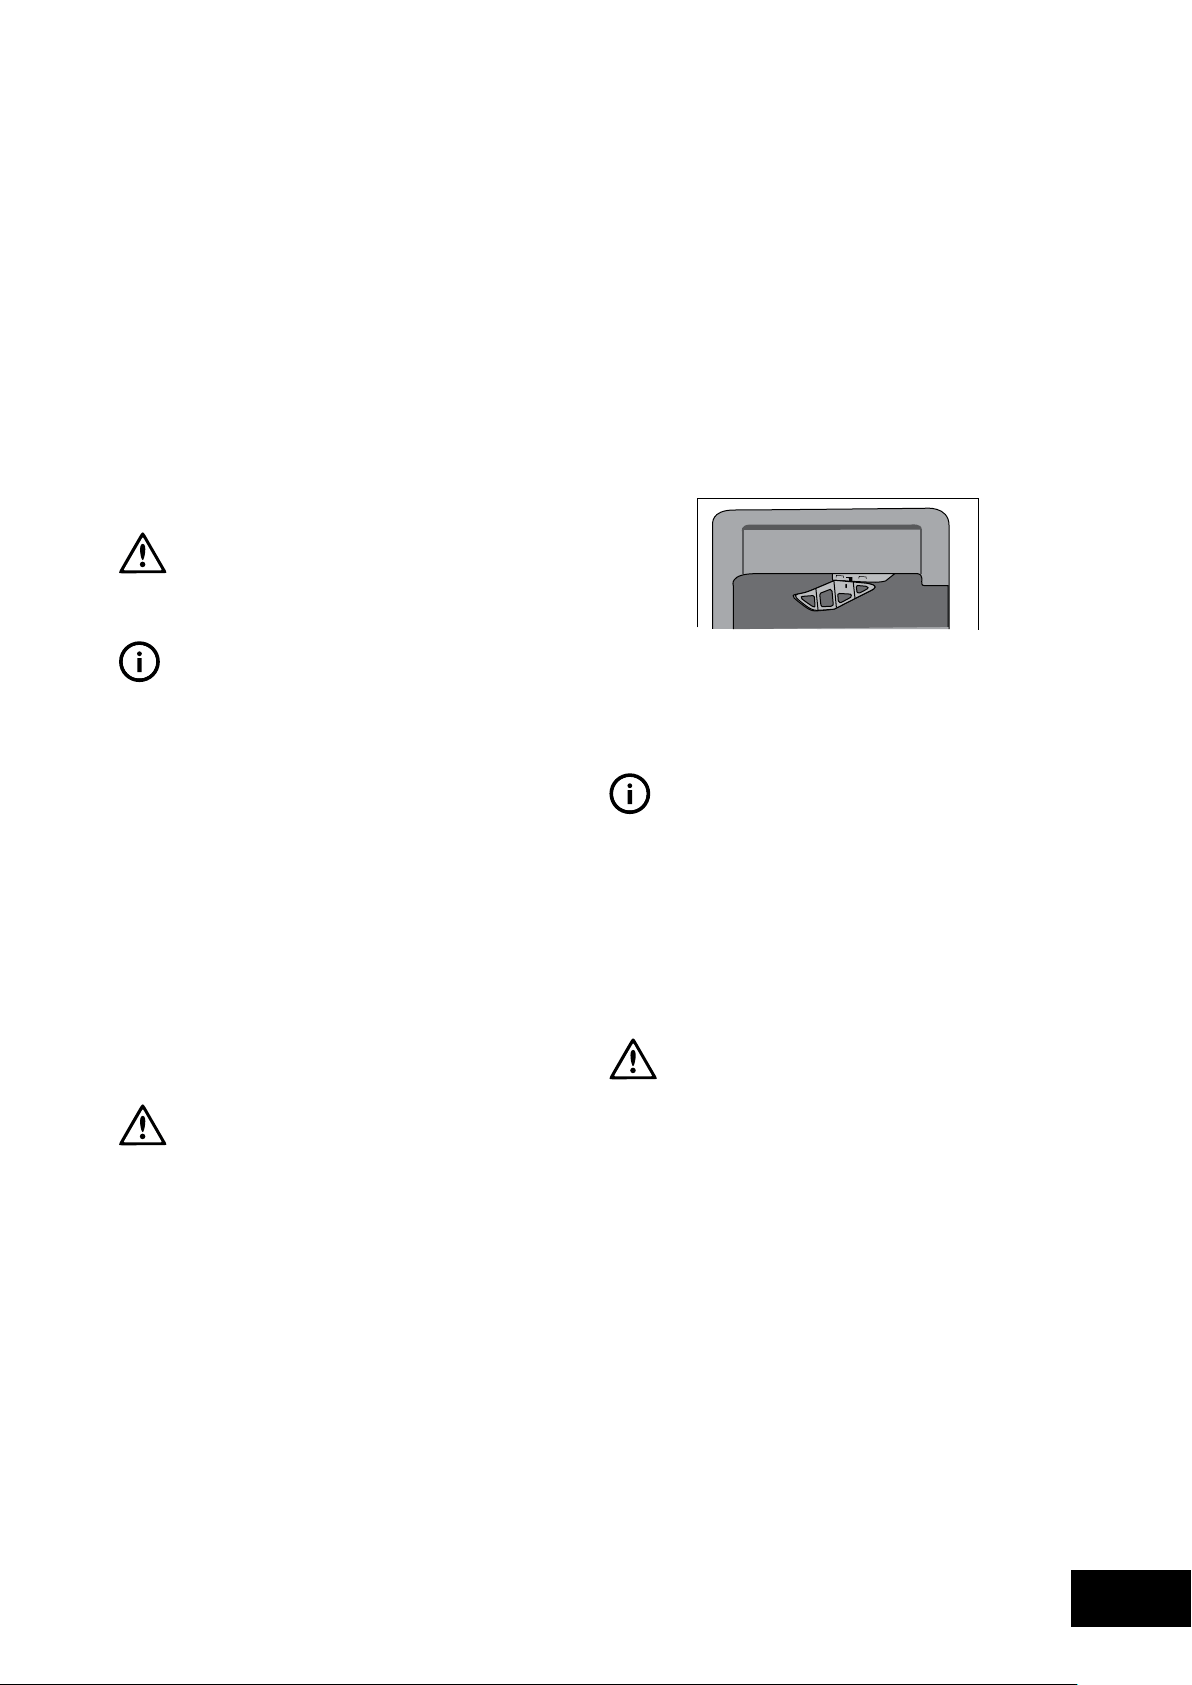
NOTE: During the normal operation of the icemaker, the ice
detecting arm is lowered to detect the level of ice in the bin
(see diagram above). At times, this may be visible when the
door is open.
TIPS & INFORMATION
• Icecubesstoredtoolongmaydevelopanoddflavour.
Removetheicecontaineranddiscardtheicecubes.
• Occasionallyshaketheicecontainertokeep
ice separated.
• Afteryoutakedeliveryoftherefrigerator,keeptheice
maker switched off at the controls on the door until the
refrigerator is connected to the water supply. The switch
should also be kept in the OFF position whenever the
water supply is turned off.
CAUTION
If the dispensing paddle is pushed for an extended period
the dispenser motor may overload and stop. The overload
protector will reset automatically after it has cooled down
sufficiently.
• Ifalargequantityoficeisneededatonetime,itisbest
to remove cubes directly from the ice cube container
• Whentheicemakerisoperating,itisnormaltohear
the sound of:
– The motor running.
– Ice dropping into the ice container.
– The water valve opening or closing.
– Ice loosening in the tray.
–Runningwater.
Loading ...
Loading ...
Loading ...