Loading ...
Loading ...
Loading ...
GETTING TO KNOW YOUR VEHICLE 89
Step Eleven
12. Lower the rear window, and close the swing gate.
13. Remove the hard top from the vehicle. Place the hard
top on a soft surface to prevent damage.
INSTALLING THE HARD TOP
If the door frames are installed from soft top usage, they
must be removed prior to installation of the hard top. For
removal procedures, see
Ú page 95.
To install the hard top, place the hard top on the vehicle
while making sure that the top is sitting flush with the body
at the sides and check to ensure that there is a uniform
gap between the lift glass and hard top. Then follow the
removal steps in reverse order.
NOTE:
Inspect the hard top seals for damage and replace if
necessary.
The Torx fasteners that attach the hard top to the body
should be torqued as follows using the provided
#50 Torx head driver and ratchet:
Hard top to B-pillar: 119 in-lb +/- 23 in-lb
(13.5 N·m +/- 2.7 N·m)
Hard top to J-rail: 154 in-lb +/- 30 in-lb
(17.5 N·m +/- 3.5 N·m)
SUNRIDER® FOR HARD TOP
The Sunrider® soft top can be used in place of the Hard
Top Freedom Panels for quick and easy opening of the
area above the driver and front passenger seats.
Sunrider® For Hard Top
To install the Sunrider® soft top, proceed as follows:
1. Remove both front Hard Top Freedom panels
Ú
page 83.
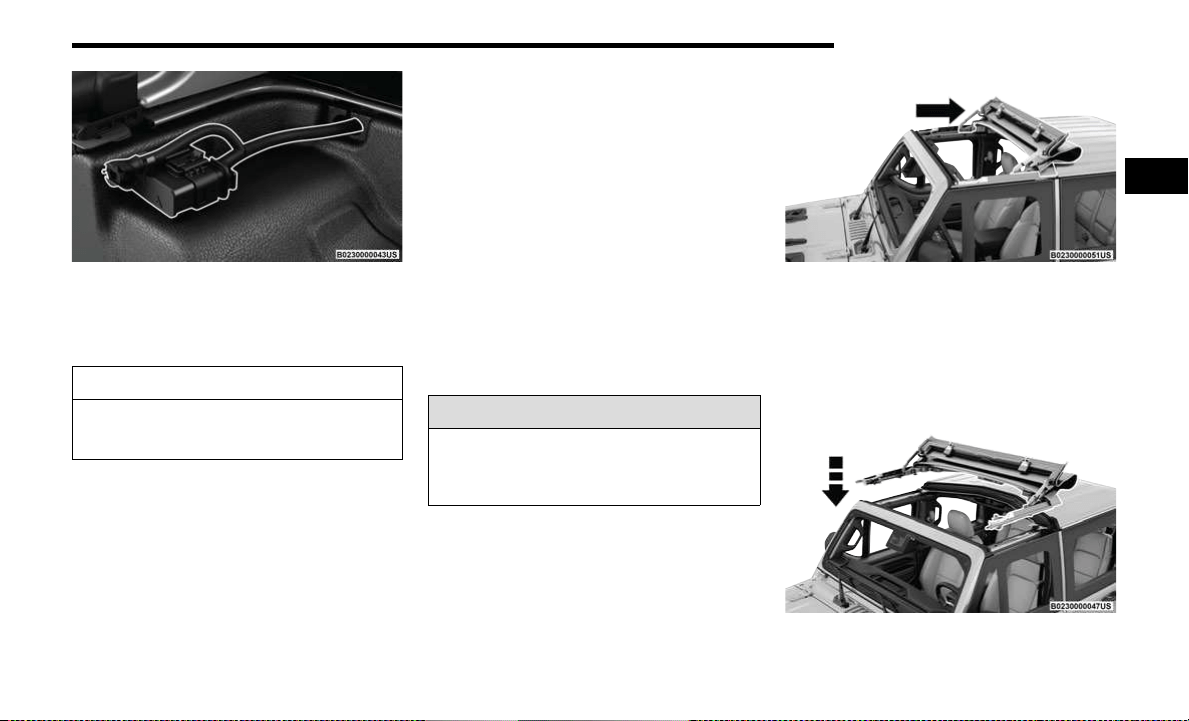
2. With the help of a second person, set the Sunrider®
top onto the top of the vehicle making sure to align
the holes at the front and rear of the side rails.
Lower Sunrider® Onto The Vehicle
CAUTION!
The removal of the rear Hard Top requires four adults,
one located on each corner. Failure to follow this
caution could damage the Hard Top.
WARNING!
Do not open or close the Sunrider® top while driving.
Operating the top while driving could cause the driver to
lose control of the vehicle. Failure to follow this warning
may result in serious injury or death.
2
23_JL_OM_EN_USC_t.book Page 89
Loading ...
Loading ...
Loading ...