Loading ...
Loading ...
Loading ...
6. Wire brush entire outer surface of burner to
remove food residue and dirt.
7. Clean any blocked ports with a sti wire such as
an open paper clip.
8. Check burner for damage, due to normal wear
and corrosion some holes may become enlarged.
If any large cracks or holes are found, replace
burner assembly.
9. Carefully re-install burner assembly.
VERY IMPORTANT: Burner tubes must reengage
valve openings. See Fig. D.
10. Secure burner assembly using the previously
removed screws from the back board of the
rebox (See Fig. C). Then t the previously
removed screws from the ignition bracket on the
underside of the rebox (See Fig. B). Finally, t
the previously removed screws from the ignition
plates connecting the burners (See Fig. A).
11. Replace vaporiser bars, cooking grills and
searing grill.
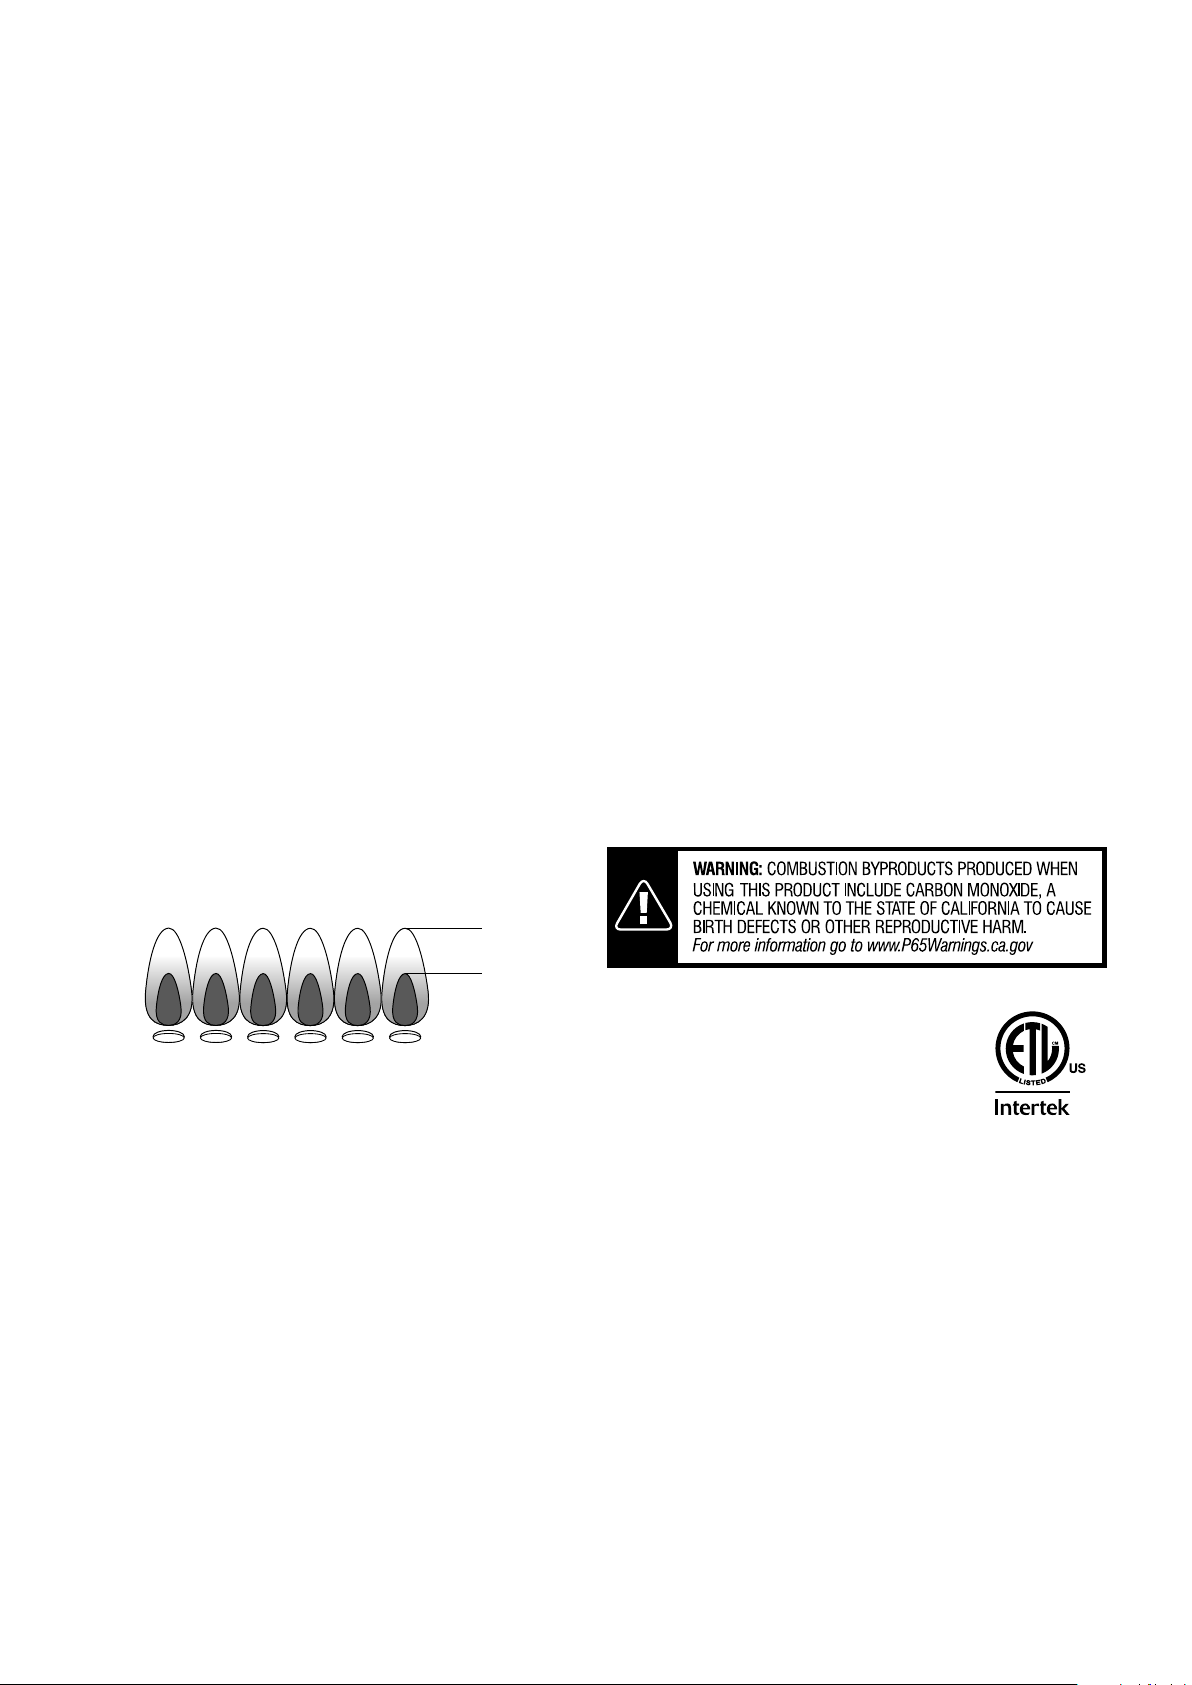
Burner Flame Check
• Remove cooking grill and vaporising bar. Light
burner, rotate knobs from HI to LO. You should
see a smaller ame in LO position than seen on
HI. Always check ame prior to each use.
Grease Tray
• IMPORTANT – Check and clean the grease tray
regularly before every use and replace if
necessary. Do not allow the fat residue to build
up in the tray.
• NEVER use without grease tray in position.
Fixings
• All screws and bolts, etc. should be checked and
tightened on a regular basis.
Storage
• Store your grill in a cool dry place.
• Cover the burner with aluminum foil in order to
prevent insects or other debris from collecting in
burner holes.
HIGH
LOW
• If the grill is to be stored indoors, the gas
bottle must be disconnected and left outside. The
gas bottle should always be stored outside, in a
dry, well-ventilated area, away from any sources
of heat or ignition.
• Disconnect the cylinder when the barbecue is not
in use.
• Do not let children tamper with the bottle.
• Cylinders must be stored outdoors out of reach of
children and must not be stored in a building,
garage or any other enclosed area.
DO NOT leave your grill uncovered when not in
use. Store your appliance in a shed or garage
when not in use to protect against the eects of
extreme weather conditions, particularly if you live
near coastal areas. Prolonged exposure to sunlight,
standing water, sea-air/saltwater can all cause
damage to your appliance. (A cover may not be
sucient to protect your appliance in some of these
situations)
• Accessible parts may be very hot. Keep young
children away.
• Always wear protective gloves when handling hot
components or items such as pots.
5010527
28
• To be performed in a well ventilated area.
• Conrm all control knobs are in the o position.
• Open the gas control valve on the bottle.
• Check for leaks by brushing a solution of 50% water and 50% dish soap over the gas system joints,
• to test for leaks at any time.
• If bubbles form over any of the joints, there is a leak.
• Turn o gas supply and retighten all joints.
• Repeat test. If bubbles form again, do not use the patio heater. Please contact the helpline stated in
• Leak test annually and whenever the gas bottle is removed or replaced.
• The gas hose must be connected in accordance with these instructions. When installed correctly all
part of hose should be outside of the Patio heater body where it could be a trip hazard or could be
• See instructions supplied with regulator for correct use and attachment.
• Gas bottles should never be stored on their side.
• Never store gas bottles indoors.
• This appliance is supplied with a propane regulator which must only be used for propane gas.
NEVER use an adjustable regulator with this appliance.
• Please consult your gas dealer for the most suitable gas bottles for your regulator.
• This appliance is for OUTDOOR USE ONLY and should be placed in a well ventilated area.
• A well ventilated area must have a minimum of 30% of its surface area open.
(Surface area is dened as the total surface of the walls surface.)
• The sides of the appliance should NEVER be closer than 40 inches (1m) from any combustible surface.
• Keep this appliance away from any ammable materials!
• Important - Make sure the gas bottle is placed level within the base.
• Should you need to change the gas bottle, conrm the gas supply is turned o at the regulator or
bottle / cylinder valve, and there are no sources of ignition (cigarettes, open ame, sparks, etc.) near
• Inspect the gas hose to ensure it is free from any twisting or tension. The hose should hang freely with
no bends, folds, or kinks that could obstruct free ow of gas. Always inspect the hose for cuts, cracks,
or excessive wear before use. If the hose is damaged, it must be replaced with hose suitable for use
• Conrm all control knobs are in the o position.
• Connect the regulator to the gas bottle according to your regulator and bottle dealers instructions.
WARNING:
FUELS USED IN LIQUEFIED PROPANE GAS
APPLIANCES, AND THE PRODUCTS OF COMBUSTION OF SUCH
FUELS, CAN EXPOSE YOU TO CHEMICALS INCLUDING BENZENE,
WHICH IS KNOWN TO THE STATE OF CALIFORNIA TO CAUSE
CANCER AND CAUSE BIRTH DEFECTS OR OTHER REPRODUCTIVE
HARM.
For more information go to: www.P65Warnings.ca.gov.
Loading ...
Loading ...
Loading ...