Loading ...
Loading ...
Loading ...
Special features of your oven control
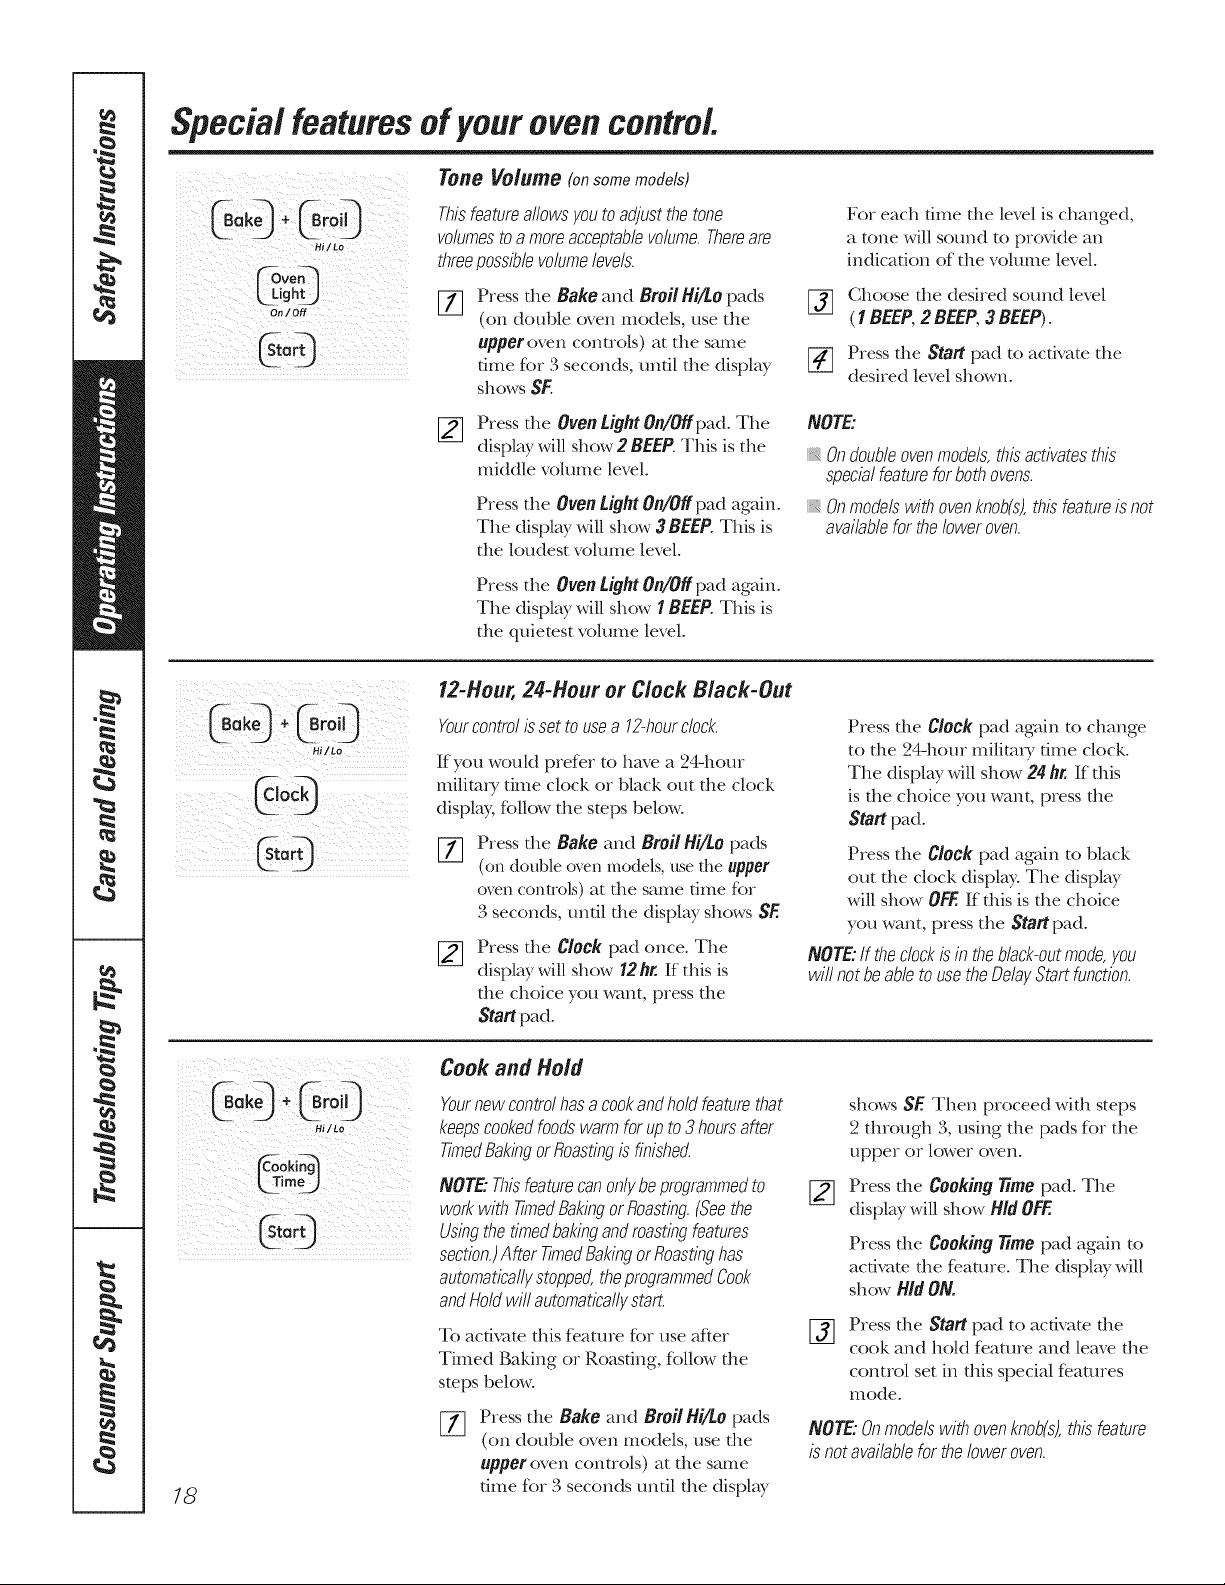
Bake_ * _mil_
Hi/Lo
L g_
On/Off
TONe Volume (on some models)
Thisfeatureallowsyouto adjustthetone
volumesto a moreacceptablevolume.Thereare
threepossiblevolumelevels.
_] Pressthe Bake and BroilHi/Lo pads
(on double oven models, use the
upperoven controls) at the same
time for 3 seconds, until the displ W
shows SE
For each dine the level is changed,
a tone will sound to provide an
indication of the volume level.
[_] Choose the desired sound level
(1BEEP,2 BEEP,3BEEP).
[-_ Press tile Start pad to activate the
desired level shown.
[]
Press the Oven LightOn/Offpad. The
display will show 2 BEEP.This is the
middle volume level.
Press the Oven Light On/Off pad again.
The display will show 3 BEEP.This is
the loudest volume level.
NOTE:
Ondoubleovenmodels,thisactivatesthis
specialfeatureforbothovens.
Onmodelswithovenknob(s),thisfeatureisnot
availablefortheloweroven.
Press the OvenLight On/Offpad again.
The display will show 1 BEEP.This is
the quietest volume level.
ili_i_i iii_ i _i _ _ i _i_i_
H /Lo
12-Hour, 24-Hour or Clock Black-Out
Yourcontrolis set to usea 12-hourclock.
If you would prefer to have a 24-hour
milim_T time clock or black out the clock
display, follow the steps below.
%
Press the Bake and Broil Hi/Lopads
(on double oven models, use the upper
oven controls) at the same dine for
3 seconds, until the display shows SF.
Press tlle Clock pad once. The
display will show 12 hr. If this is
tile choice you want, press tile
Start pad.
Press die Clock pad again to change
to die 24-hour milim, T dine clock.
The display will show 24 hr. If this
is the choice you want, press the
Start pad.
Press the Clock pad again to black
out die clock display. The display
will show OFF.If dfls is the choice
you want, press the Startpad.
NOTE:If theclockis in theblack-outmode,you
will notbe ableto usetheDelayStartfunction.
18
Cook and Hold
Yournewcontrolhasa cookandholdfeaturethat
keepscookedfoodswarmfor upto 3 hoursafter
TimedBakingorRoastingis finished.
NOTE"Thisfeaturecanonlybeprogrammedto
workwith timedBakingorRoasting.(Seethe
Usingthe timedbakingandroastingfeatures
section.)A fter TimedBakingorRoastinghas
automaticallystopped,theprogrammedCook
andHoldwill automaticallystart.
To activate tiffs feature for use after
Timed Baking or Roasting, follow the
steps below.
%
Press the Bake and BroilHi/Lopads
(on double oven models, use the
upperoven controls) at the same
time for 3 seconds until the display
shows SE Then proceed wkb steps
2 through 3, using the pads for the
upper or lower oven.
[_ Press tile Cooking time pad. The
display will show HidOFF.
Press tile Cooking time pad again to
acfixate the feature. The display will
show Hid ON.
%
Press tile Start pad to activate tlle
cook and hold feature and leave the
control set in this special fe.amres
mode.
NOTE:Onmodelswithovenknob(s),this feature
is notavailablefor theloweroven.
Loading ...
Loading ...
Loading ...