Loading ...
Loading ...
Loading ...
5. 4K Photo and Drive Settings
140
A stop motion picture is created by splicing pictures together.
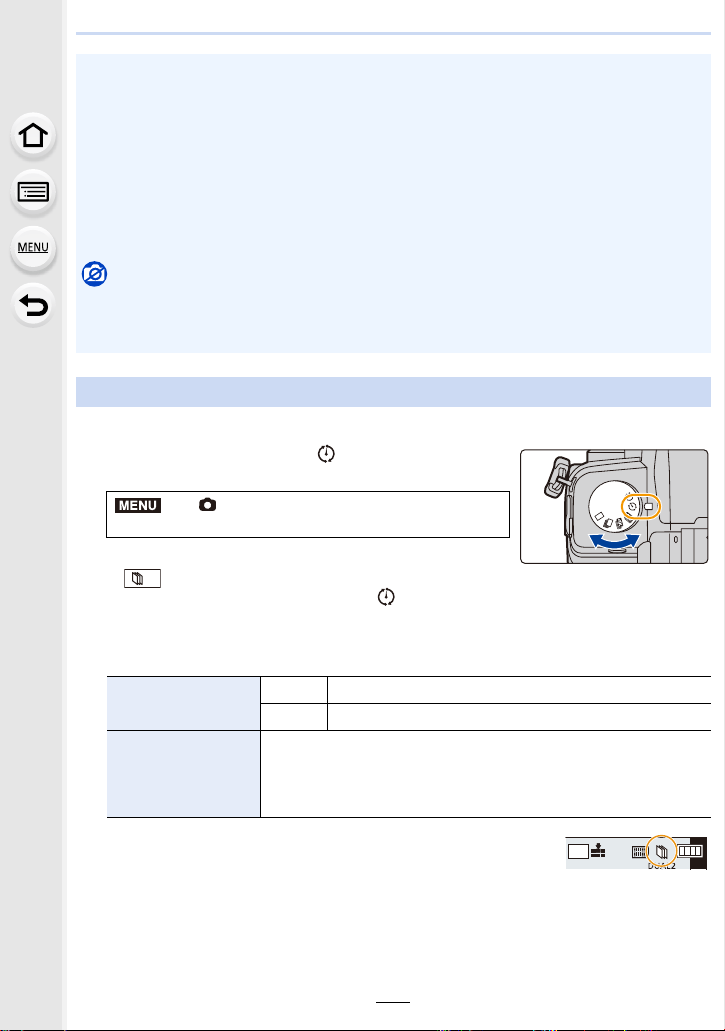
1 Set the drive mode dial to [ ].
2 Select the menu.
• You can also perform the same operation by touching
[].
• After switching the drive mode dial to [ ], pressing [MENU/SET] will display the menu
with [Time Lapse/Animation] selected. (It displays in this state only once after switching
the drive mode dial.)
3 Press 3/4 to select an item and set.
4 Press the shutter button halfway.
• The recording screen will be displayed.
• This function is not for use in a security camera.
• [Time Lapse Shot] is paused in the following cases.
– When the charge on the battery runs out
– Turning the camera off
During [Time Lapse Shot], you can replace the battery and the card, and then restart by
turning on this unit. (Note that the pictures taken after replacing the card will be saved as a
separate set of group pictures.)
Set the camera on/off switch to [OFF] when replacing the battery or card.
• When [Shooting Interval] is set to a longer value, if the camera turns off automatically while
waiting for the next recording, we recommend that you use Time Lapse Shot in AF Mode.
Not available in these cases:
• This function is not available in the following cases:
– [Handheld Night Shot]/[Panorama Shot] (Scene Guide Mode)
– When using [Multi Exp.]
Recording with Stop Motion Animation
> [Rec] > [Time Lapse/Animation] >
[Mode] > [Stop Motion Animation]
[Auto Shooting]
[ON] Takes pictures automatically at a set recording interval.
[OFF] This is for taking pictures manually, frame by frame.
[Shooting Interval]
(Only when [Auto Shooting] is set to [ON])
2/1: Select the item (second)
3/4: Setting
[MENU/SET]: Set
MENU
AFS
AFS
L
4:3
Loading ...
Loading ...
Loading ...