Loading ...
Loading ...
Loading ...
Step 9: Placing and Leveling the Range
For proper performance, the range must be level. This is 4.
especially important for all products that have the griddle
feature. Priority should be placed on ensuring that the oven
cavities are also level for optimum cooking performance. 5.
, CAUTION:
The top edges of the range's side panels must be on the
same or higher level as the adjacent countertop. If the
range is operated while at a lower height relative to the
adjacent cabinet, the cabinet could be exposed to
excessive temperatures, causing damage to the cabinet
and countertop (see Figure 24 on page 23).
// "\
i 1 i 1
\ / /=
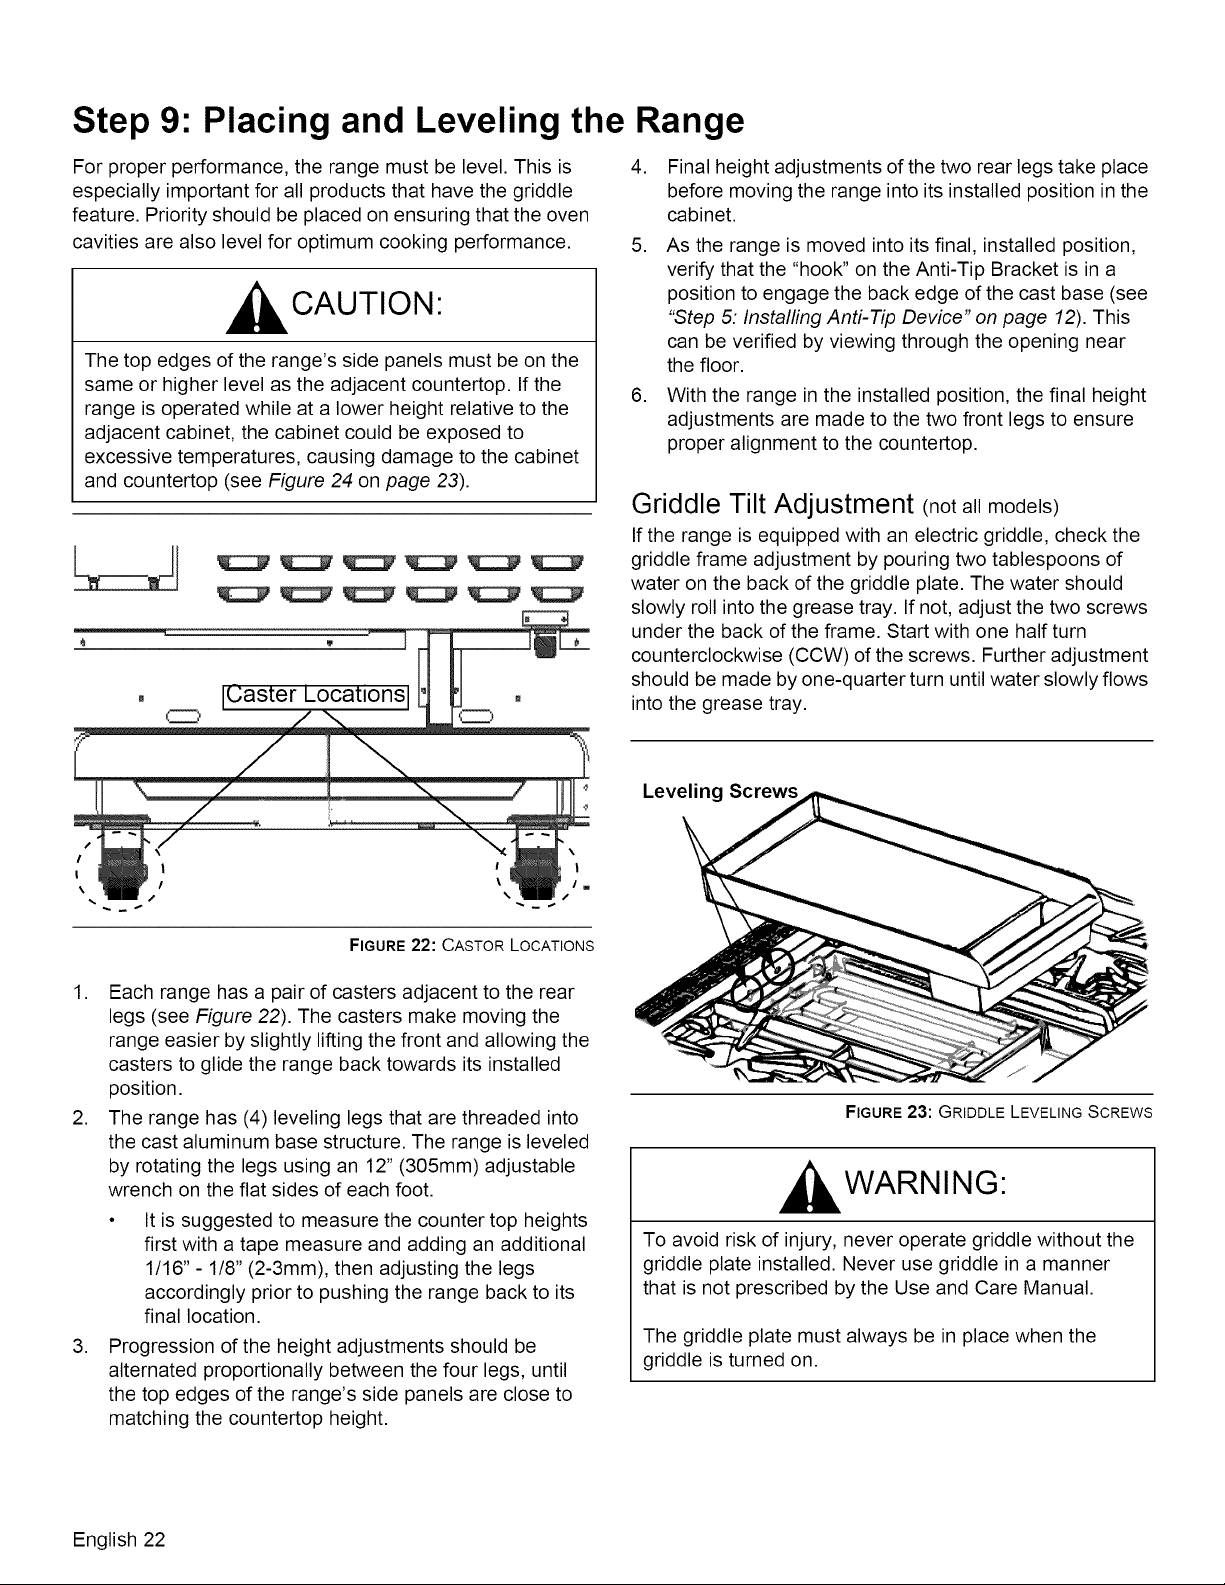
FIGURE22: CASTOR LOCATIONS
1. Each range has a pair of casters adjacent to the rear
legs (see Figure 22). The casters make moving the
range easier by slightly lifting the front and allowing the
casters to glide the range back towards its installed
position.
2. The range has (4) leveling legs that are threaded into
the cast aluminum base structure. The range is leveled
by rotating the legs using an 12" (305mm) adjustable
wrench on the flat sides of each foot.
,
It is suggested to measure the counter top heights
first with a tape measure and adding an additional
1/16" - 1/8" (2-3mm), then adjusting the legs
accordingly prior to pushing the range back to its
final location.
Progression of the height adjustments should be
alternated proportionally between the four legs, until
the top edges of the range's side panels are close to
matching the countertop height.
,
Final height adjustments of the two rear legs take place
before moving the range into its installed position in the
cabinet.
As the range is moved into its final, installed position,
verify that the "hook" on the Anti-Tip Bracket is in a
position to engage the back edge of the cast base (see
"Step 5: Installing Anti-Tip Device" on page 12). This
can be verified by viewing through the opening near
the floor.
With the range in the installed position, the final height
adjustments are made to the two front legs to ensure
proper alignment to the countertop.
Griddle Tilt Adjustment (not all models)
If the range is equipped with an electric griddle, check the
griddle frame adjustment by pouring two tablespoons of
water on the back of the griddle plate. The water should
slowly roll into the grease tray. If not, adjust the two screws
under the back of the frame. Start with one half turn
counterclockwise (CCW) of the screws. Further adjustment
should be made by one-quarter turn until water slowly flows
into the grease tray.
Leveling
FIGURE23: GRIDDLE LEVELING SCREWS
WARNING:
To avoid risk of injury, never operate griddle without the
griddle plate installed. Never use griddle in a manner
that is not prescribed by the Use and Care Manual.
The griddle plate must always be in place when the
griddle is turned on.
English 22
Loading ...
Loading ...
Loading ...