Loading ...
Loading ...
Loading ...
Reformer Owner’s Manual
24
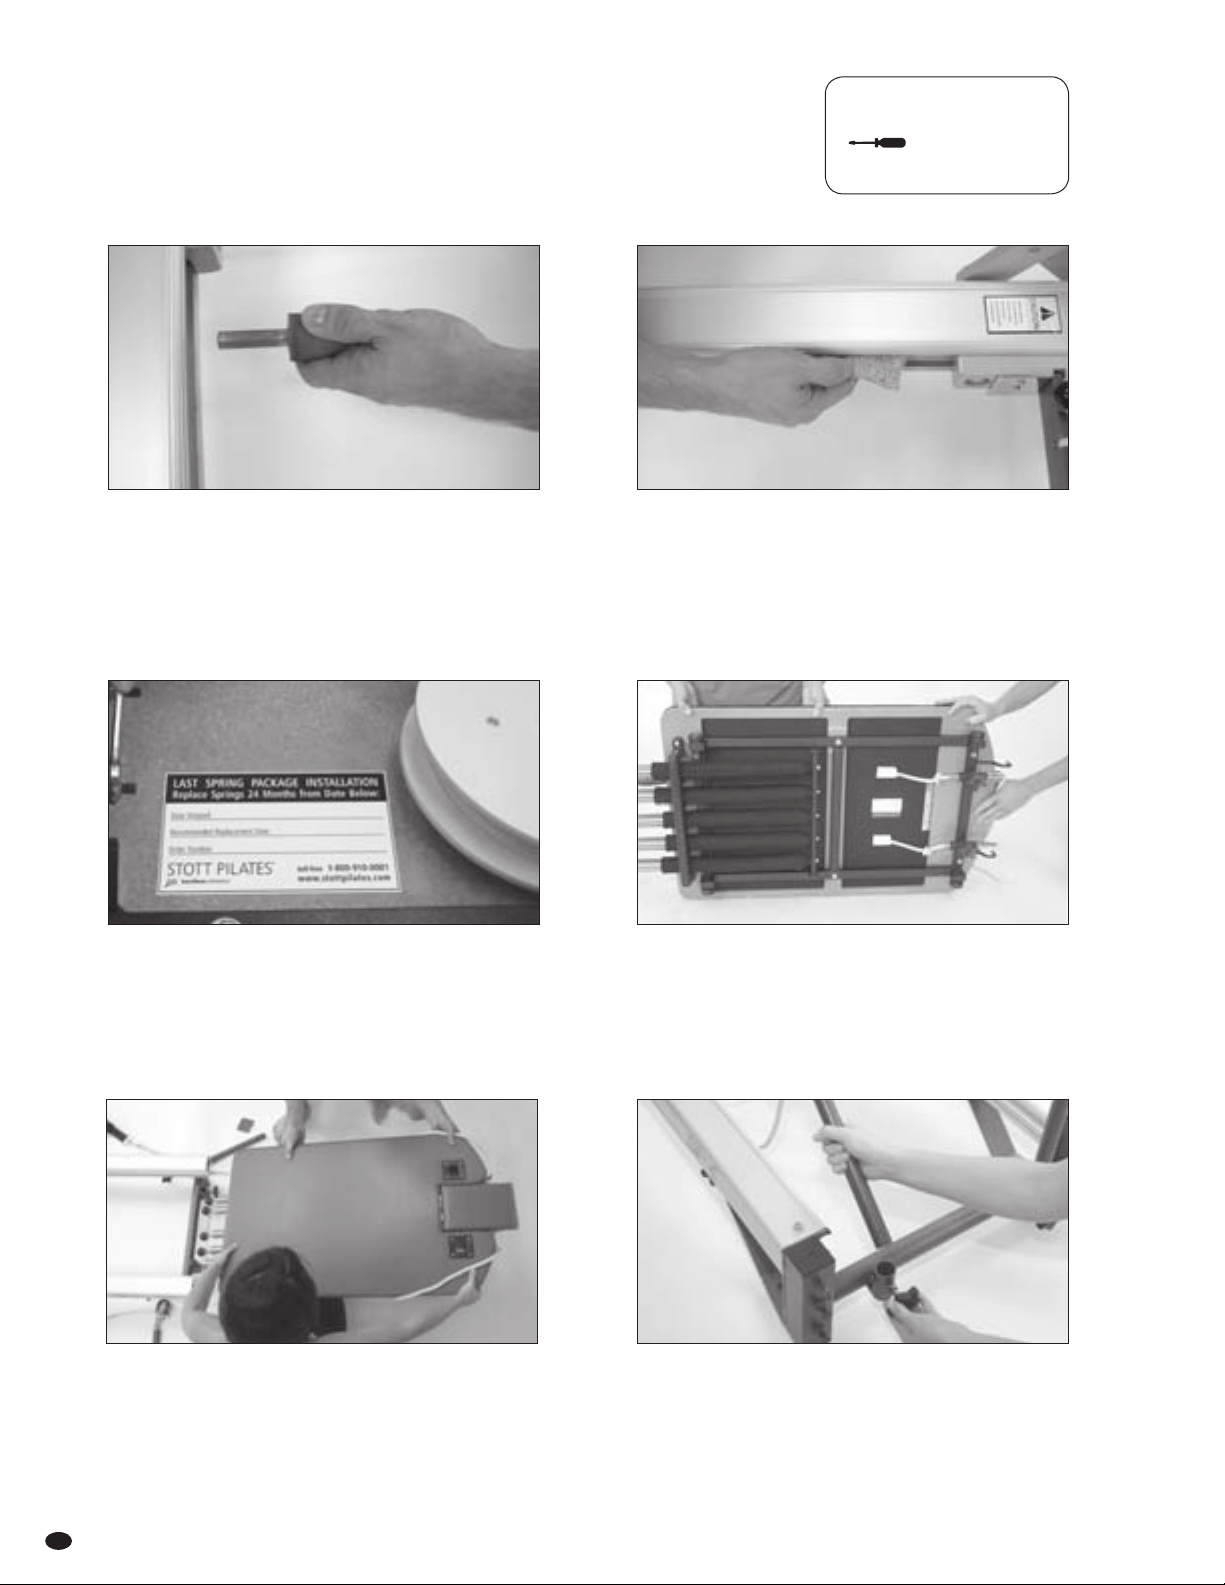
Replacing Carriage
1 Remove carriage stopper.
3 Write date of installation on the sticker provided with
spring replacement package. Affix sticker on the underside
of Reformer carriage.
Springs should be replaced every 24 months, or as needed
within that period.
5 Align fixed rollers with c-channels, then adjust floating
rollers as necessary before guiding carriage into rails.
CAUTION: Westrongly advise that two people perform
this operation to prevent damaging rollers.
2 Wipe inside of aluminum rails (c-channels) with a damp
cloth to remove dust or dirt. Spray onto cloth first.
Avoid spraying liquid directly onto surfaces,
rollers or rails.
Insert carriage stopper in one of six positions.
4 Ensure pulleybars are still on either side of aluminum rails.
Carefully turn carriage over. Ensure rollers are secure
and do not come in contact with the floor
NOTE: Requires two people.
REQUIRED TOOLS:
one flat-head screwdriver
6 ALL MODELS: Insert pulleybars into receptacles at back of
Reformer and tighten star knobs. Ensure eyehooks on top
of pulleybars are parallel to rails.
PROFESSIONAL & REHAB MODELS: Align top of pulleys
with top of shoulder rests.
Loading ...
Loading ...
Loading ...