Loading ...
Loading ...
Loading ...
INSTALLATION
70 71
This appliance must be installed by an authorised person in accordance with this instruction manual, AS/NZS 5601
– Gas installations (installation and pipe sizing), local gas tting regulations, local electrical regulations, local water
regulations, local health regulations, Building Code of Australia and any other government authority.
This appliance is suitable for connection with rigid pipe or exible hose. The isolating manual shut-off valve connection
point must be accessible when the appliance is installed. Flexible hose assembly must be certied to AS/NZS 1869
class B or D, be of appropriate internal diameter for the total gas consumption, be kept as short as possible (not ex-
ceeding 1200mm), must not be in contact with the oor or any hot or sharp surfaces. The hose assembly must not be
subject to strain, abrasion, kinking or deformation.
Natural Gas: the supplied regulator must be tted to the appliance inlet connection. Gas pressure must be adjusted to
1.0 kPa when approximately 50% of the burners are on high ame, the appliance test point is located on the regulator.
ULPG: the supplied test point adaptor must be tted to the appliance inlet connection. Gas pressure must be adjusted
to 2.75 kPa, the appliance test point is located on the test point adaptor.
Gas leakage and operation of the appliance must be tested by the installer before leaving. Check burner ames are
blue in colour, stable and completely ignite at both high and low ame settings with no appreciable yellow tipping,
carbon deposition, lifting, oating, lighting back or objectionable odour. Test burners individually and in combination,
When satised with the operation of the cooker, please instruct the user on the correct method of operation.
Where the data plate is obscured by cabinetry when the cooker is in the installed position, place the supplied duplicate
data plate to a suitable
adjacent surface or within the instruction manual for future reference.
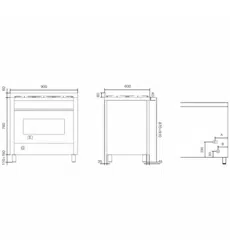
Removing Legs and placing oven on a plinth
If the legs are removed and the oven is placed on a plinth, then suitable ventilation from the plinth area
is required. It is recommended that an air vent 20 mm wide and a length of 100mm less than the width of
the oven it is be located at the rear in the base of the plinth. If the area under the plinth is sealed it is also
recommended that an additional vent be included at the top of kick panel under the plinth to provide
adequate circulation. The vent size should be 10mm high and 100mm less than the width of the oven.
INSTALLATION
- Installation of the cooker
Any maintenance operation, etc. It must be carried out by an authorized technician
after disconnecting the appliance from the mains and closing the gas supply.
ATTENTION
ATTENTION
Measures to be
respected
Directives/regulations
Room ventilation
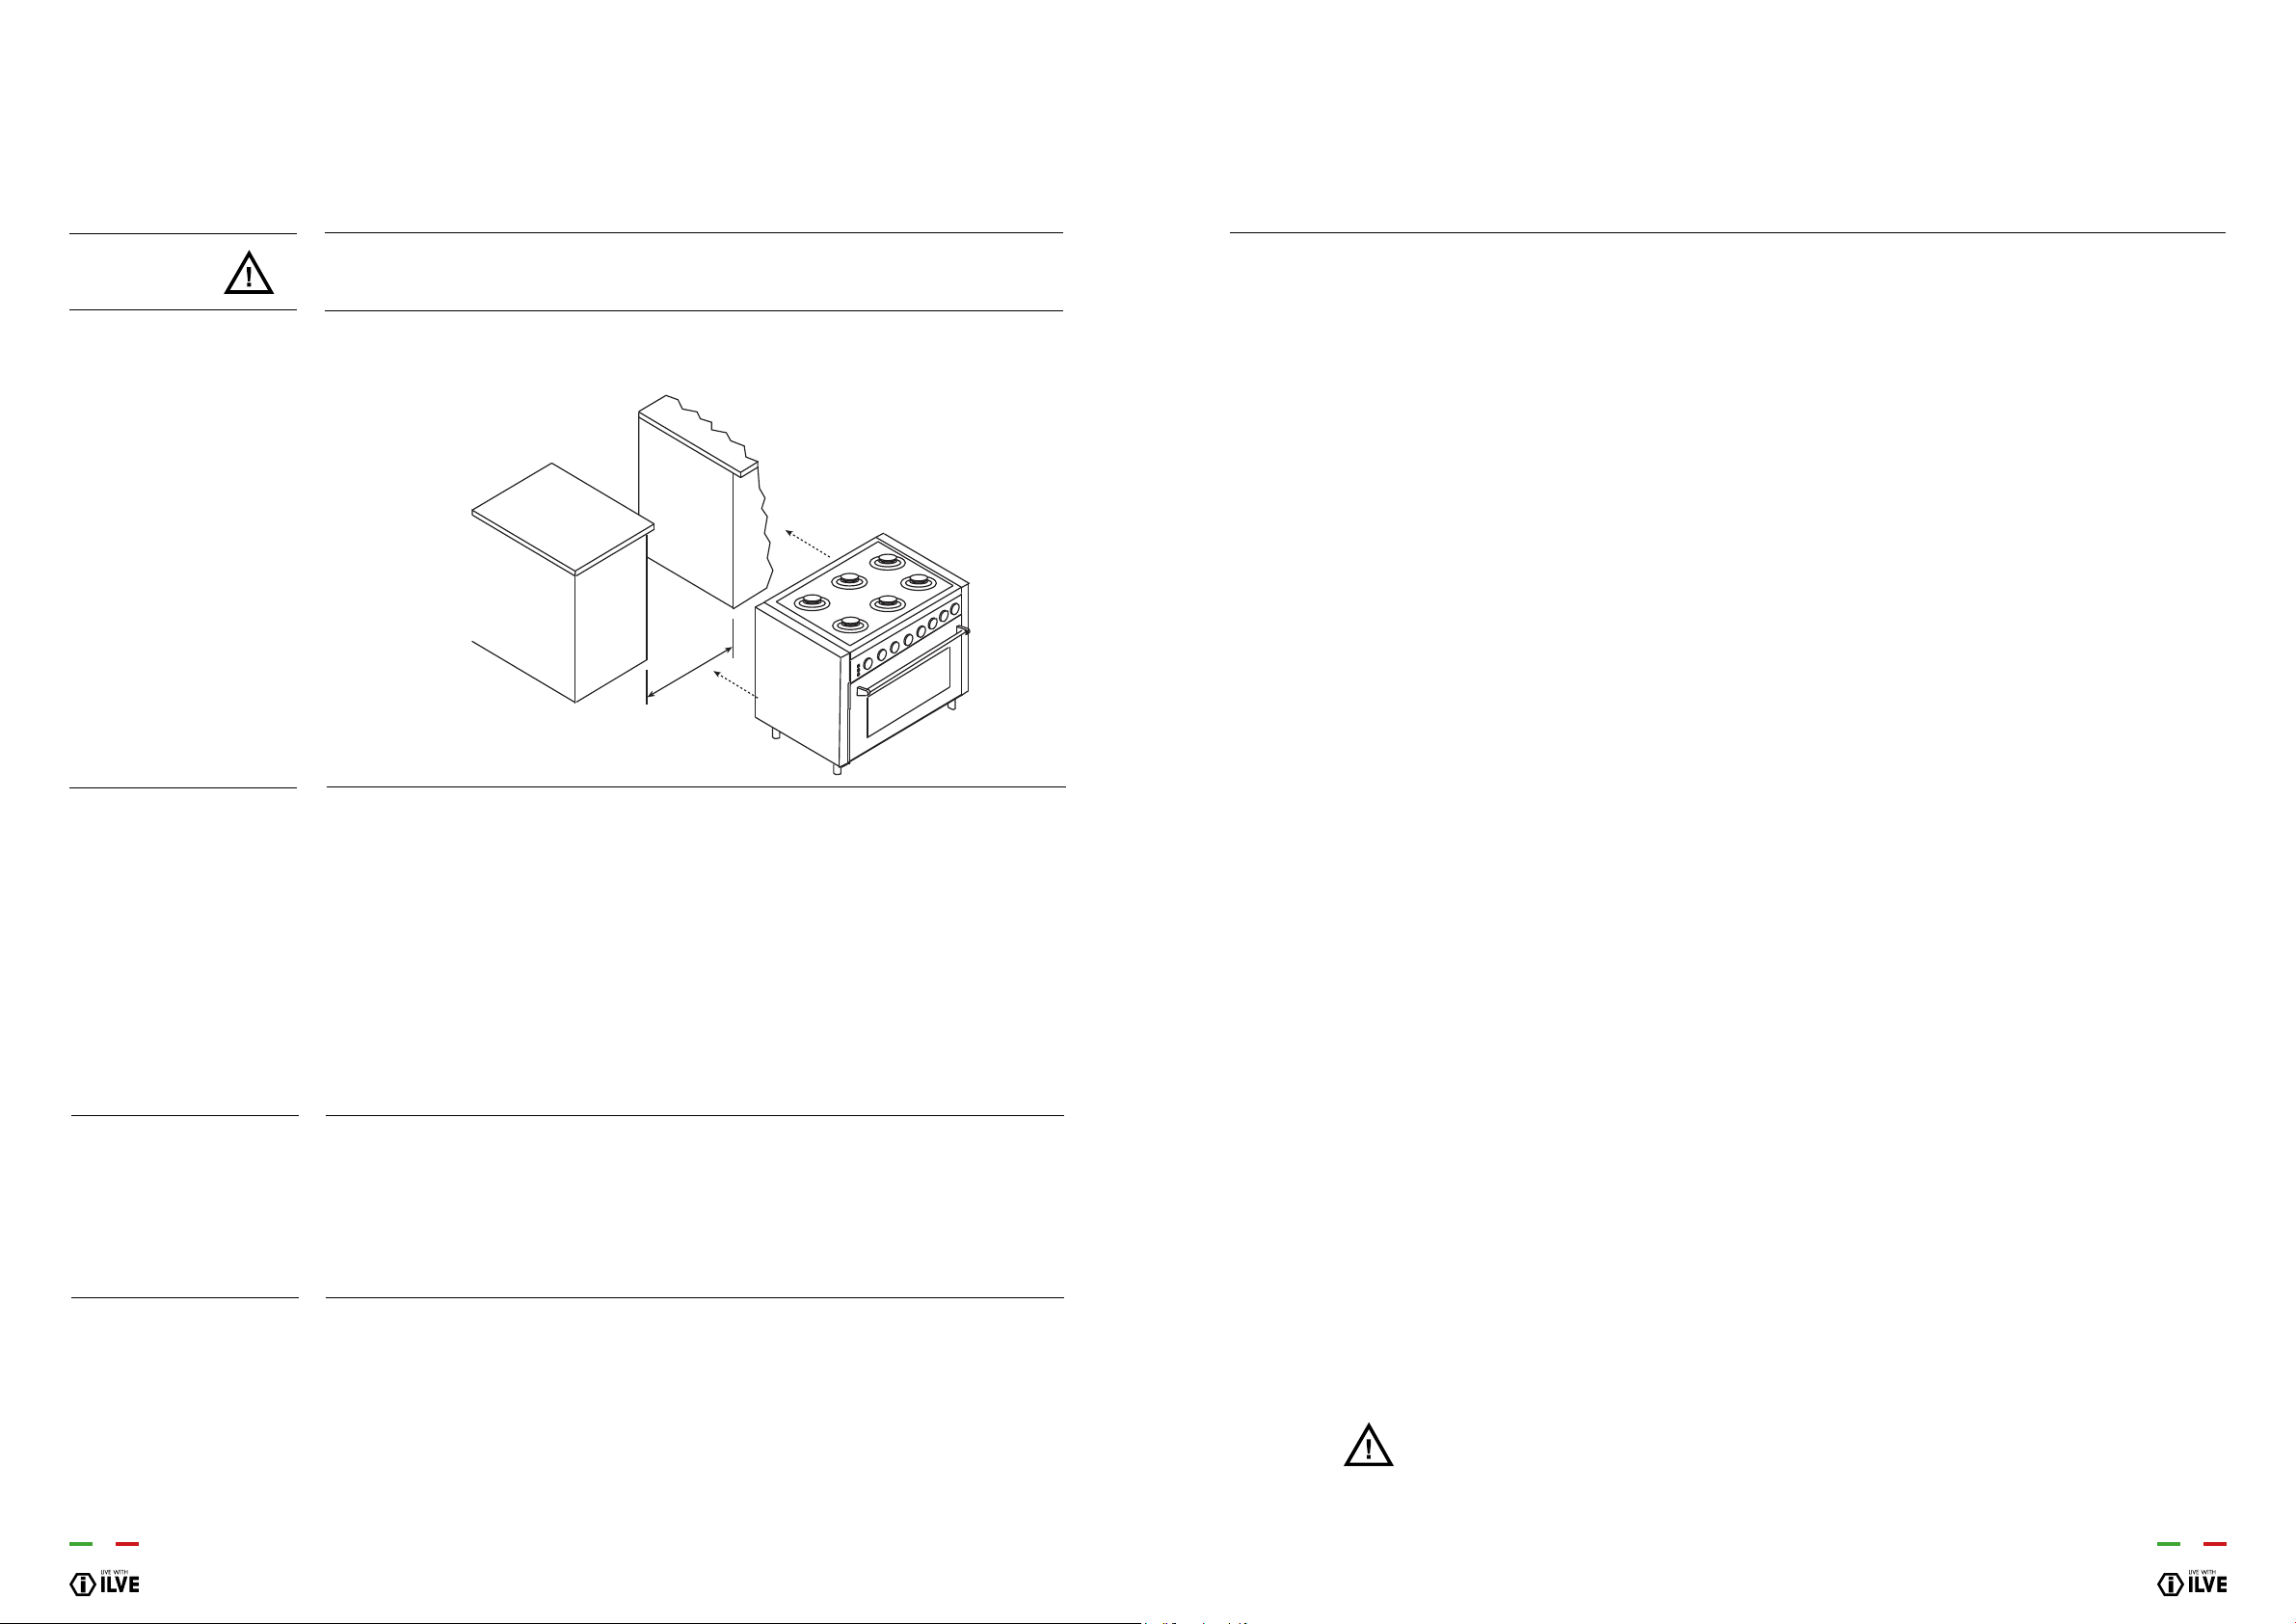
The appliance weighs more than 60 kg, therefore it must be moved of appropriate
instruments.
Do not drag the cooker as this will bend the supporting feet. Lift the appliance when
positioning it. DO NOT LIFT BY THE HANDLE
a (mm) Models
600 P06... K06... T06... L06...
700 P07... M07...
800 P08...
900 P09... K06... K09... L09... HNF... NT... V09...
911 M09...
- This appliance is in compliance with the applicable standards.
- Installation must only be carried out by qualied persons in compliance with the
regulations and standards in force
This is a type “A” appliance which does not need to be joined to an exhaust system for
combustion waste but must be installed under a hood or other smoke extraction system
in compliance with the standards in force.
The knowledge and consultation of the standards are a key factor for a qualied
technician. Indicatively the amount of air necessary for burner combustion is 2 m3/h for
each KW of nominal power installed (see plate).
Should the appliance be subjected to intensive and prolonged use, supplementary
ventilation may be necessary; in such cases open a window or increase the extractor
fan’s power.
INSTALLATION
- Installation of the cooker
a
Loading ...
Loading ...
Loading ...