Loading ...
Loading ...
Loading ...
EN
38
Operation
www.bora.com
6.5.9 Cooking zone timer
INFO The timer function can be used for each cooking
zone. Several timers can be activated at the same
time (multi-timer).
INFO When the bridging function is active, the timer is
adopted for both cooking zones.
Activating the timer
Tap on a cooking zone
The additional cooking zone functions are displayed.
If the chosen cooking zone is not yet active (= power
level
0
) a power level can now be set.
Tap the timer button
The time appears in the 7-segment display above the
sliders in hours, minutes and seconds (
0
:
0
0
:
0
0
).
The system changes to colour mode “beige”.
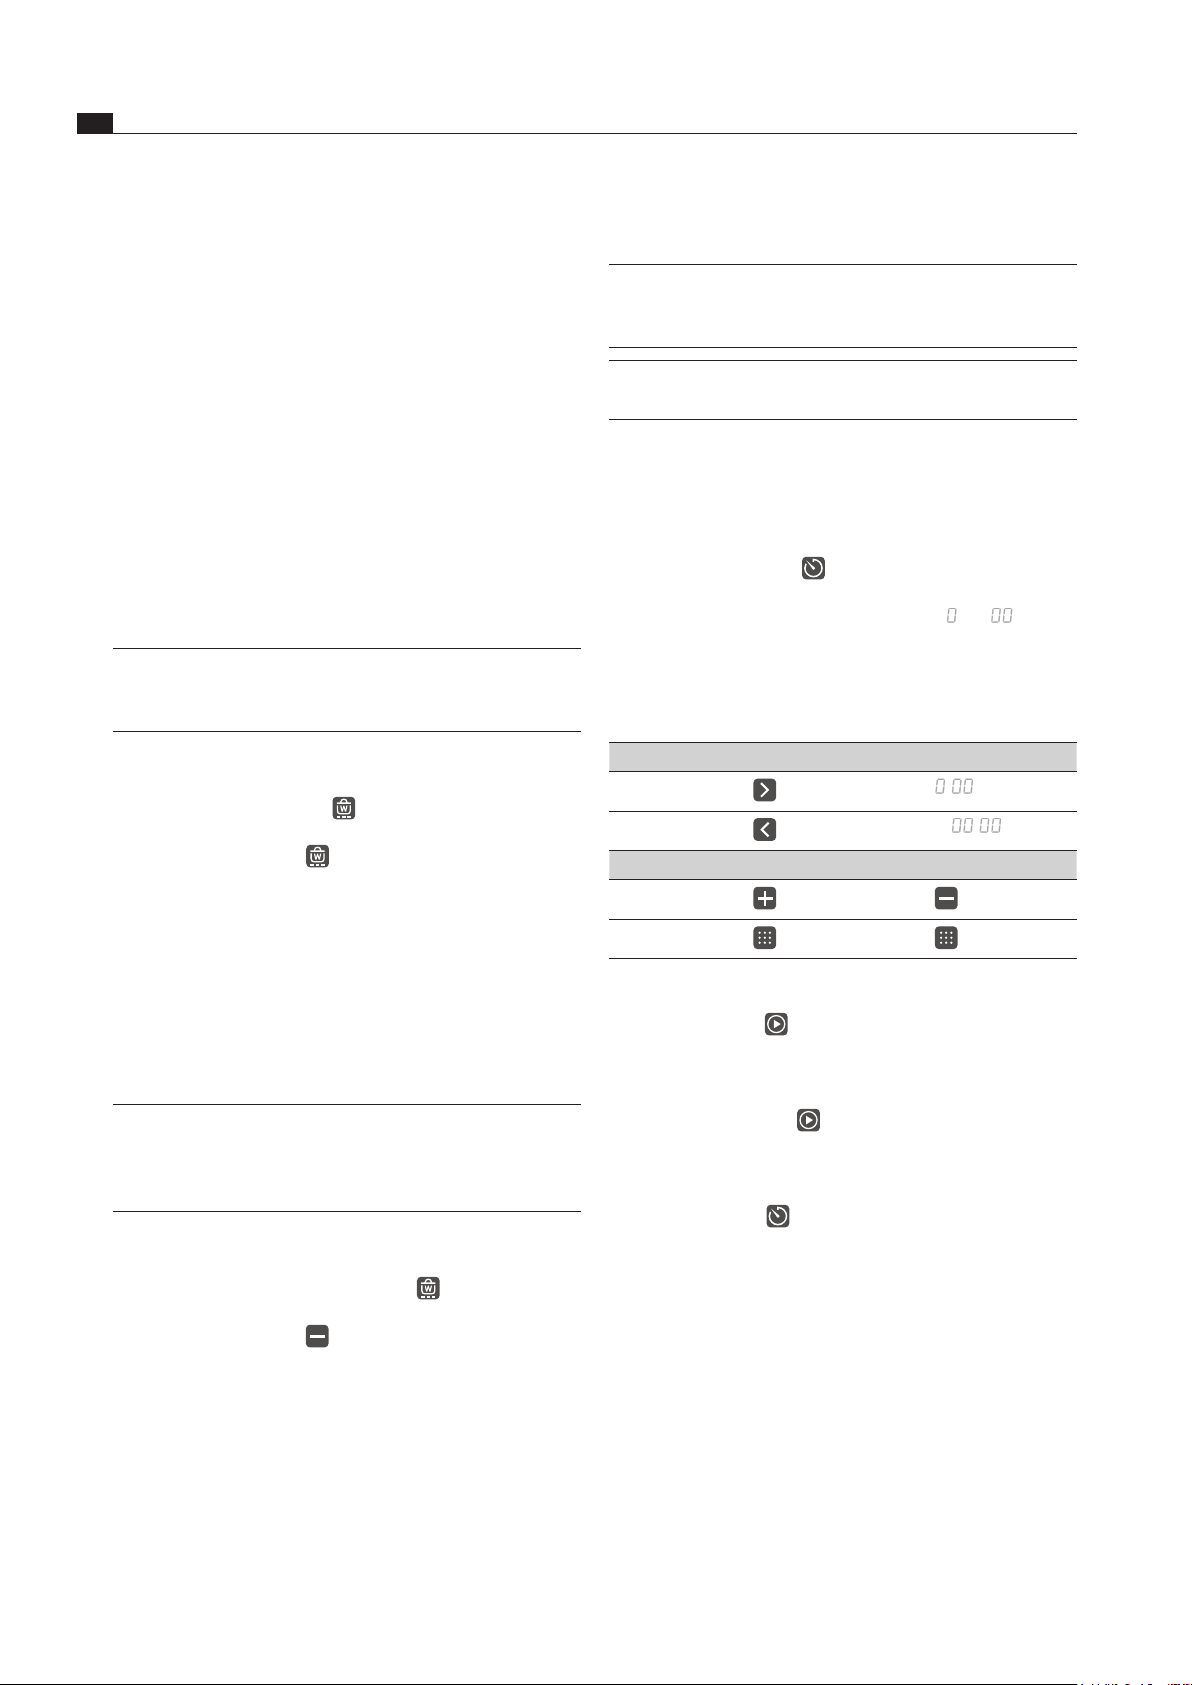
Setting the time
Select the desired power level:
Command Selection in hr/min/sec
Tap
0
:
0
0
:
0
0
Tap
0
:
0
0
:
0
0
Command Increase time Decrease time
Tap
Swipe
upwards
downwards
Tab. 6.3 Setting the time
The start button appears in the operating panel
display.
Starting the timer
Tap the start button
An acoustic signal can be heard and the set value is
confirmed.
The set time starts to count down.
The timer symbol is shown next to the cooking zone.
The operating panel display changes to the standard
display after 3.5 seconds.
10 seconds before the set time lapses, the system
flashes the remaining time. The corresponding cooking
zone flashes.
Showing the remaining time
The cooking zone timer is active and the time counts
down:
Tap the cooking zone
The remaining time is shown in the operating panel
display.
Tip for cooktops CKFI, CKI and CKIW: Transferring
cooking zone functions
With the aid of the bridging function, on induction
cooktops active cooking zone functions (e.g. heat up,
timer, warming) can be quickly and easily transferred
from one cooking zone to the other. The bridging function
is merely a means to an end.
Activate the bridging function
The second cooking zone will be activated and the
functions of the active cooking zone are automatically
adopted.
Move the pot onto the second cooking zone.
After 10 seconds the first cooking zone and the
bridging function will be automatically deactivated by
the pan size recognition function.
6.5.8 Setting the warming level
INFO There are three warming levels to choose from
(also see Appliance description chapter in the
operating and installation instructions).
Activating the warming level
Tap the required cooking zone
Tap the warming button
The 1st warming level (
,
) is displayed.
The warming symbol is shown next to the cooking
zone.
In the case of the Tepan stainless steel grill CKT the
temperature is also shown in the 7-segment display
above the slider.
Increasing or reducing the warming level
Tap the required cooking zone
Swipe upwards or downwards until the required
warming level is reached
INFO For the Tepan stainless steel grill CKT, in addition
to the three warming levels, a fourth slider
position can also be selected for the cleaning
function
C
(see Cleaning chapter).
Deactivating the warming function
Tap the required cooking zone
Long press on the warming button
or
tap the minus button until the power level is 0
The warming function is deactivated.
The residual heat indicator
H
appears in the cooking
zone display if necessary.
Loading ...
Loading ...
Loading ...