Loading ...
Loading ...
Loading ...
Installation & Owner’s Guide 11
3. Installation Continued
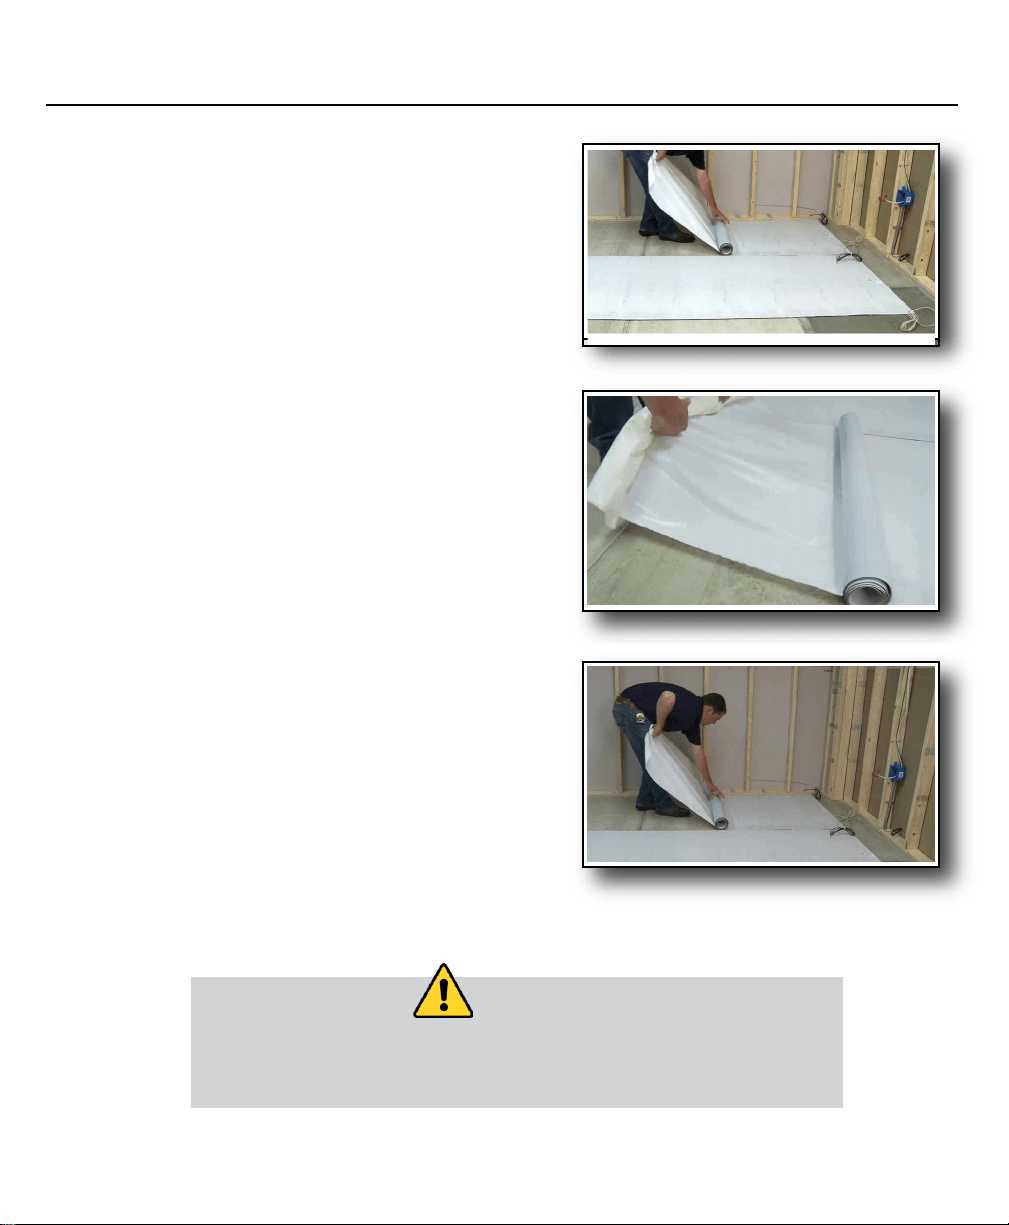
Step 3. Laying the Mats
Connection leads from the mats are 15 feet long, and can be
cut to desired length to connect at the junction box. The heating
mats should be laid so the connection leads are running to the
wall of the room where the thermostat/junction box is located.
The following steps will guide in the installation of the mats:
1. With the release liner still on, position all the mats into place.
Make sure the leads are within reach of the junction box
and that there are no obstructions or floor penetrations in
the way. Make sure the position of ALL mats is satisfactory
before the next step.
2. When all the mats are in proper position, roll the end with
the connections back far enough to peel back approximately
12” (30cm) of the release paper to expose a portion of the
adhesive surface.
3. Press this exposed section of the mat onto the surface and
then roll the other end back to the point where the release
paper was removed.
4. Begin pulling the release liner off and hand smooth the mat
into position as it unrolls to achieve a positive bond while
avoiding trapping air bubbles.
5. For adjacent mats, follow the same procedure starting with
alignment of the side by side mats in a butt joint fashion. Do
not overlap mats.
6. Peel off quick release liner and set mat in place, leaving
clearance to walls or partitions at the connector end for
wiring and final connections.
7. Make sure to seal the flaps on each side of the mat(s).
See page 10, Step 3 for directions.
NOTE:
It is important to take care in the placement of the heating mats, as once the
adhesive side of the heating mat comes in contact with the stable subfloor it
will provide a tenacious bond, and will be very difficult to move.
Loading ...
Loading ...
Loading ...