Loading ...
Loading ...
Loading ...
3. Installation Continued
Installation & Owner’s Guide 6
What You Will Need
• Peel & Stick Radiant Heat Film mats
• Thermostat: An approved thermostat
• Kapton Discs and Warning Labels (included in kits)
• GFCI Breaker (if not part of the thermostat)
• Junction Boxes: Minimum of two boxes required for each
room or area. One box (2x4 inch) required for thermostat,
one box (4x4 inch) required for electrical connections.
• Tools: Digital ohm meter (multi-meter), wire
stripper, screw driver, wood chisel, knife
• Tile installation products (3/8” x 1/4” or greater
plastic trowel, mortar, backer board, tile, etc.)
• 12/2 Romex
Electrical Installation
Step 1. GFCI Installation
Peel & Stick Radiant Heat Film mats must be protected
by a Class A ground fault circuit interrupter (GFCI). This
can be done either by the internal GFCI in the thermostat
(as long as it directly controls the mat), or by a GFCI
protected circuit breaker. Never double protect the circuit
with a GFCI at the thermostat and at the circuit breaker
box. Follow all local building and electrical codes. Typical
Amperage Requirement: 120 VAC Peel & Stick Radiant
Heat Film : 0.1 amps per square foot, or 10 amps per 100
square foot of mat.
Step 2. Install Additional Power Modules
Depending on the amperage requirements of the mat(s),
one or more secondary power modules may be required.
A power module is a relay or non-controlling thermostat
and must be treated as such. It allows the expansion of
the controlled area that the main thermostat can control,
but it must be placed on it’s own 20 amp dedicated circuit
and do not load the thermostat control with more than 15
amps. The National Electrical Code specifics that each
branch circuit used in conjunction with a heating system
must be for the exclusive use of the heating system. Do
not connect lights, outlets, etc. to any branch circuit used
with the Peel & Stick Radiant Heat Film Tile Heat.
Step 3. Install Electrical Boxes
Install Junction box for the control device
(thermostat) according to the manufacturer’s
instructions. This box should be located,
unobstructed, on an inside wall so that the device
reads accurately.Install a 4x4 inch junction box for
making electrical connections between the mats
and thermostat.
Step 4. Bottom Plate Work
Drill or saw holes at the bottom plate. One hole
is for routing power leads or conduit and the
other is for the thermostat sensor. These holes
should be directly below the electrical box(es). It
is recommended that you drill or saw holes at the
bottom plate. You may also use a notch technique
as an alternative.
Step 5. Install Power Lead Conduit
Route the power leads from the thermostat down
the wall cavity through opening in the bottom of
plate to connect the mats.
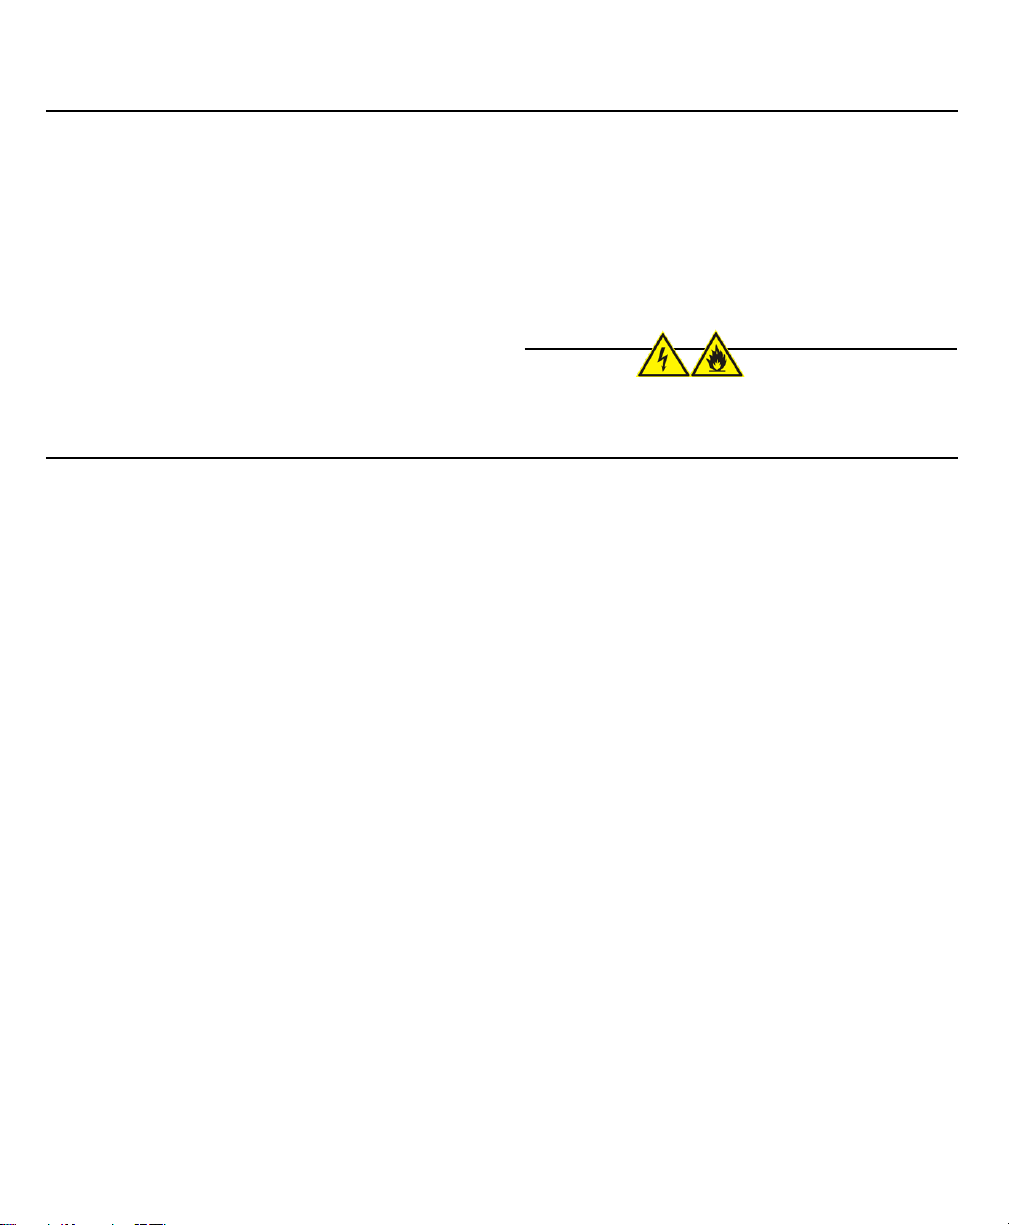
CAUTION:
RISK OF ELECTRIC SHOCK AND FIRE. DAMAGE TO SUPPLY CONDUCTOR
INSULATION MAY OCCUR IF CONDUCTORS ARE ROUTED LESS THAN 2 INCHES
(51mm) FROM THIS HEATING PRODUCT. REFER TO INSTALLATION INSTRUCTIONS
FOR RECOMMENDED MEANS OF ROUTING SUPPLY CONDUCTORS.
Loading ...
Loading ...
Loading ...