Loading ...
Loading ...
Loading ...
Installation
A Class HP Installation a
nd User Instructions R02583
-6 09/15
Page
18
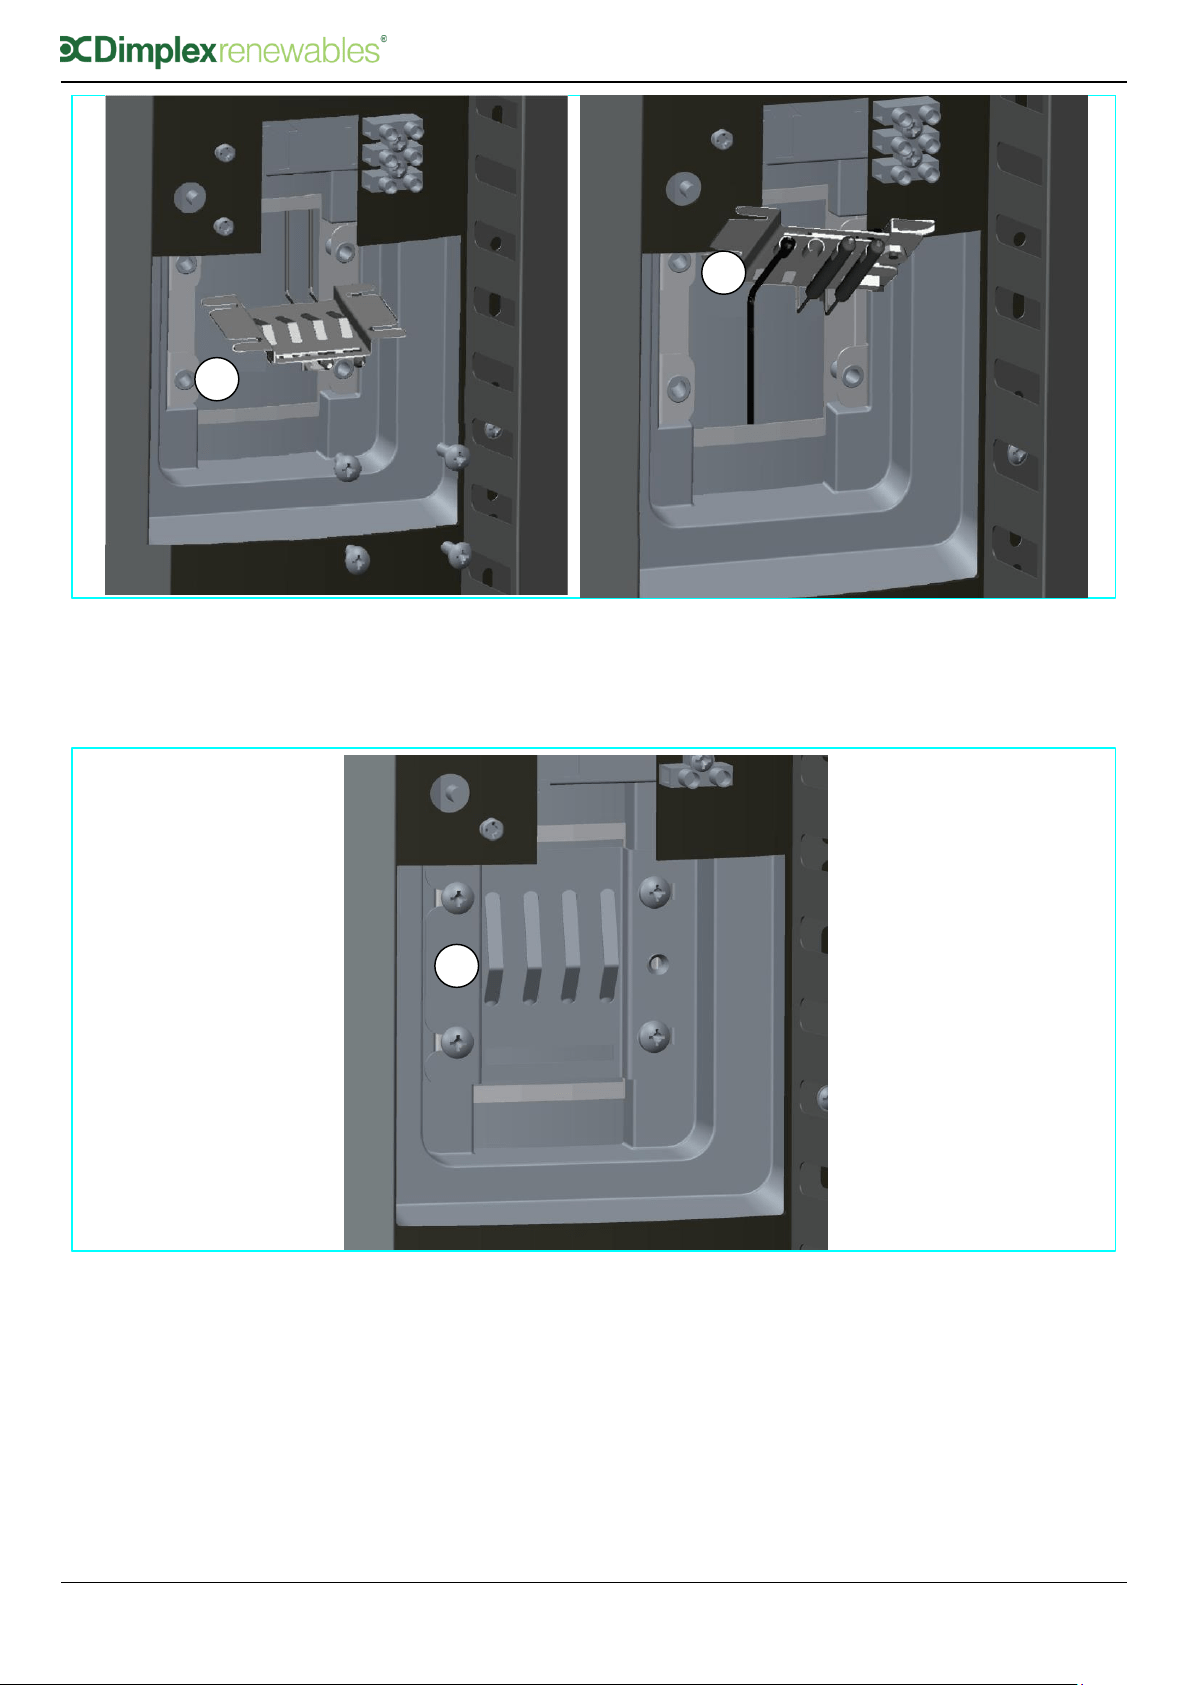
Step 3: Orientate the sensor mounting plate to allow access to the phials (four clips in the centre of
the sensor mounting plate). Be careful not to kink the capillaries that connect the thermostat bulbs.
The sensor mounting plate will have two vacant slots for additional sensors (D). Slide the solar sensor
into place as shown (E). Repeat for both positions.
Step 4: Move the sensor mounting plate back into its fixing position. Be careful not to kink the
capillaries that connect the thermostat bulbs. Fit the four M5 fixing screws into the cylinder bracket (F).
Tighten the screws until the thermostat bulbs and heat pump sensor are held firmly against the wall of
the inner cylinder. Repeat for both positions. The solar high limit stat is also accessible at this location.
Figure 12 illustrates how the connections should be made.
Note: there should be no movement in the phials that are used to hold the bulbs and sensor. Care
should be taken not to overtighten the screws.
D
E
F
Loading ...
Loading ...
Loading ...