Loading ...
Loading ...
Loading ...
21
3.
Use the @ and A buttons to set the operating time
duration.
Note: The operating time duration can be set from
1minute to 13hours. The cooking time can be set in
one-minute increments up to one hour, and then in
five-minute increments.
4.
Press the v button.
The cooking time counts down in the display.
Note: Press the
v button twice and use the @ and A
buttons to change the remaining time.
The cooking time has elapsed
An audible signal sounds. The appliance stops heating
up.
1.
To switch the signal off, press any button or open the
appliance door.
Note: After a short time, the audible signal stops
automatically.
2.
Turn the function selector to the zero setting.
Setting the end time
You can set the cooking time for your food on the
appliance. This prevents the food from accidentally being
cooked for too long, and means that you do not have to
stop what you are doing to switch off the oven.
1.
Set the required type of heating and temperature.
The oven starts.
2.
Press the v button twice.
y lights up in the display.
3.
Use the @ and A buttons to set the operating time
duration.
Note: The operating time duration can be set from
1minute to 13hours. The cooking time can be set in
one-minute increments up to one hour, and then in
five-minute increments.
4.
Press the v button.
The cooking time has been set.
5.
Press the v button.
{ lights up in the display
6.
Use the @ and A buttons to set the required end time.
Note: When the button is first pressed, a value is
suggested on the display. This suggested value is
calculated using the current time on the clock and the
cooking time.
{ lights up in the display. The display shows the end
time. The appliance switches to standby mode.
The cooking time has elapsed
An audible signal sounds. The appliance stops heating
up.
1.
To switch the signal off, press any button or open the
appliance door.
Note: After a short time, the audible signal stops
automatically.
2.
Turn the function selector to the zero setting.
Setting the Core Temperature
1.
Insert the probe into the meat as described below.
2.
Connect the probe to the socket in the upper left of the
cooking compartment.
3.
Close the oven door.
@ appears in the display
4.
Turn the function selector to “bake”, “conv bake”,
“multi rack” or “conv roast”.
5.
Set the cooking temperature with @ or A.
6.
Press D to switch to the meat probe target
temperature.
7.
Set the meat probe target temperature with @ or A
(70 °F (20 °C) - 195 °F (90 °C)).
Note: If a duration time is set and the meat probe is
inserted after, the cooking ends when the meat probe
reaches the desired temperature.
Tips:
▯ The range for the probe temperature is between 70°F
(20°C) and 195°F (90°C).
▯ Do not store the probe in the oven.
▯ Always use the handle of the probe for inserting and
removing.
▯ Always use a potholder to remove the probe since it
becomes hot.
▯ Since meat continues to cook after being removed
from the oven, set the internal (probe) temperature 5-
10 degrees below the desired final internal
temperature (exception poultry).
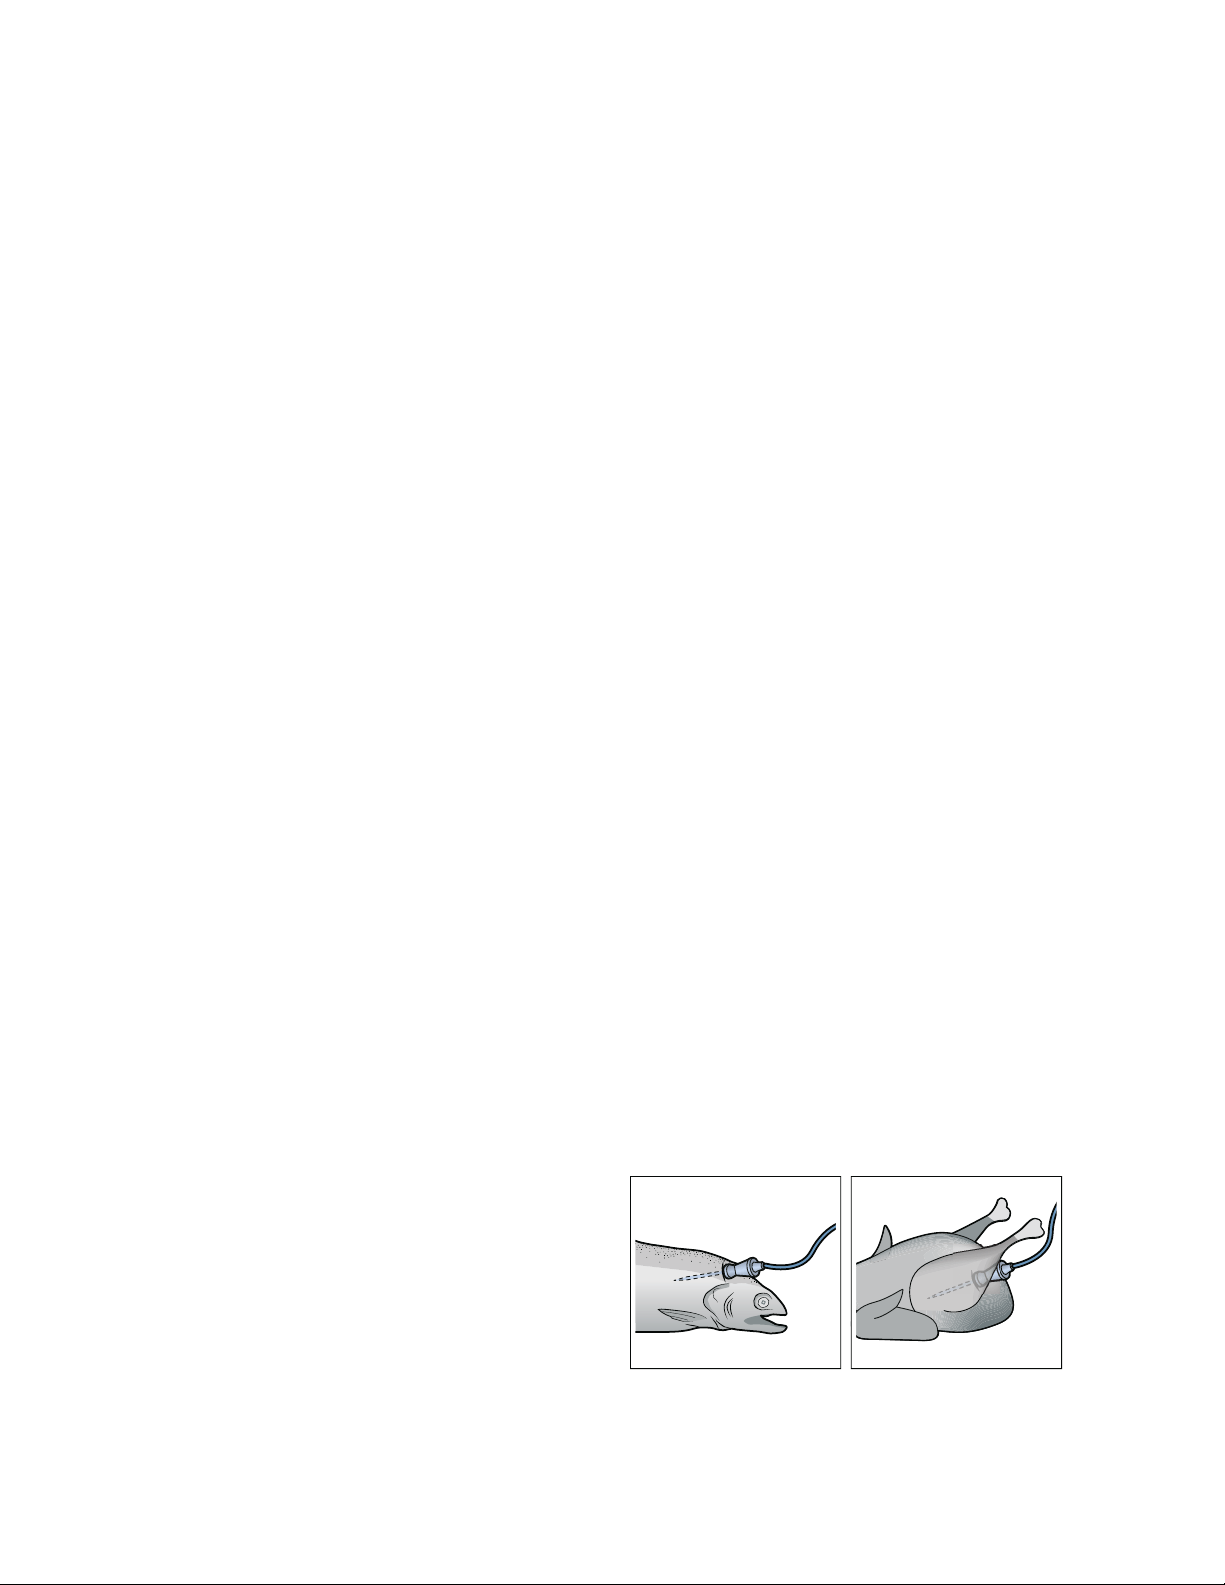
Insert the core temperature probe in the food to be
cooked
Insert the core temperature probe in the food to be
cooked before you place it in the oven interior.
Insert the metal tip at the thickest point in the food you
are cooking. Make sure that the end of the tip is
approximately in the center. It must not be placed in the
fat and must not touch any cookware or bones.
If there are several pieces, insert the core temperature
probe in the middle of the thickest piece.
Insert the core temperature probe completely, if possible.
In the case of poultry, make sure that the tip of the core
temperature probe is not in the cavity in the center, but in
the meat between the belly and upper leg.
Loading ...
Loading ...
Loading ...