Loading ...
Loading ...
Loading ...
ENGLISH
7
5
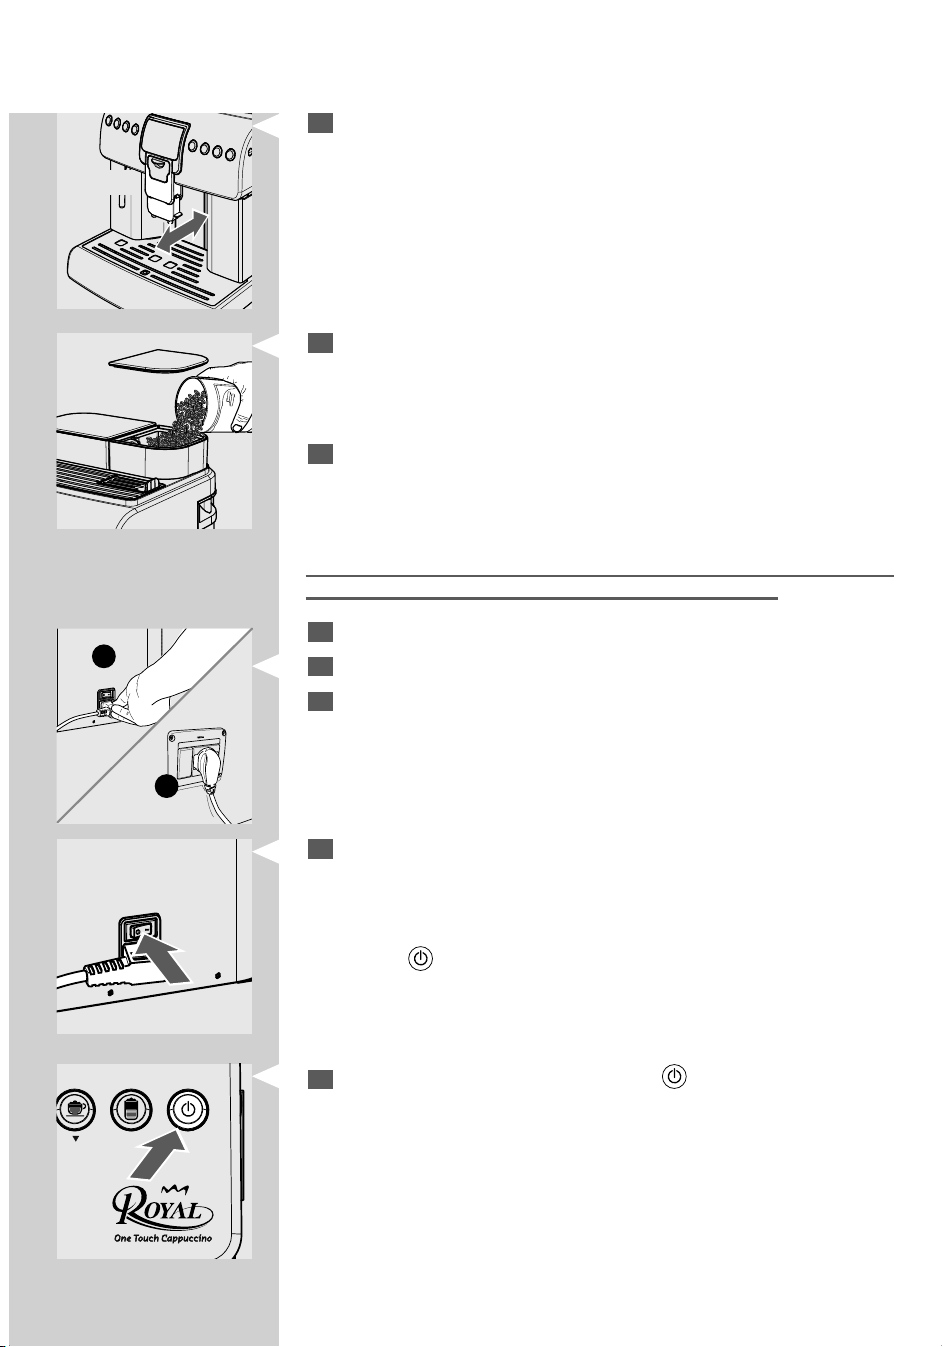
Make sure the dispensing spout is in correct position. Move it horizon-
tally until you hear the CLICK indicating the correct position.
If this is not done, some product might leak out of the dispensing
spout.
1
2
11
Switch the power button to "I" to turn on the machine.
Note: The power button is located in the rear part of the machine.
After carrying out a check cycle, the machine goes into stand-by mode
and the "
" button blinks.
12
To turn on the machine simply press the " " button.
Note: The language needs to be selected only upon rst use (see page 9).
Note: Once the warm-up is complete, upon rst use the machine primes the
circuit and performs a rinse cycle of the internal circuits. A small amount of
water is dispensed. Wait for this cycle to be completed.
CLICK!
6
Remove the co ee bean hopper lid.
Note: The hopper may be provided with di erent safety features according to
the regulations applicable in the country of use of the machine.
7
Slowly pour the co ee beans into the hopper.
If the water tank is not inserted, check that no co ee beans fall into the tank
compartment. If this happens, remove them to avoid any malfunctions.
Only co ee beans must be put into the co ee bean hopper. Ground co ee,
instant co ee or any other object may damage the machine.
8
Reposition the co ee bean hopper lid.
9
Insert the plug into the socket on the back of the machine.
10
Insert the plug of the other end of the cable into a wall socket with
suitable power voltage.
Loading ...
Loading ...
Loading ...