Loading ...
Loading ...
Loading ...
32
INSTALLATION
Check the appliance is electrically safe and gas sound when you have nished.
ArtNo.350-0010 - Fitting the plinth 1 (Kitchener)
Final Checks
Hob Check
Check each cooking zone in turn. Be sure to use pans of the
correct size and material.
Grill Check
Turn on the grill control and check that the grill heats up.
Oven Check
Set the clock as described earlier, and then turn on the ovens.
Check the oven fan start to turn and that the ovens heat up.
Final Fitting
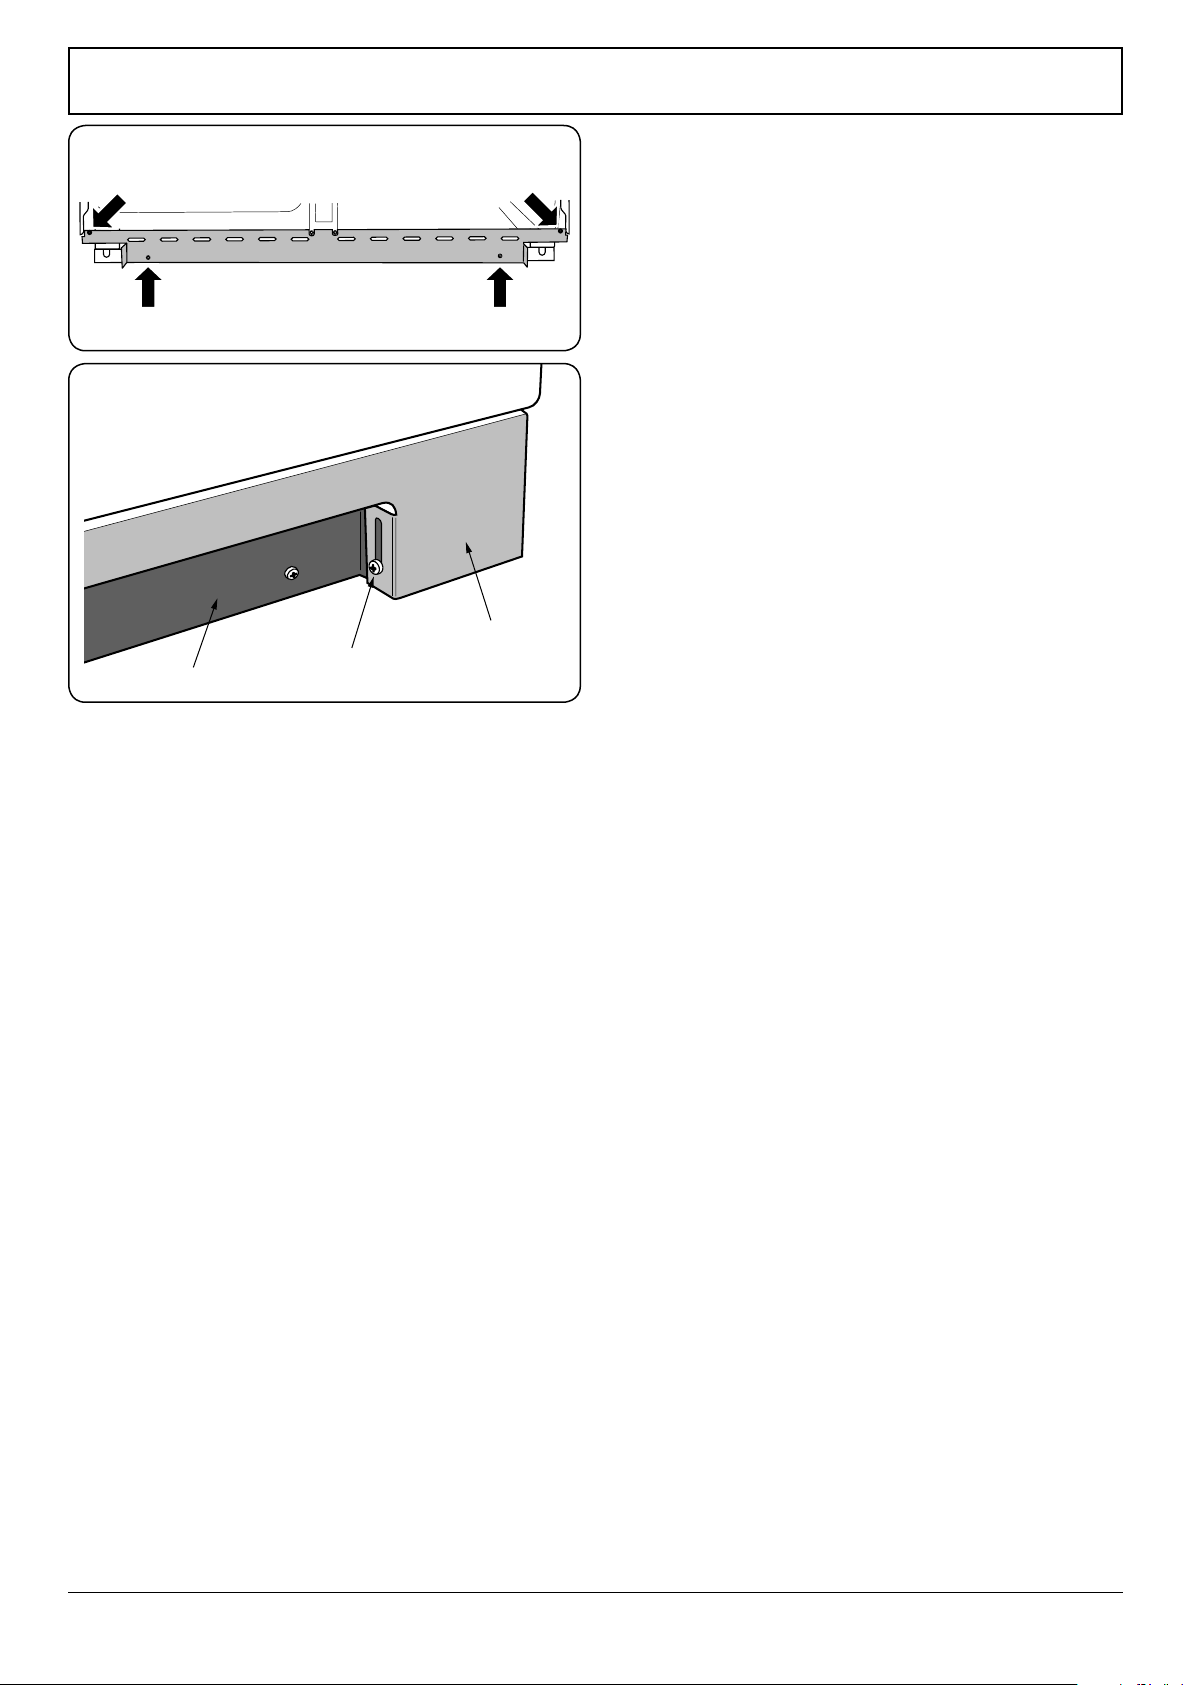
Fitting the Plinth
Fit the inner plinth to the bottom front of the cooker using
the 4 screws provided (Fig.7-18).
Fit the outer plinth (2 screws, 1 each end) to the inner plinth.
The height of the outer plinth can be adjusted by sliding it up
or down via the slotted hole (Fig.7-19).
Fitting the Splashback (optional)
Position the splashback on the rear of the hotplate and secure
with the screws supplied.
Customer Care
Installer: Please complete your details in this guide, inform
the user how to operate the cooker and hand over the
instructions.
Thank you.
ArtNo.350-0011 - Fitting the plinth 2 (Kitchener)
Outer plinth
Outer plinth xing screw
Inner plinth
Fig.7-18
Fig.7-19
Loading ...
Loading ...
Loading ...