Loading ...
Loading ...
Loading ...
8
Chapter
Chapter 2: Get Started with Synology DiskStation
Manager
This chapter explains how to sign into Synology DiskStation Manager (DSM), customize your desktop, use the
taskbar and widgets, and open applications and packages with the Main Menu.
Install Synology NAS and DSM
For more information about setting up Synology NAS and installing DSM, see the Hardware Installation Guide for
your Synology NAS model available at Synology’s Download Center.
Sign into DSM
After setting up and installing DSM on your Synology NAS, you can sign into DSM using a web browser on your
computer.
To log in with Web Assistant:
1 Make sure your computer is connected to the same network as the Synology NAS and can access the
Internet.
2 Open a web browser on your computer and go to find.synology.com.
3 Web Assistant will find your Synology NAS within the local network. Click Connect to go to the login screen.
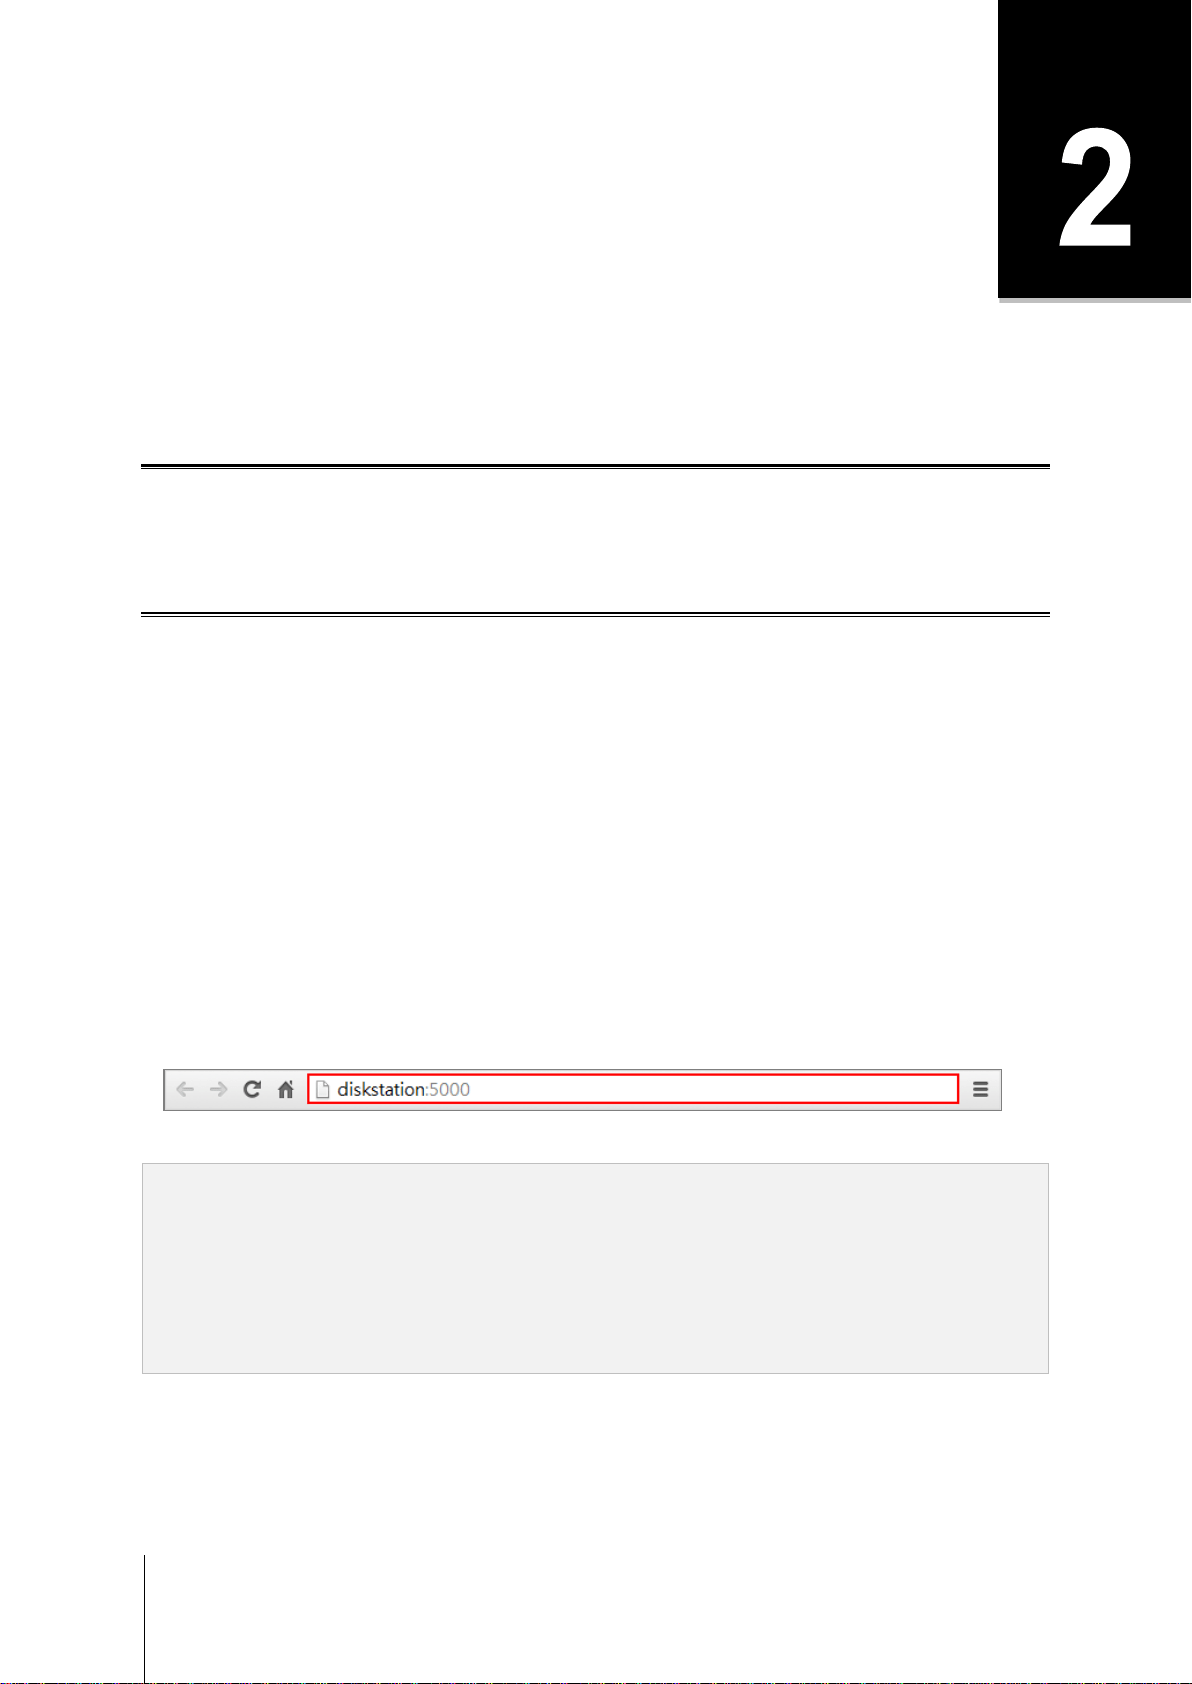
To log in with the server name or IP address:
1 Make sure your computer is connected to the same network as your Synology NAS.
2 Open a web browser on your computer, enter any of the following in the address field, and then press Enter on
your keyboard:
http://Synology_Server_IP:5000
http://Synology_Server_Name:5000/ (or http://Synology_Server_Name.local:5000/ on a Mac)
Synology_Server_Name should be replaced with the name you set up for Synology NAS during the initial
installation process.
3 Set up your username and password, and click Sign in.
Note: To ensure your connection to DSM runs smoothly, please use the following browsers.
Chrome
Firefox
Safari: 10 or later
Internet Explorer: 10 or later
Safari: iOS 10 or later
Chrome: Android 6 or later
Loading ...
Loading ...
Loading ...