Loading ...
Loading ...
Loading ...
117
Before Use
Basic Guide
Advanced Guide
Index
Camera Basics
Auto Mode /
Hybrid Auto Mode
Other Shooting Modes
P Mode
Tv, Av, and M Mode
Playback Mode
Wireless Features
Setting Menu
Accessories
Appendix
Adding a Smartphone Using the Wi-Fi Menu
These steps show how to use the camera as an access point, but you can
also use an existing access point (
=
119).
1
Install Camera Connect.
● For Android smartphones, nd Camera
Connect in Google Play and download
and install the app.
● For an iPhone or iPad, nd Camera
Connect in the App Store and download
and install the app.
2
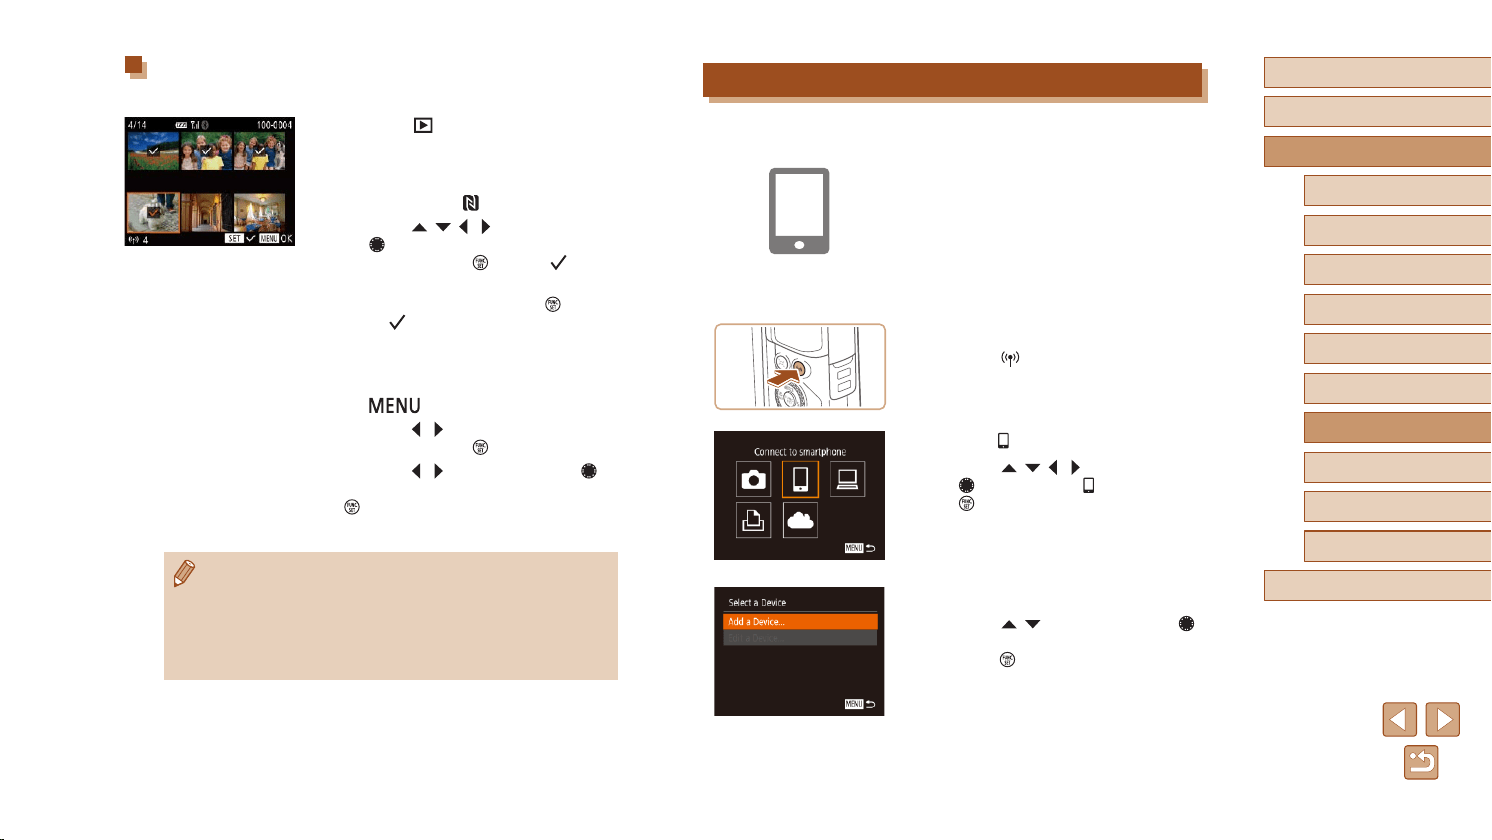
Access the Wi-Fi menu.
● Press the [ ] button.
● If the [Device Nickname] screen is
displayed, choose [OK] (
=
115).
3
Choose [ ].
● Press the [ ][ ][ ][ ] buttons or turn
the [ ] dial to choose [ ], and then press
the [ ] button.
4
Choose [Add a Device].
● Press the [ ][ ] buttons or turn the [ ]
dial to choose [Add a Device], and then
press the [ ] button.
Connecting via NFC When Camera Is in Playback
Mode
● Press the [ ] button to turn the camera
on.
● Touch the smartphone with Camera
Connect installed (
=
115) against the
camera’s N-Mark ( ).
● Press the [
][ ][ ][ ] buttons or turn
the [ ] dial to choose an image to send,
and then press the [ ] button. [ ] is
displayed.
● To cancel selection, press the [
] button
again. [ ] is no longer displayed.
● Repeat this process to choose additional
images.
● After you nish choosing images, press
the [
] button.
● Press the [
][ ] buttons to choose [OK],
and then press the [ ] button.
● Press the [
][ ] buttons or turn the [ ]
dial to choose [Send], and then press the
[ ] button.
● The images are now sent.
● If during connection a message on the camera requests you to
enter the nickname, follow step 2 in “Transferring Images to an
NFC-Compatible Smartphone” (
=
115) to enter it.
● The camera does not keep a record of smartphones you connect
to via NFC in Playback mode.
● You can preset images to transfer at your desired size (
=
132).
Loading ...
Loading ...
Loading ...