Loading ...
Loading ...
Loading ...
PR3 User’s manual Page
22
! WARNING !
At their most worn point brake pad
linings should not be thinner than
1mm, otherwise can lead to braking
failure.
! WARNING !
If brake pads are replaced too late
so that the lining is partly or entirely
worn, steel components of brake
pad will rub against brake disc,
thereby reducing braking effect and
destroying brake disc.
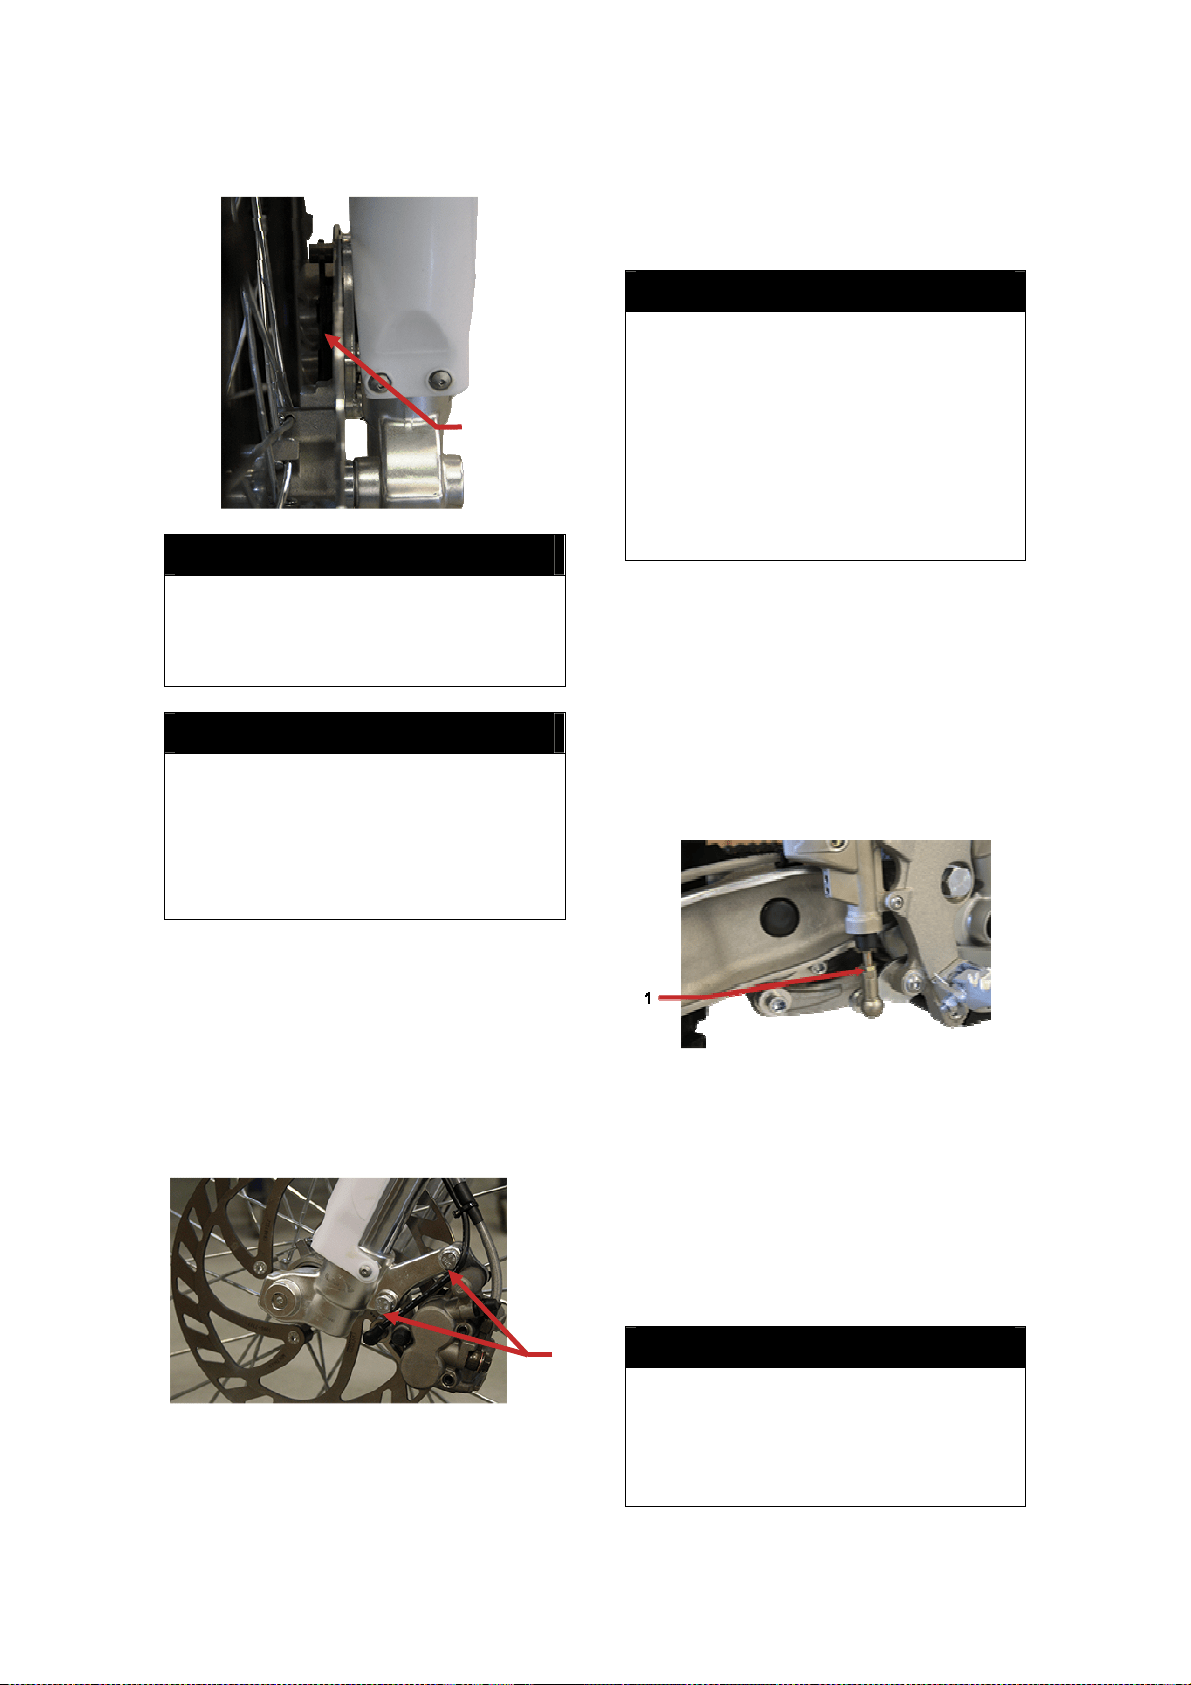
Replacing front brake pads (*)
Remove calliper assembly, unscrewing
screws (1). Press the brake calliper
away from brake disc to put the brake
piston in its basic position. Remove
clips and the brake pads from the
calliper.
Clean the brake calliper and calliper
support with compressed air. Check the
sleeves of the guide bolts for damage
and grease guide bolts if necessary.
Mount both brake pads and then insert
the clips the right way, to allow brake
pads to jump off or lose, in order to
avoid accidents.
! WARNING !
- Keep brake discs free from oil and
fatty materials; otherwise braking
effect will be strongly reduced.
- Having performed any work on
the braking system, one must
always actuate hand brake lever or
foot brake pedal, to ensure that
brake pads will fit against brake
disc and pressure is established.
Changing the basic position of the
brake pedal (*)
Free play can be changed by turning
piston (1).
Measured on the outside, the foot brake
pedal must have 3 to 5 mm of free play,
before the piston rod can move the
piston in the rear brake cylinder.
Checking rear brake fluid level
The reservoir for the rear disc brake is
integrated in brake pump, placed in the
right side of the engine, near exhaust
pipe.
Brake fluid level must not drop below
the “MIN” marking when the vehicle is
in an upright position.
! WARNING !
If brake fluid level drops below the
minimum or brake system has a
leak or brake pads are completely
worn. In this case, consult an
authorized dealer immediately.
1
1
Loading ...
Loading ...
Loading ...