Loading ...
Loading ...
Loading ...
PR3 User’s manual Page
10
! CAUTION !
Park the motorcycle on solid level
ground to help prevent it from falling
over.
If you must park on an incline, aim
the front of the motorcycle uphill and
put the transmission into 1
st
gear to
reduce the chance of rolling off the
side stand.
SUSPENSION SET-UP
Front suspension adjustment
AJP PR3 are equipped with an up-side
down fully adjustable front fork.
To adjust compression, turn the upper
screw (1) clockwise to have a harder
response. Turn counter clockwise to
have a softer response.
Standard compression: 2 clicks
To adjust rebound, remove the
protective plug at the tube lower end,
turn the lower screw (2) clockwise for
more rebound; turn counter clockwise
for less rebound.
Standard rebound: 5 clicks
! WARNING !
Unequal suspension adjustment can
cause poor handling and loss of
stability.
Adjust the right and left front legs to
the same settings.
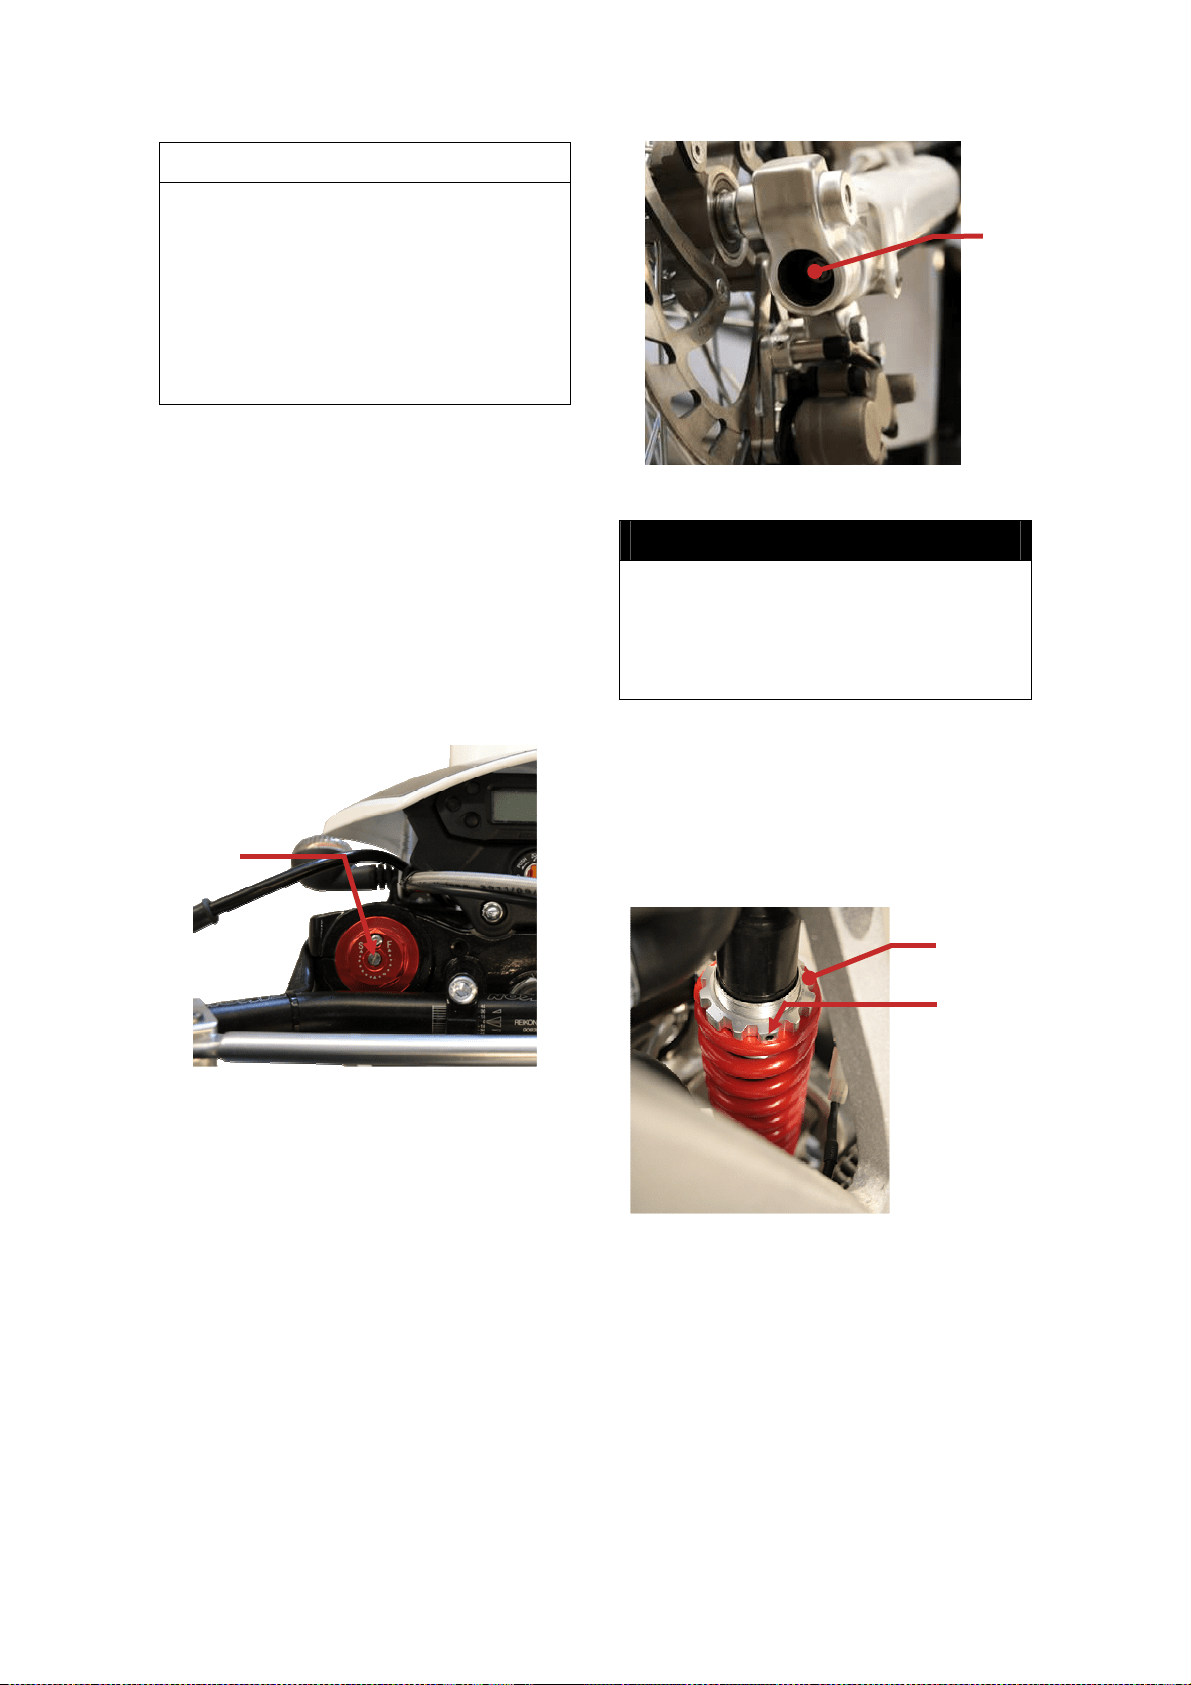
Rear suspension adjustment
MX, Trail, Enduro and Supermoto –
These versions are equipped with a
shock absorber that allows only pre-
charge setting.
To adjust pre-charge, loose first the
fixation screw (1). Turn adjusting nut (2)
clockwise for more pre-charge or
counter clockwise for less pre-charge.
MX PRO, Enduro PRO and Supermoto
PRO – These versions are equipped
with a fully adjustable shock absorber.
To adjust pre-charge loose first the
upper nut (1), then turn adjusting nut (2)
2
1
1
2
Loading ...
Loading ...
Loading ...