Loading ...
Loading ...
Loading ...
16
BROIL FUNCTION
The BROIL function is ideal for open-faced
sandwiches, small cuts of meat, poultry and
fish, sausages and vegetables. Broiling can also
be used to brown the tops of casseroles and
gratins.
1. Insert the wire rack, with the spokes facing
upward, into the top rack height position.
2. Insert the included broiling rack into the
baking pan. Place food on the assembled
broiling rack or in an oven-proof dish, then
place on the center of the wire rack so air
flows around the sides of the food.
3. Close the oven door.
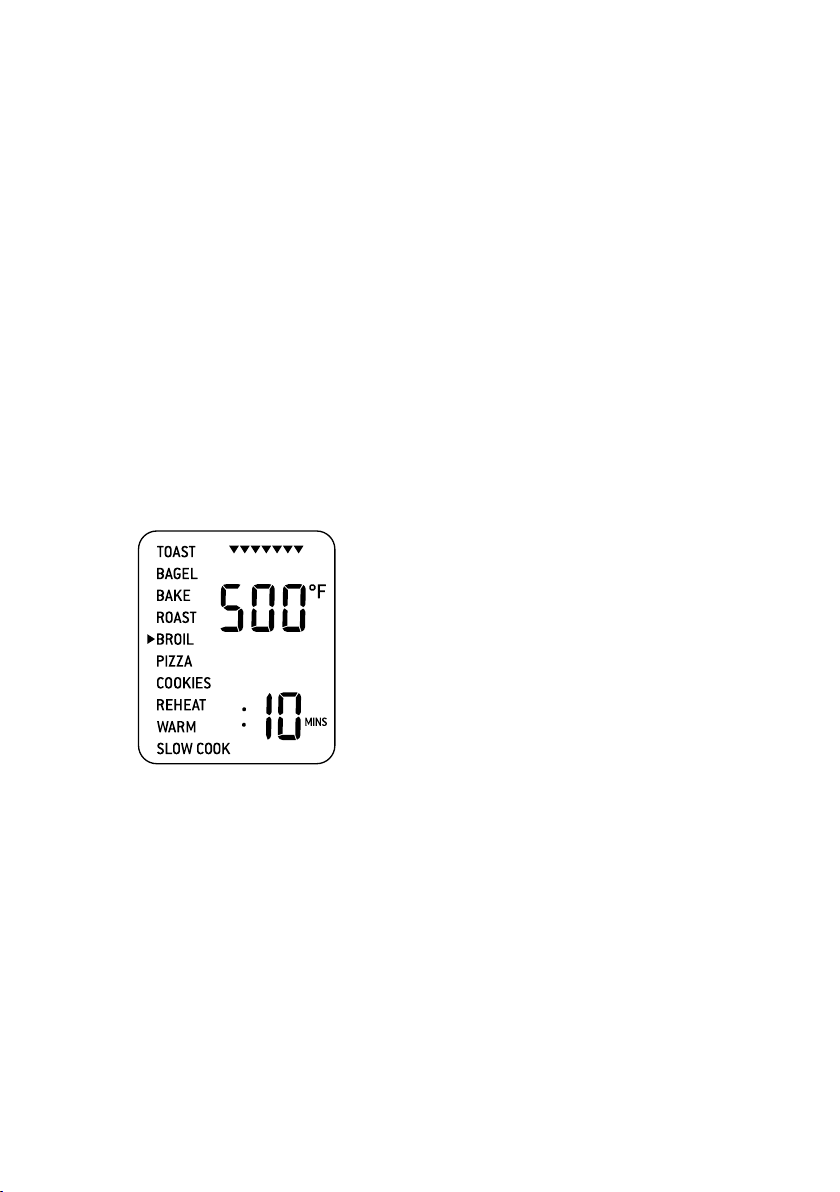
4. Turn the FUNCTION dial until the
indicator on the LCD screen reaches the
BROIL function. The top figure on the LCD
screen indicates the preset temperature of
‘500°F’, while the bottom figure indicates
the preset time of ‘:10 MINS’.
5. The broiling temperature and time can be
adjusted before or during the broiling cycle.
a) The broiling temperature is displayed as
the top figure on the LCD screen. Turn the
TEMPERATURE dial to adjust broiling to
one of three pre-set temperatures: 500°F,
400°F, 300°F.
b) The broiling time is displayed as the bottom
figure on the LCD screen. Turn the TIME
dial to adjust the time up to 20 minutes.
6. Press the START/CANCEL button to
activate the BROIL function. The button
backlight will illuminate red, the oven
alert will sound and the LCD screen will
illuminate orange.
7. The timer will be displayed and
automatically begin to count down.
The temperature and time can be adjusted
during the broiling cycle by turning the
corresponding TEMPERATURE and TIME
dial. The cycle can be stopped at any time
by pressing the START/CANCEL button.
8. At the end of the BROIL cycle, the
oven alert will sound. The START/CANCEL
button backlight will go out and the LCD
screen will illuminate blue.
Loading ...
Loading ...
Loading ...