Loading ...
Loading ...
Loading ...
EN 43
11.3. Network Installation
Q (home) “Setup”
“Player
Settings”
“Network” “Network Settings”
Set up network connection settings in order to use the
BD-Live™, Netflix / YouTube™ or network update function.
C Connection Test
After you enable a network connection or change the
network settings, always perform the connection test to
check if the connection is correctly made.
1. Use [ 0 / 1 ] to select “Setup” in the home menu,
then press [OK].
2. Use [ K / L ] to select “Player Settings”, then press
[OK].
3. Use [ K / L ] to select “Network”, then press [OK].
4. Use [ K / L ] to select “Network Settings”, then press
[OK].
5. Use [ K / L ] to select “IP Address/DNS Settings” or
“Proxy Server Settings”, then press [OK].
6. Use [ K / L ] to select “Connection Test”, then press
[OK].
• Connection test will start automatically and the test
result will appear right after the connection test
finishes.
– “Testing...”: The test is in progress.
– “Pass”: Connection test is successfully
completed.
– “Failed”: Connection test failed. Check the
connection settings.
7. Press [OK] to go back to the setup menu, or press
[ Q (home)] to exit.
NoteD
• If the connection test passes, you are ready to use
the BD-Live™, Netflix / YouTube™ or network update
function, using the Internet without making any
additional settings.
• If the connection test fails, you may need to check your
router settings and make sure the physical connection
is secure. If you need the MAC address of this unit to
complete your router settings you can view it on the
“Network Settings” screen.
• When connecting this unit directly to a modem for
the first time or connecting it to a modem which was
previously connected to any other network device (e.g.
a router, PC, etc.), you may have to power cycle the
modem to reset the settings on the modem.
C Wired
Easy Network Setting
Select “Easy Network Setting” to set the network setting
automatically.
1. Press [ Q (home)] and select “Setup” “Player
Settings”
“Network”, then press [OK].
2. Use [ K / L ] to select “Easy Network Setting”, then
press [OK].
3. Use [ K / L ] to select “Wired”, then press [OK].
• The unit will start the connection test automatically
and the test result will appear right after the
connection test finishes.
4. Press [OK].
Network Settings
In following cases, select “Network Settings” to configure
each setting as necessary.
– When connection test failed with the setting of “Easy
Network Setting”.
– When instructed by your Internet service provider to
make specific settings in accordance with your network
environment.
1. Press [ Q (home)] and select “Setup” “Player
Settings”
“Network”, then press [OK].
2. Use [ K / L ] to select “Network Setting”, then press
[OK].
3. Use [ K / L ] to select “Wired”, then press [OK].
4. Use [ K / L ] to select “IP Address/DNS Settings”
“IP Address Auto Configuration”
”Off”, then press
[OK].
5. Use [ K / L ] to select “IP Address”, then press [OK].
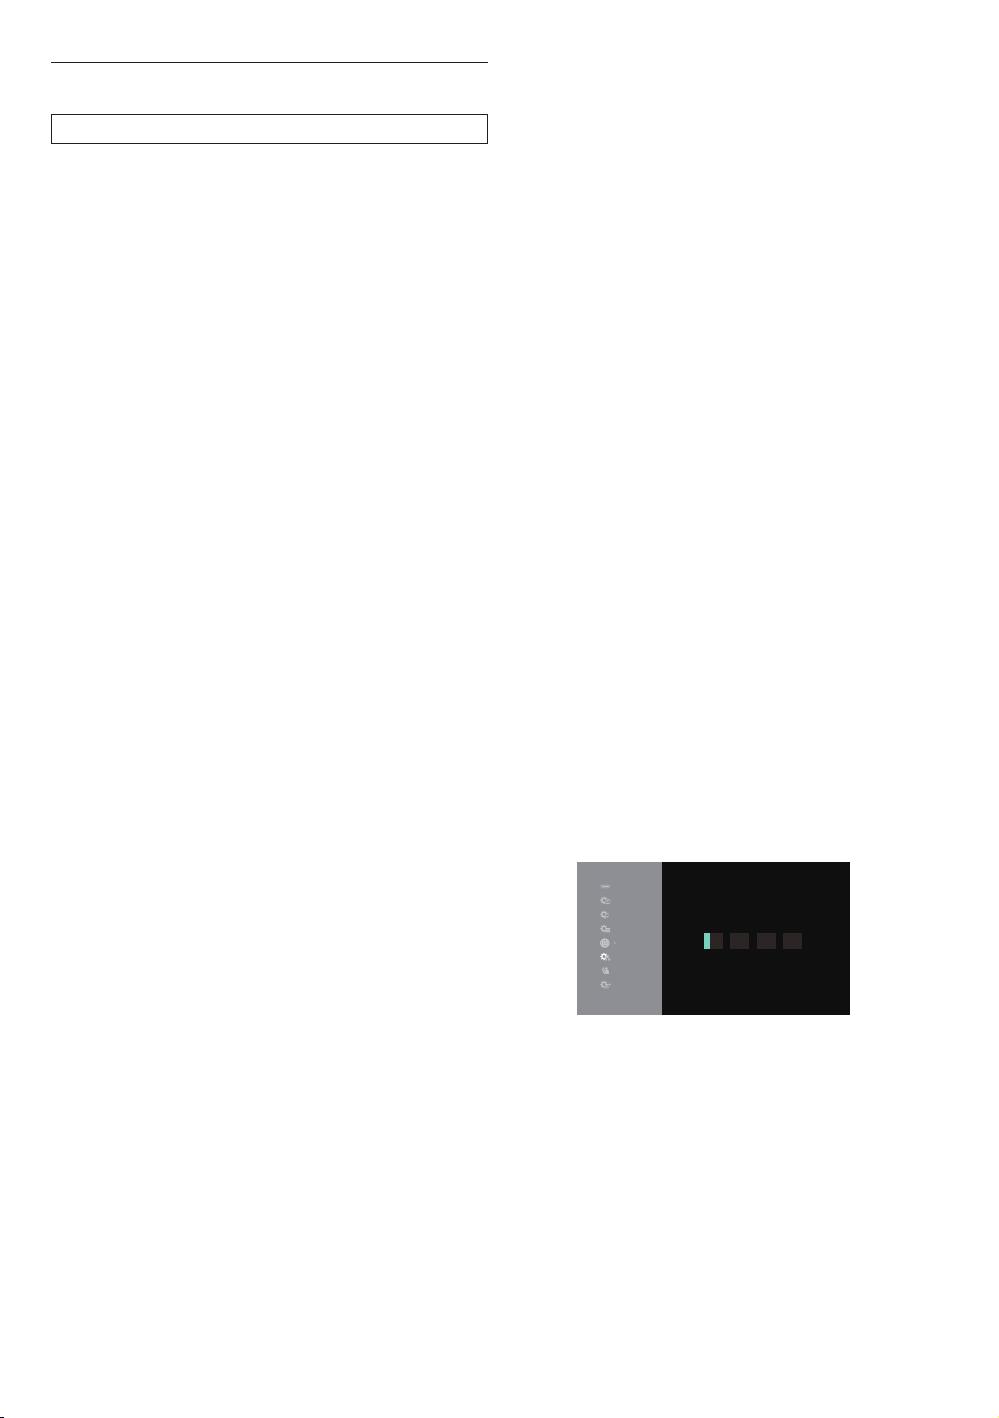
6. “IP Address” setting screen will appear. Enter IP
address with cursor buttons and number buttons.
H
DMI
Vi
d
e
o
Audio
3
D
L
anguage
Network
R
at
i
ngs
Syste
m
IP Address
Please input IP Address.
192 . . .168 XXX XXX
L
• Enter the IP address after checking the
specifications of your router.
• If the IP address is unknown, check the IP address
of other devices. (e.g. PC connected via LAN cable)
and assign a different number from those of other
devices.
Loading ...
Loading ...
Loading ...