Loading ...
Loading ...
Loading ...
50
SEWING BASICS — — — — — — — — — — — — — — — — — — — — — — — — — — — — — — — — — — — — — — — — — — — —
—
3
Position the fabric under the presser foot, and
then press (“Start/Stop” button) once.
1 “Start/Stop” button
X After reverse/reinforcement stitches are
sewn, the machine starts sewing.
4
After reaching the end of the stitching, press
(“Reverse/Reinforcement Stitch”
button) once.
This step is not necessary if a stitch such as
those for sewing buttonholes and bar tacks is
selected where reinforcement stitches are
automatically sewn.
1 “Reverse/Reinforcement Stitch” button
X After reverse/reinforcement stitches are
sewn, the sewing machine stops.
Memo
● Reverse/reinforcement stitches WILL NOT
be sewn until (“Reverse/
Reinforcement Stitch” button) is pressed.
(“Start/Stop” button) may be pressed to
stop stitching when needed such as for
pivoting corners.
Changing the initial needle
stop position
The needle position when the machine is turned on
can be switched between a position on the left or at
the center.
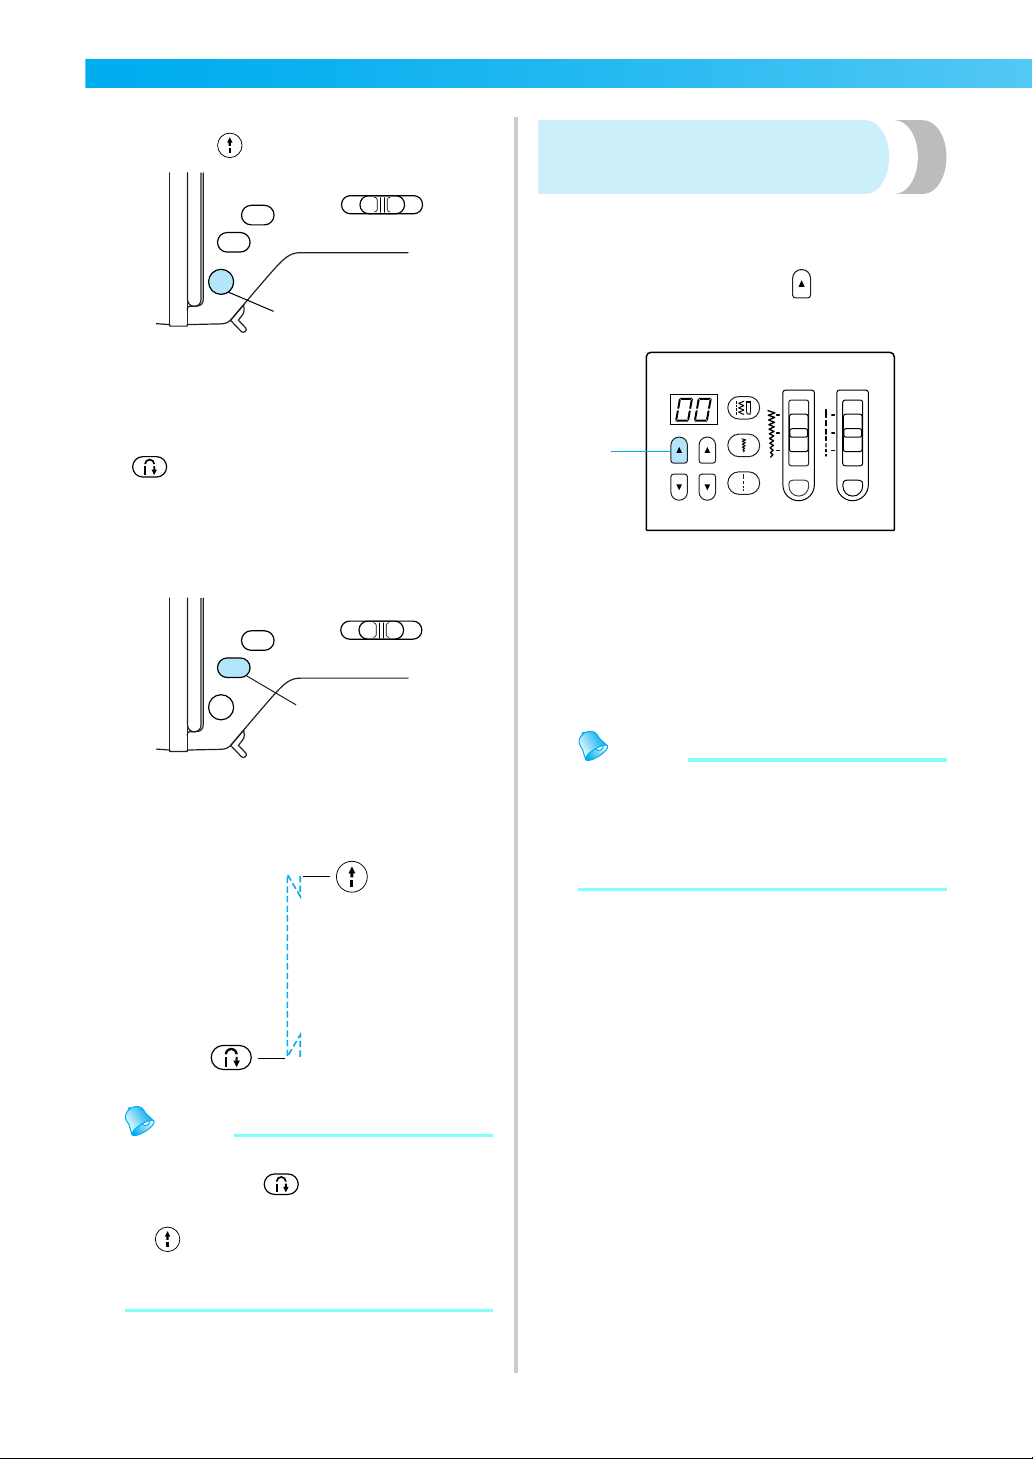
1
While holding pressed the for the first digit
(tens) from the stitch selection keys, turn on
the sewing machine.
1 Up key for the first digit (tens) from the stitch
selection keys
X The needle position switches between that
on the left and that at the center.
• Each time the operation described in step
1
is performed, the needle position switches
between that on the left and that at the
center.
Memo
● As a default, the initial needle stop position
is on the left.
● The specified initial needle stop position is
maintained even after the machine is turned
off.
1
1
1
Loading ...
Loading ...
Loading ...