Loading ...
Loading ...
Loading ...
Residen al Standard Gas Water Heater Use and Care Guide • 29
MAINTENANCE
Residen al Standard Gas Water Heater Use and Care Guide • 29
MAINTENANCE
10
Refi ll the tank by opening the
cold water supply valve. Make
sure a hot water faucet is open
and the drain valve is closed. Allow a
hot water faucet to run full for at least
three minutes to make sure the tank
has all the air removed and is complete-
ly full of water. Once you are certain the
tank is completely full of water, close
the hot water faucet.
11
Relight the pilot using the
instruc ons on page 23 and
adjust the gas control knob to
the desired temperature. It may take an
hour or more for the tank of cold water
to heat up.
Visual Inspec on
On an annual basis, visually inspect the
ven ng and air supply system, piping
systems, main burner, pilot burner, and
the air fi lter.
Check the water heater for the following:
• Obstruc ons, damage, or deterio-
ra on in the ven ng system. Make
sure the ven la on and combus-
on air supplies are not obstruct-
ed. Check the air fi lter for dust or
other debris and clean if needed.
• Build up of soot and carbon on the
main burner and pilot burner. The
burner may be cleaned with soap
and hot water.
• Inspect the burner fl ames through
the viewport and compare them
to the drawing below. A properly
opera ng burner should produce a
so blue fl ame. Blue ps with yellow
inner cones are sa sfactory. The ps
of the fl ame may have a slight yellow
nt. The fl ame should not be all
yellow or have a sharp blue-orange
color. Contaminated air may cause
an orange colored fl ame. Contact a
qualifi ed technician if the fl ame is
not sa sfactory.
Figure 44 - Burner Flames
• Leaking or damaged water and gas
piping.
• Remove any fl ammable, corrosive
or combus ble materials near the
water heater.
If you lack the necessary skills required
to properly perform this visual inspec-
on or if the burner needs to be cleaned,
get help from a qualifi ed person.
T&P Relief Valve Maintenance
Figure 45 - T&P Relief Valve.
Read and follow the opera ng and an-
nual maintenance instruc ons provided
by the manufacturer of the T&P Relief
Valve (yellow label a ached to T&P
Relief Valve). Minerals in the water can
form deposits that cause the valve to
s ck or create blocked passages, mak-
ing the T&P Relief Valve inopera ve.
Follow these guidelines:
• At least annually, operate the T&P
Relief Valve manually to ensure the
waterways are clear and the valve
mechanism moves freely (above).
Before opera ng the valve manually,
check that it will discharge in a place
for secure disposal.
WARNING! Hot water will be
released. Before opera ng the T&P
relief valve manually, check that it will
discharge in a safe place. If water does
not fl ow freely from the end of the
discharge pipe, turn the gas control
knob to the OFF posi on and call a
qualifi ed person to determine the
cause.
• At least every fi ve years, have a
qualifi ed person inspect the T&P
Relief Valve and discharge pipe.
Damage caused by corrosive water
condi ons, mineral deposits, or
other problems can only be de-
termined when a qualifi ed person
removes and inspects the valve
and its components.
A dripping T&P Relief Valve is usually
caused by the home’s water pressure
being too high or the lack of a Thermal
Expansion Tank. If your T&P Relief Valve
drips, see page 26.
A T&P relief valve that has been al-
lowed to drip for an appreciable period
of me should be inspected for mineral
buildup. See T&P relief valve tag for
more informa on.
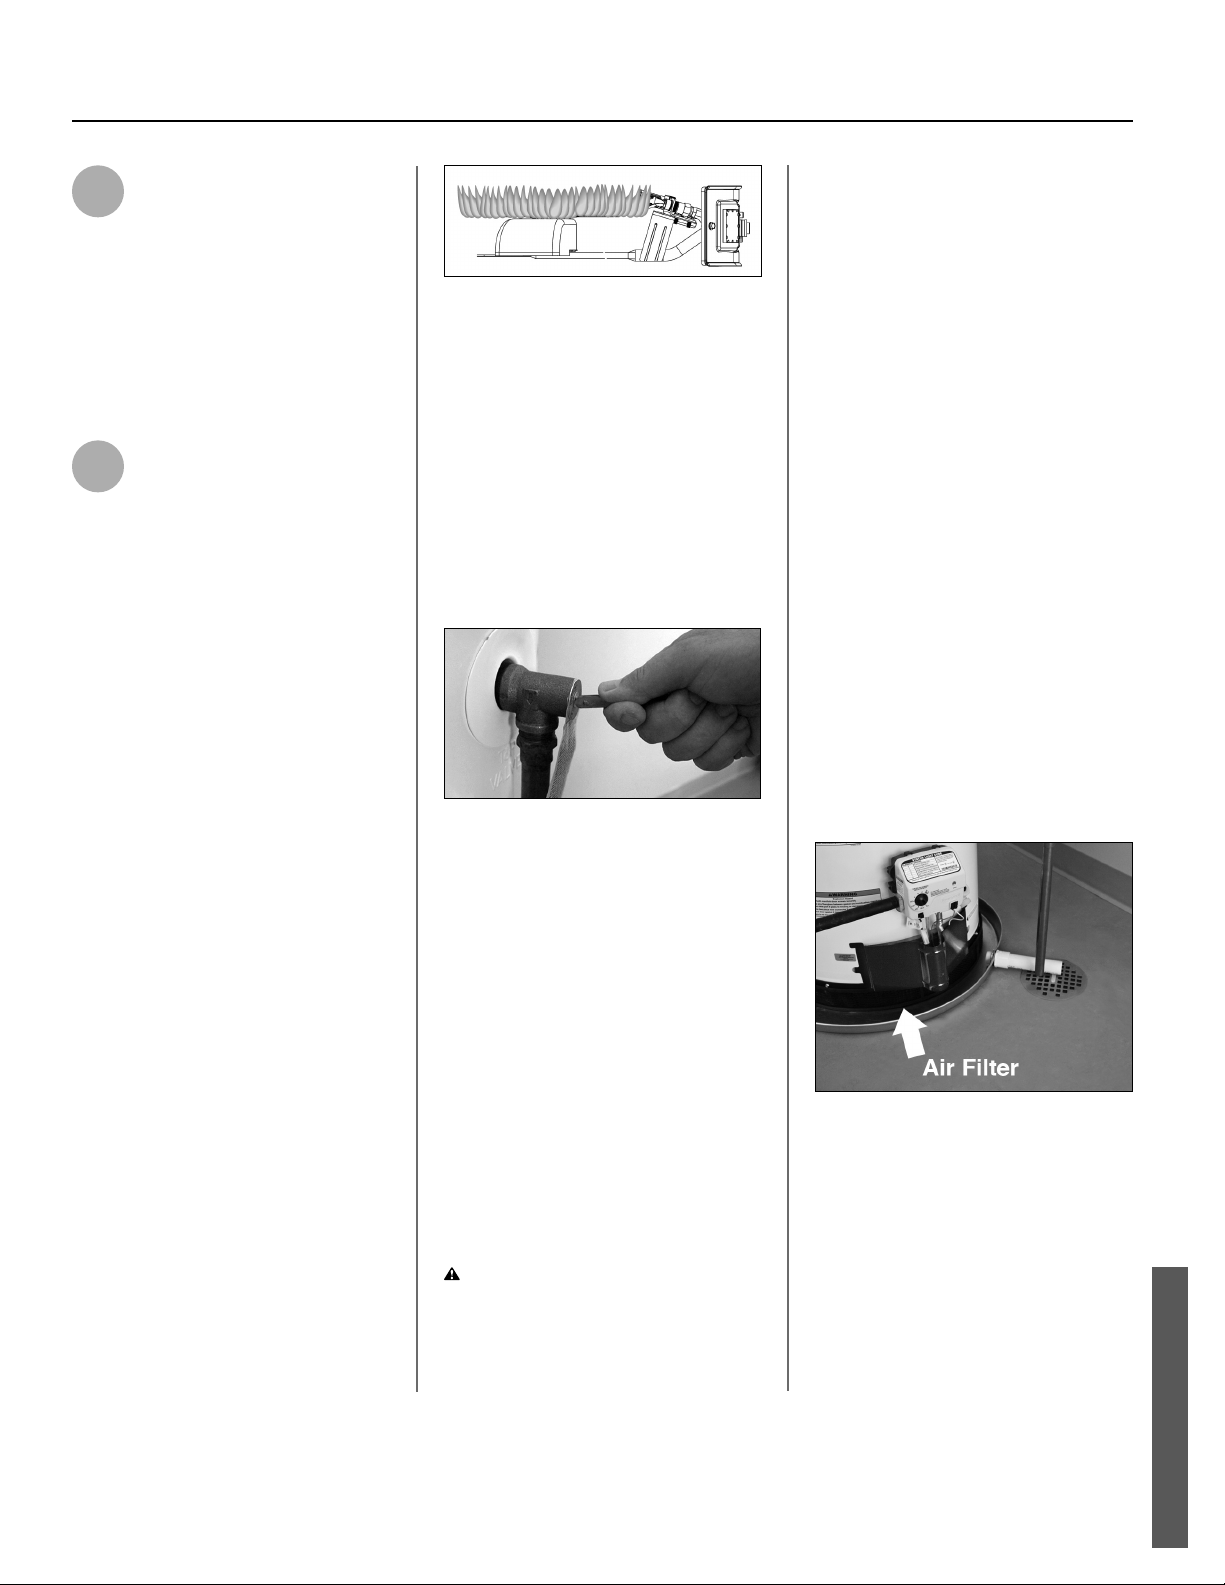
Inspect and Clean the Air Filter
Figure 46 - Clean air filter periodically.
An air fi lter should be installed around
the base of the water heater. At least
annually inspect the air fi lter and check
for a build-up of dust or debris.
Vacuum the fi lter to remove any dust
or debris. If an oily residue is present
on the fi lter, wash it in soap and water,
then dry the fi lter.
Loading ...
Loading ...
Loading ...