Loading ...
Loading ...
Loading ...
Residen al Standard Gas Water Heater Use and Care Guide • 21
INSTALLATION
Residen al Standard Gas Water Heater Use and Care Guide • 21
INSTALLATION
NOTICE: Most water heater models
contain energy saving heat traps in the
inlet and outlet connec ons. Do not
remove the heat traps.
3
Connect the hot water supply
using 3/4 inch NPT to the
fi ng marked “H” (HOT).
4
Install insula on (or heat
tape) on the water pipes
especially if the indoor
installa on area is subject to freezing
temperatures. Insula ng the hot water
pipes can increase energy effi ciency.
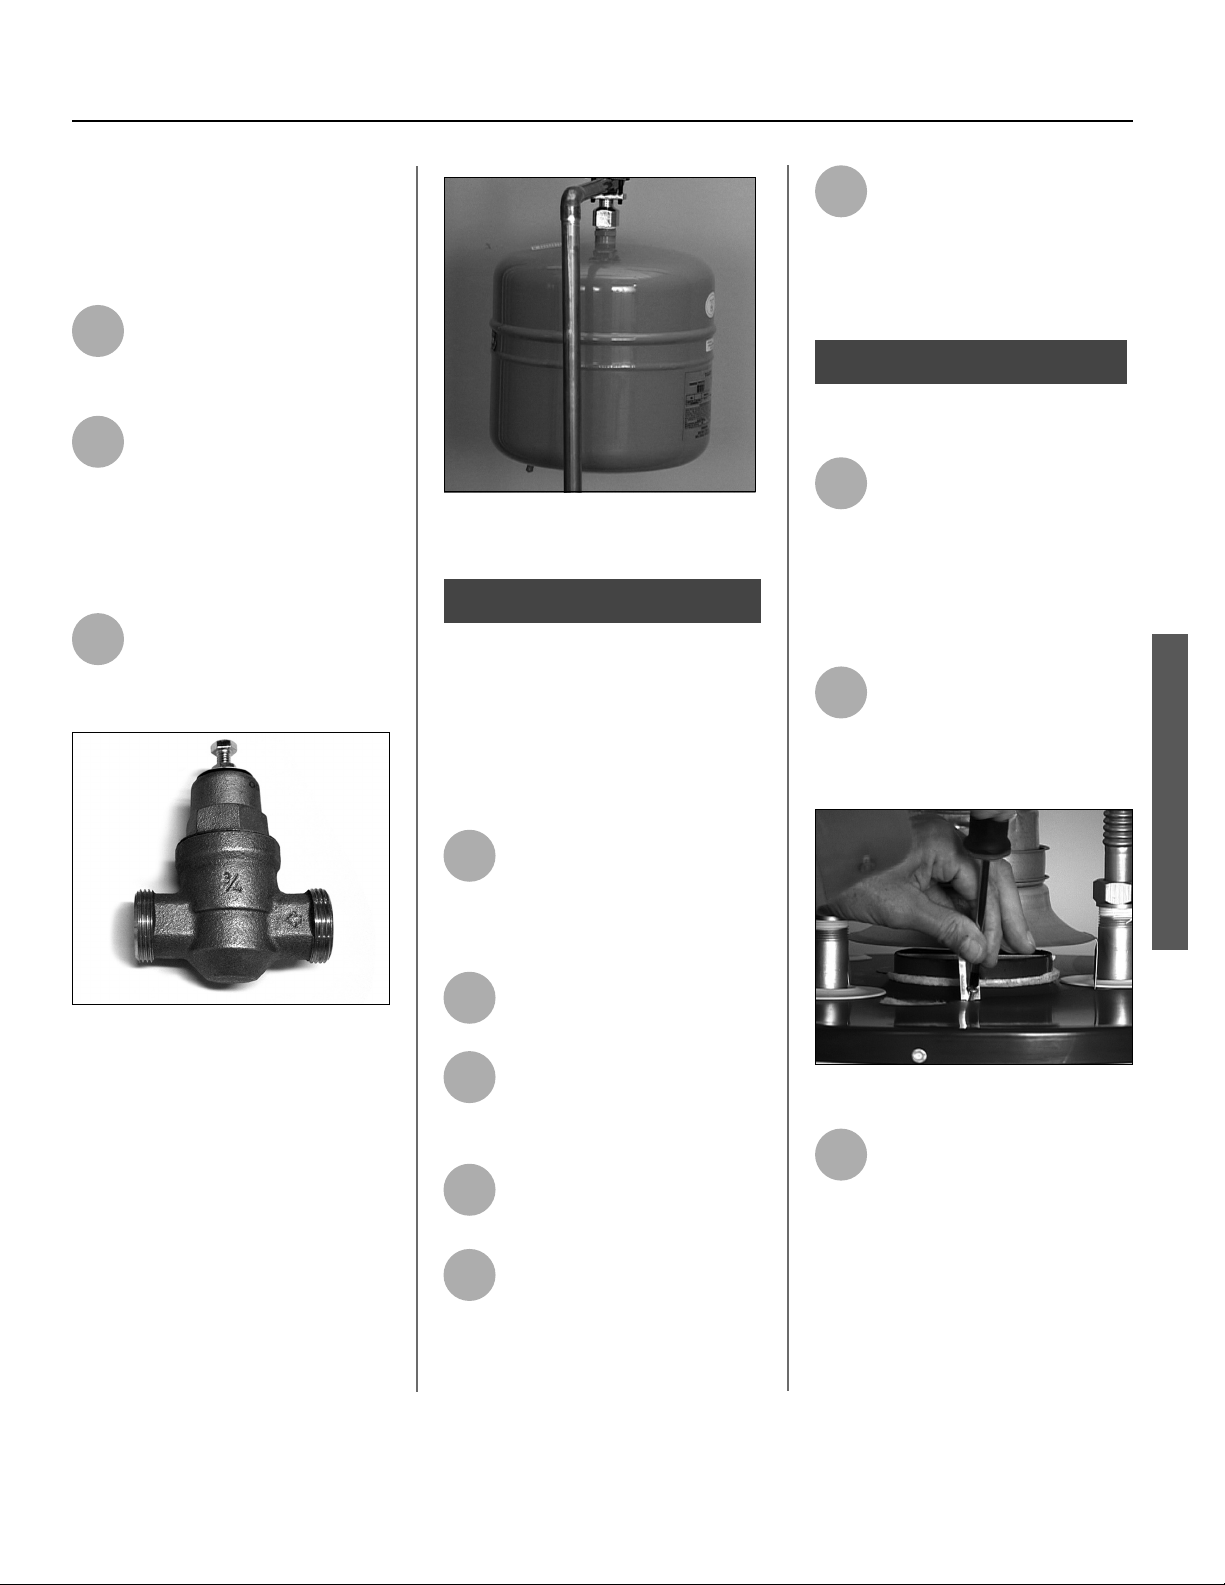
5
Adjust (or install) the home’s
Pressure Reducing Valve to
50-60 psi and install a Thermal
Expansion Tank.
Figure 28 - A Pressure Reducing Valve is required
if your home’s water pressure is above 80 psi.
Figure 29 - The Thermal Expansion Tank should
be pressurized with air, using a hand pump, to
match the home’s incoming water pressure.
Step 9:
Verify Connec ons and
Completely Fill Tank
To remove air from the tank and allow
the tank to fi ll completely with water,
follow these steps:
1
Remove the aerator at the
nearest hot water faucet. This
allows debris in plumbing
system to be washed out of the pipes.
2
Turn the cold water supply
back on and fi ll the tank.
3
Open a hot water faucet and
allow the water to run un l it
fl ows with a full stream.
4
Let the water run full stream
for three minutes.
5
Close the hot water faucet
and replace the aerator.
6
Check inlet and outlet connec-
ons and water pipes for leaks.
Dry pipes connec ons so that
any drips or leaks will be apparent.
Repair any leaks. Almost all leaks occur
at connec ons and are not a tank leak.
Step 10:
Install Dra Hood
1
Install the new dra hood by
aligning the legs and inser ng
them into the slots provided on
top of the water heater. Do not reuse the
dra hood from the old water heater,
but rather use the new one that came
with your new water heater.
2
Secure the dra hood using
the four screws provided.
A ach the home’s exis ng vent
pipe to the dra hood outlet using an
approved vent adapter (not supplied).
Figure 30 - Install the new draft hood and secure
with screws.
3
Secure the vent adapter to the
dra hood with sheet metal
screws. Read the Ven ng
sec on on page 11. Make sure your
home’s ven ng system complies with
the instruc ons in this manual and is in
good condi on.
Loading ...
Loading ...
Loading ...