Loading ...
Loading ...
Loading ...
– 17 –
To Cook Using
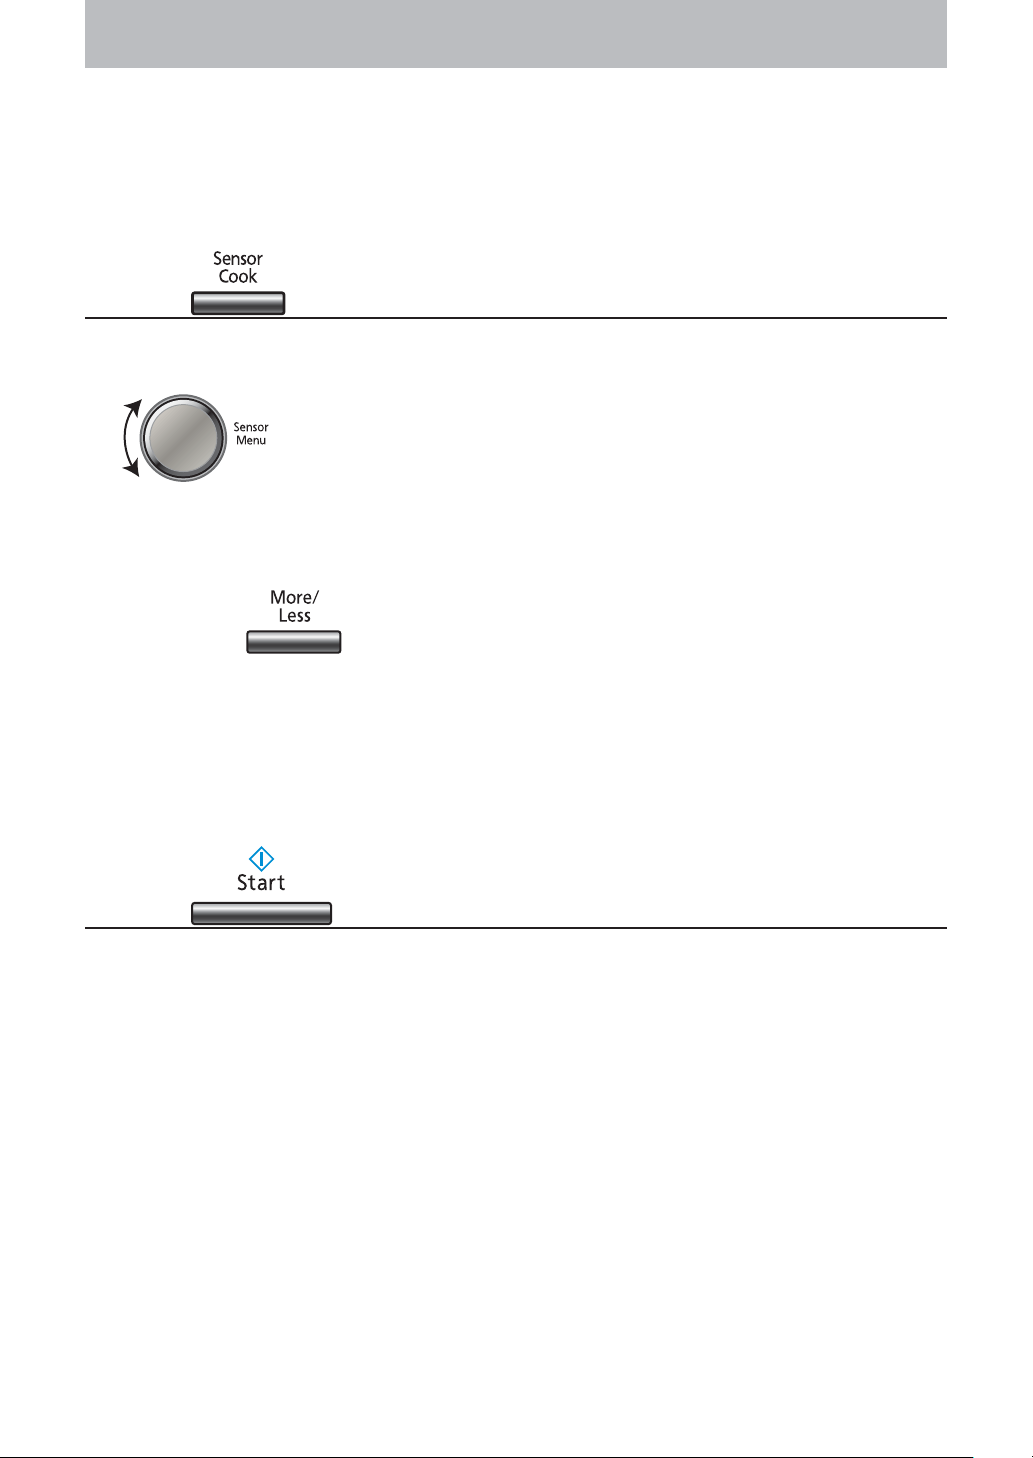
Sensor Cook
Sensor Cook allows you to cook foods without selecting times and power levels. The sensor detects the
heat and humidity generated by the food and cooks your food automatically.
Place food into an appropriate sized dish for the volume of food you are cooking. Cover securely with plastic
wrap or a securely fi tting lid (do not use any snap closing lids). Plastic dishes are not suitable as a secure
seal cannot be achieved and inaccurate cooking may result.
1
Press and select desired menu number
Press the Sensor Cook Pad and turn the Sensor Menu Dail until the desired menu number appear in
the display window. (see the chart on next page)
Note:
For information on individual categories refer to each chapter in the cookbook section.
More/Less Pad :
Preferences for food doneness varies with each individual. After having used Sensor Cook a few times,
you may decide you prefer your food cooked to a different doneness. By using the More/Less Pad, the
Auto Sensor programmes can be adjusted to cook food for a longer or shorter time. Press More/Less
Pad before pressing Start Pad.
1 tap : More cooking with indication “+”
2 taps : Less cooking with indication “ -”
3 taps : Returns to average cooking result.
If you are satisfi ed with the result of the SENSOR COOK programme, you don’t have to use this pad.
2
Press
The menu number you have selected remains in the display window. Do not stop the oven or open the
door during this part of the cooking stage as inaccurate cooking may result. After the heat humidity is
detected by the SENSOR, the remaining time appears in the Display Window and begins to count down.
For best results, follow these recommendations:
1. The door should not be opened before the time appears in the Display Window.
2. Do not use plastic dishes as a secure seal cannot be achieved and inaccurate cooking may occur.
F00039X90QP_OI.indd 17F00039X90QP_OI.indd 17 2012-6-11 13:46:442012-6-11 13:46:44
Loading ...
Loading ...
Loading ...