Loading ...
Loading ...
Loading ...
18
with European regulations.
To disable or enable "Energy Saving", proceed as follows:
1. Press
(B2) to enter the menu;
2. Press
(B10) or (B8) until ENERGY SAVING ap-
pears on the display (B);
3. Press
to enable - or disable - en-
ergy saving.
4. Press
ergy saving.
to go back to the homepage.
The corresponding symbol appears on the display alongside the
time to indicate that the function has been enabled.
Co ee temperature
To modify the temperature of the water used to make the co ee,
proceed as follows:
1. Press (B2) to enter the menu;
2. Press
(B10) or (B8) until COFFEE TEMPERA-
TURE appears on the display (B) together with the current
selection (LOW, MEDIUM, HIGH or MAX);
3. Press to select the required temperature;
4. Press to go back to the homepage.
A di erent temperature can be set for each pro le (see section
“Memorising your personal pro le”).
Water hardness
For instructions on setting water hardness, see section “Setting
water hardness”.
Selecting the language
To modify the language of the display (B), proceed as follows:
1. Press (B2) to enter the menu;
2. Press
(B10) or (B8) until SET LANGUAGE ap-
pears on the display;
3. Press
: press or to display and select the ag
corresponding to the required language;
4. Press twice to go back to the homepage.
Beep
This enables or disables the beep emitted by the machine each
time an icon is pressed or an accessory is inserted/removed. To
disable or enable the beep, proceed as follows:
1. Press (B2) to enter the menu;
2. Press
(B10) or (B8) until BEEP appears on
the display (B);
3. Press
to enable - or disable -
the beep;
4. Press
to go back to the homepage.
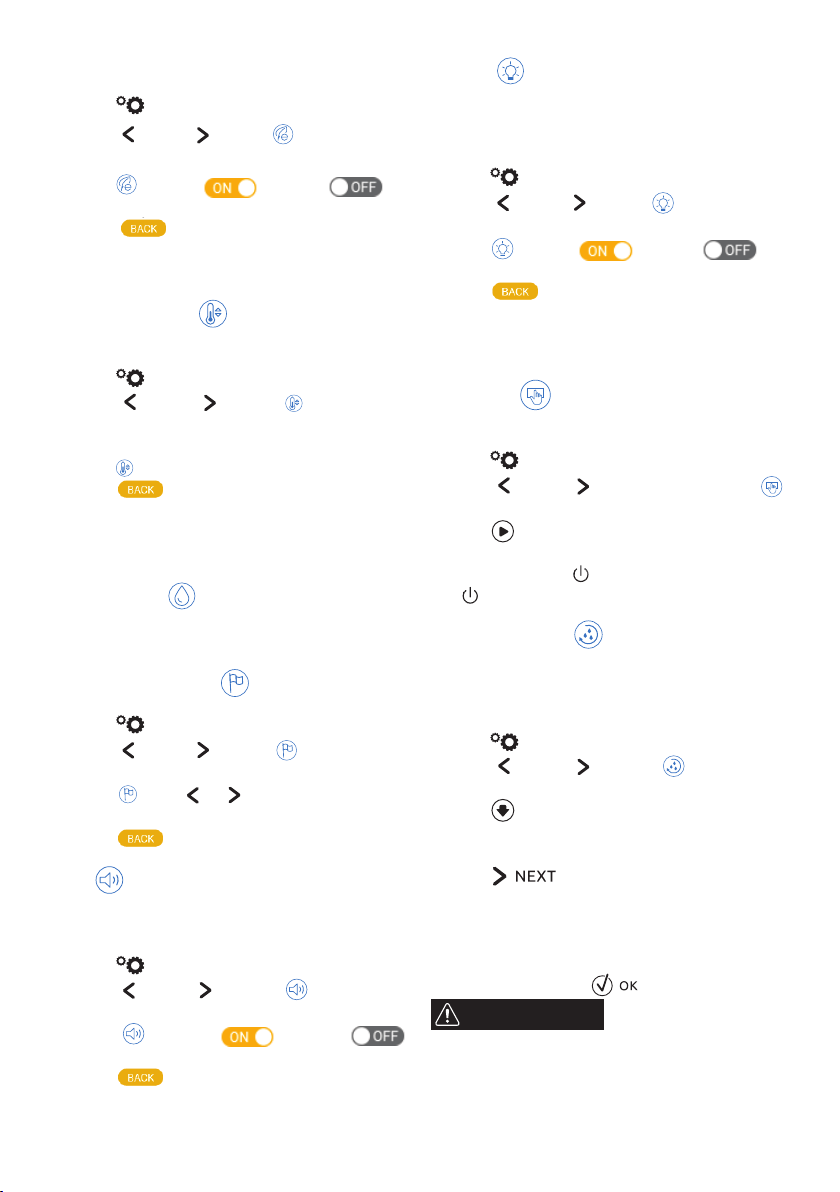
Cup light
This function enables or disables the cup lights (A18). The lights
come on each time co ee beverages or hot milk is delivered and
during each rinse cycle.
To disable or enable this function, proceed as follows:
1. Press
(B2) to enter the menu;
2. Press
(B10) or (B8) until CUP LIGHTING ap-
pears on the display (B);
3. Press
to enable- or disable- the
cup lighting;
4. Press to go back to the homepage.
The interior lighting (A6) comes on when the appliance is turned
on.
Demo mode
By enabling this mode, the main functions of the machine are
shown on the display:
1. Press
(B2) to enter the menu;
2. Press
(B10) or (B8) until the display shows
DEMO MODE;
3. Press
to start the demo;
4. To exit from the DEMO MODE, rst turn the appliance o by
pressing the button
(A7, g. 9). Press again the button
to go back to the homepage.
Emptying the circuit
To avoid the water in the circuit freezing if the appliance is to be
left idle for a long period of time, or before taking it to customer
services, we recommend emptying the water circuit.
Proceed as follows:
1. Press (B2) to enter the menu;
2. Press
(B10) or (B8) until WATER CIRCUIT
EMPTYING appears on the display (B);
3. Press ;
4. EMPTY GROUNDS CONTAINER AND DRIP TRAY : extract and
empty the grounds container (A10) and drip tray (A14).
Press ;
5. INSERT GROUNDS CONTAINER AND DRIP TRAY : insert the
drip tray complete with grounds container;
6. PLACE 0.5l CONTAINER UNDER SPOUTS, PRESS OK TO START :
position a container under the co ee spouts (A13) and hot
water spout (C4). Press ( g. 8);
WARNING
Do not leave the appliance unattended while hot water is being
delivered.
1. RINSING UNDERWAY, PLEASE WAIT : the appliance performs
a rinse cycle from the co ee spouts;
2. EMPTY WATER TANK : extract the tank (A12) and empty it
Loading ...
Loading ...
Loading ...