Loading ...
Loading ...
Loading ...
17
EN
• If the appliance is not used for more than 3-4 days, when
switched on again, we strongly recommend performing
2/3 rinses before use;
• After cleaning, it is normal for the grounds container (A4) to
contain water.
Beverages settings
In this section, you can consult your customised settings and, if
you wish, reset the default values for each beverage.
1. Press (B2) to enter the menu;
2. Press
(B10) or (B8) until DRINKS SETTINGS
appears on the display (B);
3. Press . The values for the rst beverage appear on the
display;
4. The reference user pro le is highlighted on the display. The
values are displayed on vertical bars. The default value is
indicated by the
symbol, while the current value is
highlighted by the solid part of the vertical bar;
5. To go back to the settings menu, press
highlighted by the solid part of the vertical bar;
.
To scroll and display the beverages, press
;
6. To reset the default values for the beverage displayed, press
RESET ALL ;
7. CONFIRM RESET? : to con rm, press (to cancel,
press );
8. DEFAULT VALUES SET : press .
The beverage has been reset to the default values. Continue with
the other beverages, or go back to the settings menu.
• To change the beverages in another pro le, go back to the
homepage, select the required pro le (B11) and repeat the
procedure.
• To reset all the beverages in the pro le to the default val-
ues, see section “Default values”.
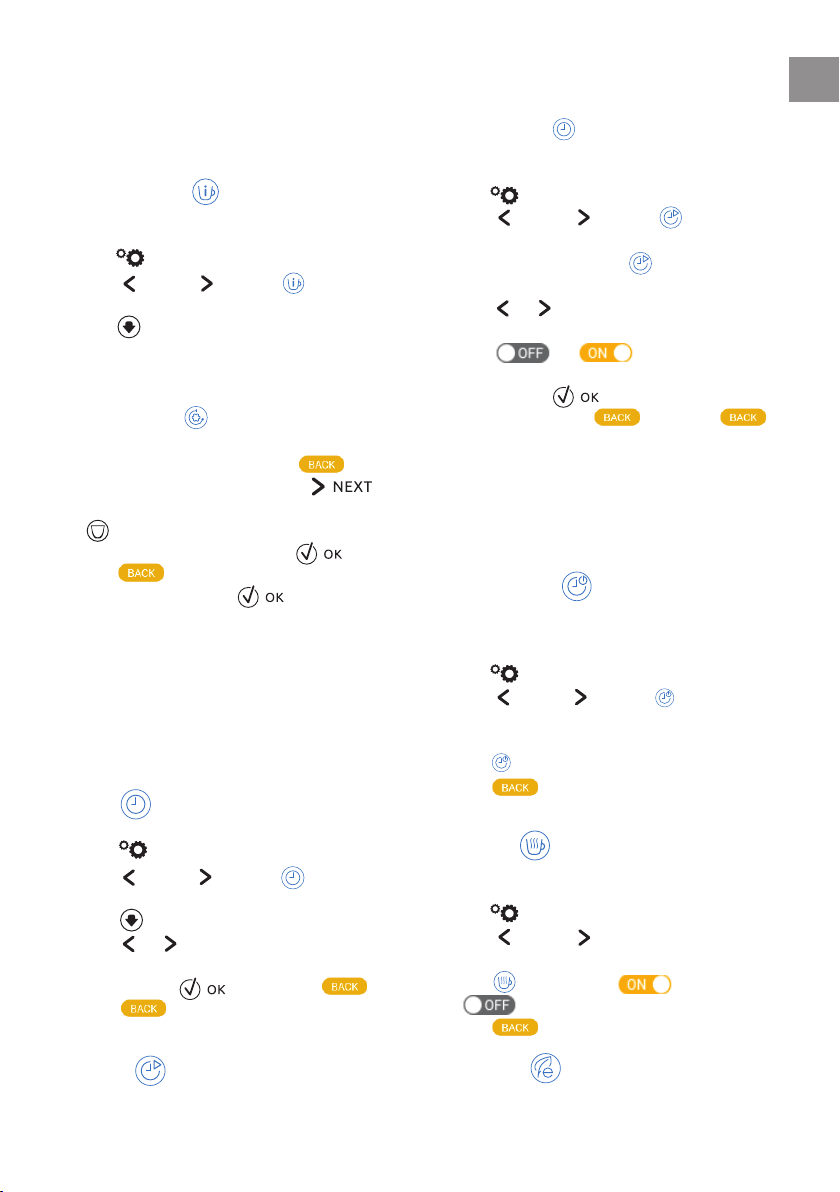
Set time
To adjust the time on the display (B), proceed as follows:
1. Press
(B2) to enter the menu;
2. Press
(B10) or (B8) until SET TIME appears
on the display (B);
3. Press
. The time setting panel appears on the display;
4. Press
or corresponding to the hours and minutes
until the current time is displayed;
5. To con rm, press (to cancel, press ), then
press to go back to the homepage.
The time is now set.
Auto-start
You can set the auto-start time in order to have the appliance
ready at a certain time (for example in the morning) so you can
make co ee immediately.
To enable this function, the time must already be set correctly
(see section “Set time
”).
To enable auto-start, proceed as follows:
1. Press
(B2) to enter the menu;
2. Press
(B10) or (B8) until AUTO-START ap-
pears on the display (B);
3. Select the function by pressing
. The time setting panel
appears on the screen;
4. Press
or corresponding to the hours and minutes
until the required auto-start time is displayed;
5. Press or to enable or disable au-
to-start.
6. To con rm, press (or cancel and go back to the set-
tings menu by pressing ), then press to
go back to the homepage.
The auto-start time is now set and the corresponding symbol is
displayed to indicate that the function has been enabled.
When the appliance is turned o using the main switch (A19),
the auto-start setting (if enabled) is lost.
Auto-o (standby)
Auto-o can be set so that the appliance goes o after 15 or 30
minutes, or 1, 2 or 3 hours.
To programme Auto-o , proceed as follows:
1. Press
(B2) to enter the menu;
2. Press
(B10) or (B8) until AUTO-OFF appears
on the display (B), together with the current selection (15
or 30 minutes, or 1, 2 or 3 hours);
3. Press
on the display to select the required value;
4. Press to go back to the homepage.
Auto-o is now programmed.
Cup warmer
To warm the cups before making co ee, it is possible to activate
the cup warmer (A23) and put it above the cups.
1. Press
(B2) to enter the menu;
2. Press
(B10) or (B8) until the display (B) shows
“CUP WARMER”;
3. Press to activate -
or de-activate -
the cup warmer.
4. Press to go back to the homepage.
Energy saving
Use this function to enable or disable energy saving. When en-
abled, the function reduces energy consumption in compliance
Loading ...
Loading ...
Loading ...