Loading ...
Loading ...
Loading ...
28
INSTALLATION
Final Installation Check
Check if the dishwasher is properly installed.
1
Turn on the circuit breaker.
2
Turn on the house water supply.
3
Make sure that the door opens and closes
smoothly.
• If necessary, level the dishwasher again.
• If the door will not close, make sure the rack
is level.
• Make sure that all packaging materials have
been removed.
2
3
4
Power on the dishwasher and run a Turbo
cycle to verify proper operation.
5
Check for leaks at the drain hose and water
supply connection..
6
If a water leak is detected, press and hold the
Start button for 3 seconds to cancel the wash
cycle and automatically drain the water from
the dishwasher. Tighten all water connections
and run another cycle. Repeat until no leaks
are detected.
7
Replace the lower cover.
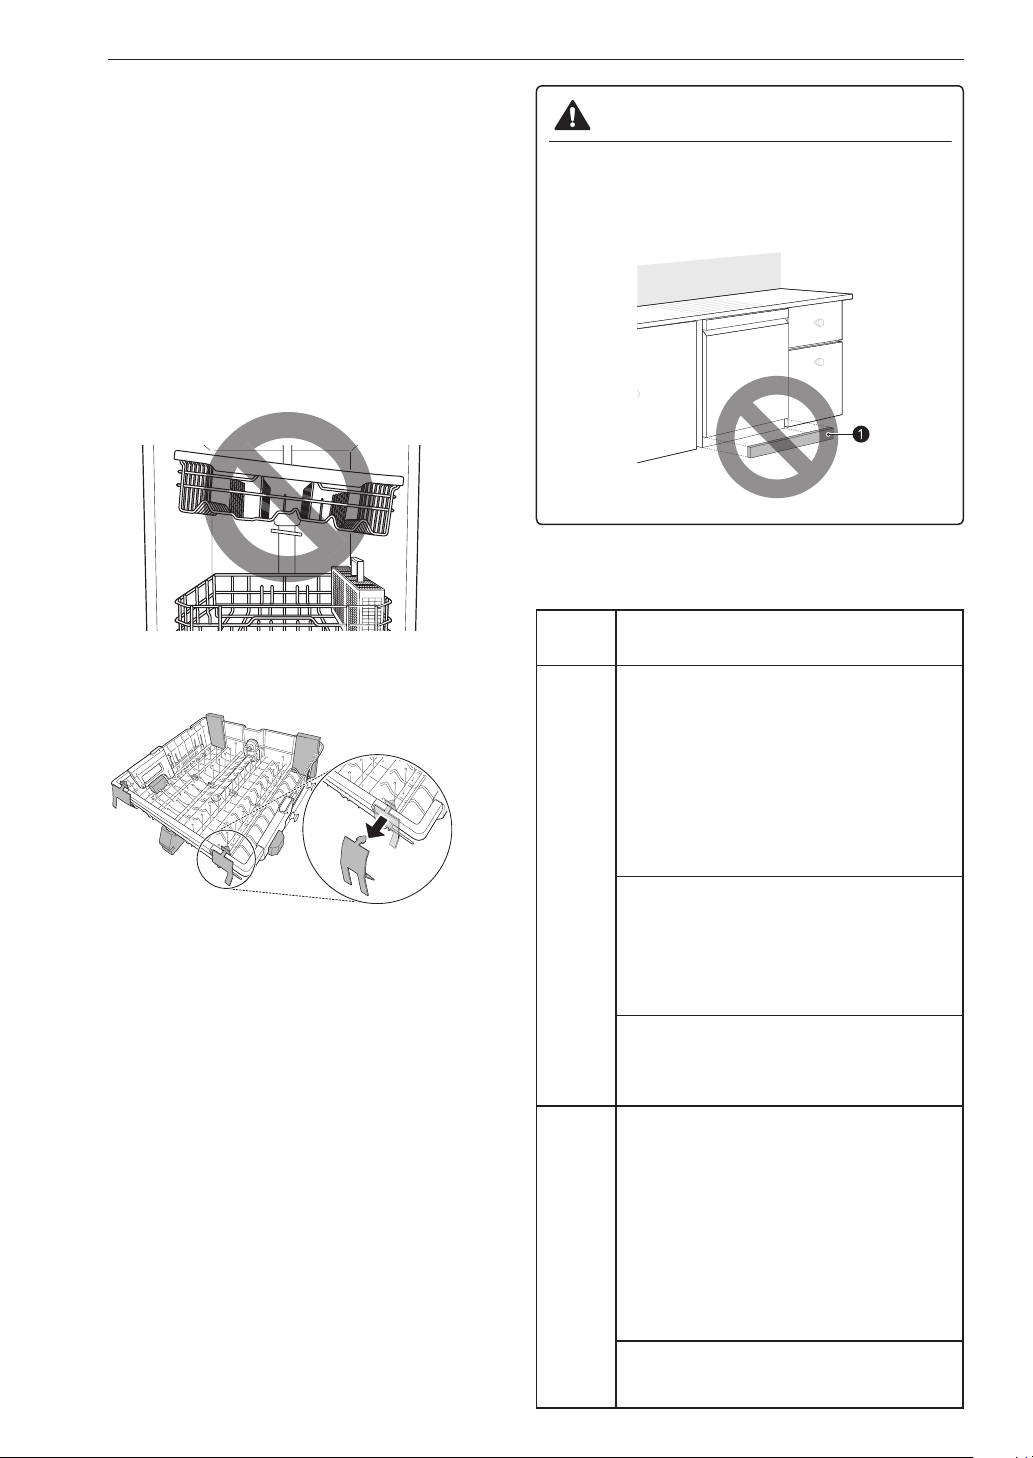
CAUTION
• Only install the lower cover provided with the
dishwasher. Do not install cabinet baseboard
a
as it may cause noise and leakage.
Installation Check Error Codes
Refer to the chart below before calling for service.
Error
Code
Possible Cause and Solution
OE
Error
Drain hose is kinked or pinched.
Feed the drain and water supply hoses
through the hole under the sink. Then
gradually slide the dishwasher into
the cabinet while pulling on the hoses
under the sink to take up any slack.
This helps avoid kinking the hoses or
trapping them beneath the dishwasher.
Drain hose is connected to the
disposal without removing the
knockout plug.
Remove the knockout plug from the
disposal.
Waste tee or disposal is clogged.
Remove knockout plug on the waste
tee or disposal.
IE
Error
Water supply line is kinked under
dishwasher.
Feed the drain and water supply hoses
through the hole under the sink. Then
gradually slide the dishwasher into
the cabinet while pulling on the hoses
under the sink to take up any slack.
This helps avoid kinking the hoses or
trapping them beneath the dishwasher.
House water supply is not turned on.
Turn the water faucet on.
Loading ...
Loading ...
Loading ...