Loading ...
Loading ...
Loading ...
NOTE: This feature only applies to folders.
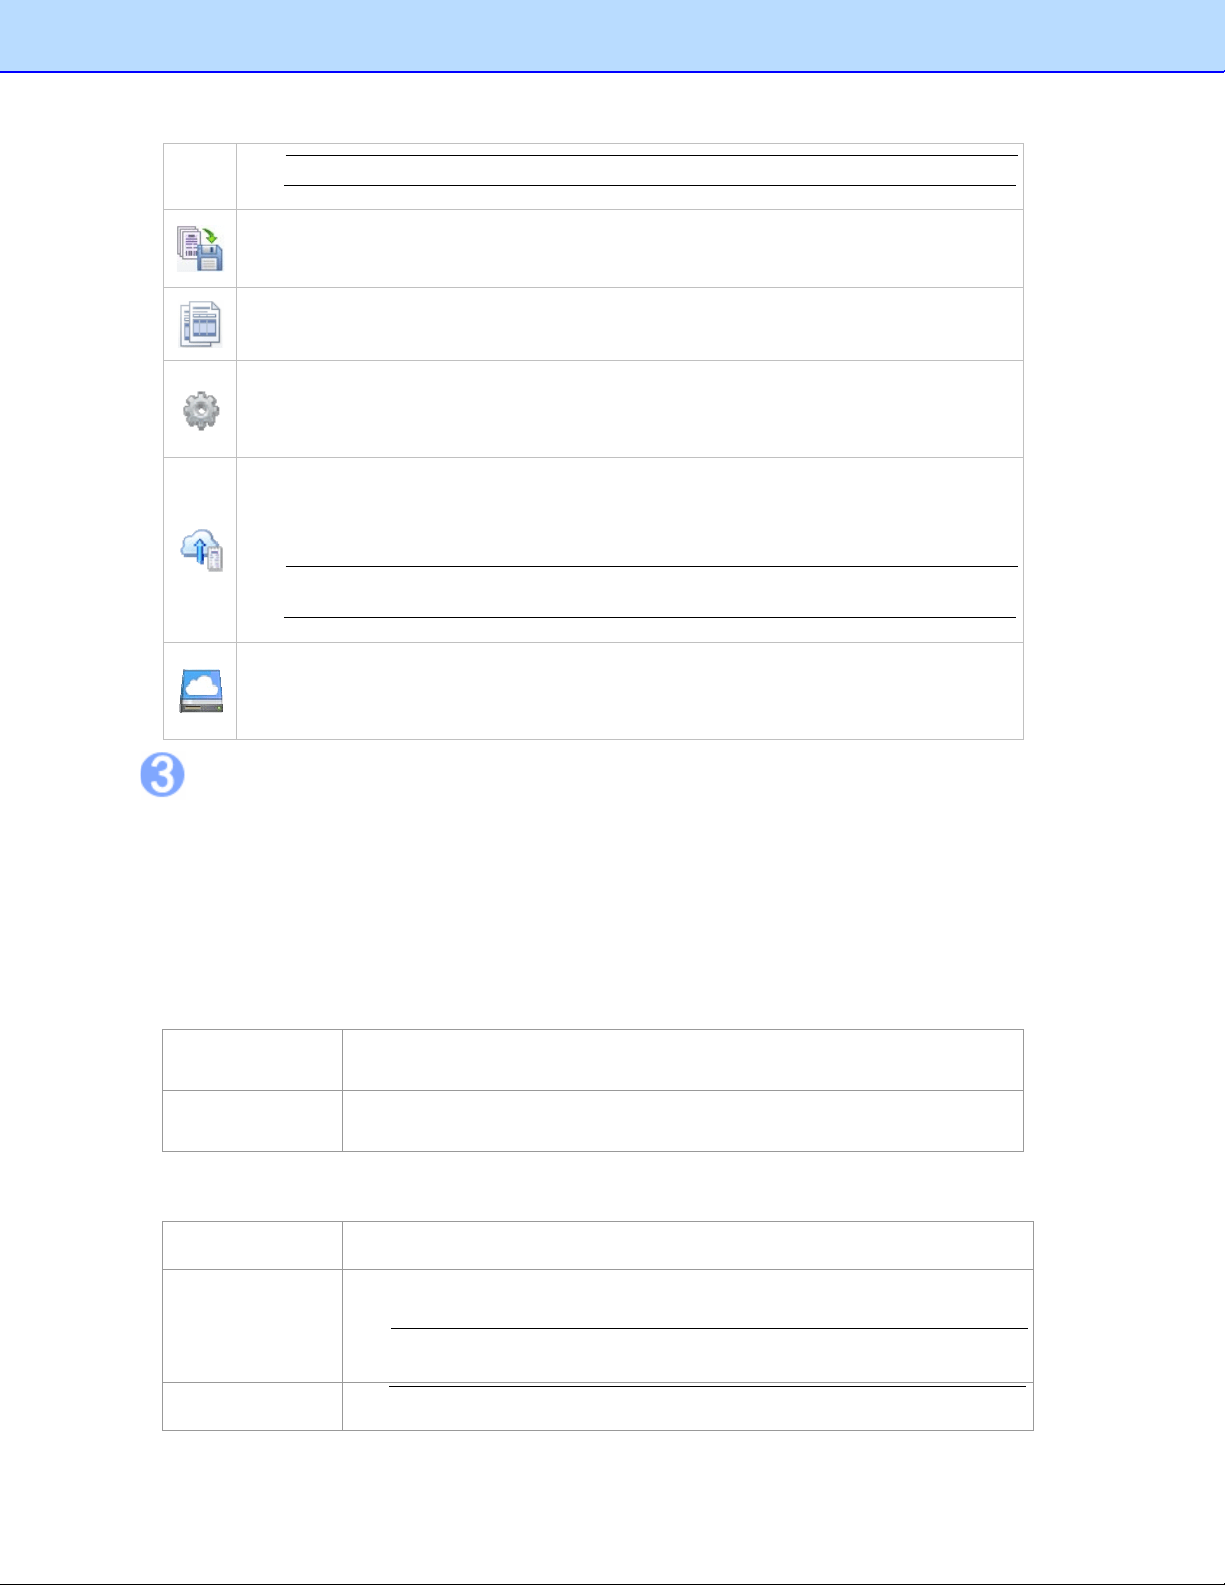
Export to File: Export receipt images to file.
Create Report: Create a data report for the selected receipts.
Settings: Enter your BOL account information, user profile, defined field values and
user interface language to personalize your program and provide easy access when
you upload scanned receipt images.
Export to Cloud: Enter an e-mail address and password to log in and select a receipt
box or a folder, then send scanned receipt images to the cloud from your local
computer.
NOTE: If you select a receipt box to upload, all the folders in this receipt box will be
uploaded.
Link to Brother Online Receipts service: Click to open the BOL webpage and view
the files you have uploaded, if the account information is not saved in the Settings
, you
will have to enter the account information first.
Folder View
Folder view includes a Folder section and a Search section.
Click the Folder tab to view the Folder section, where you can create a receipt box, open a file, and
create a new folder.
Click the Search tab to view the Search section, where you can select a category and fill in the
keyword, receipt date, amount, and vendor fields, and then click Start Search to find a specific
receipt.
Right-click the blank area to view these commands:
New Receipt
Box...
Create a receipt box.
Open Receipt
Box...
Open a receipt box that already exists.
Right-click a receipt box to view these commands:
New Folder
Create a folder.
Rename Box
Change the name of the receipt box.
NOTE: The receipt box name can be no more than 150 characters.
Save As... Save the receipt box under another name.
8
Loading ...
Loading ...
Loading ...