Loading ...
Loading ...
Loading ...
Installation Procedure
40
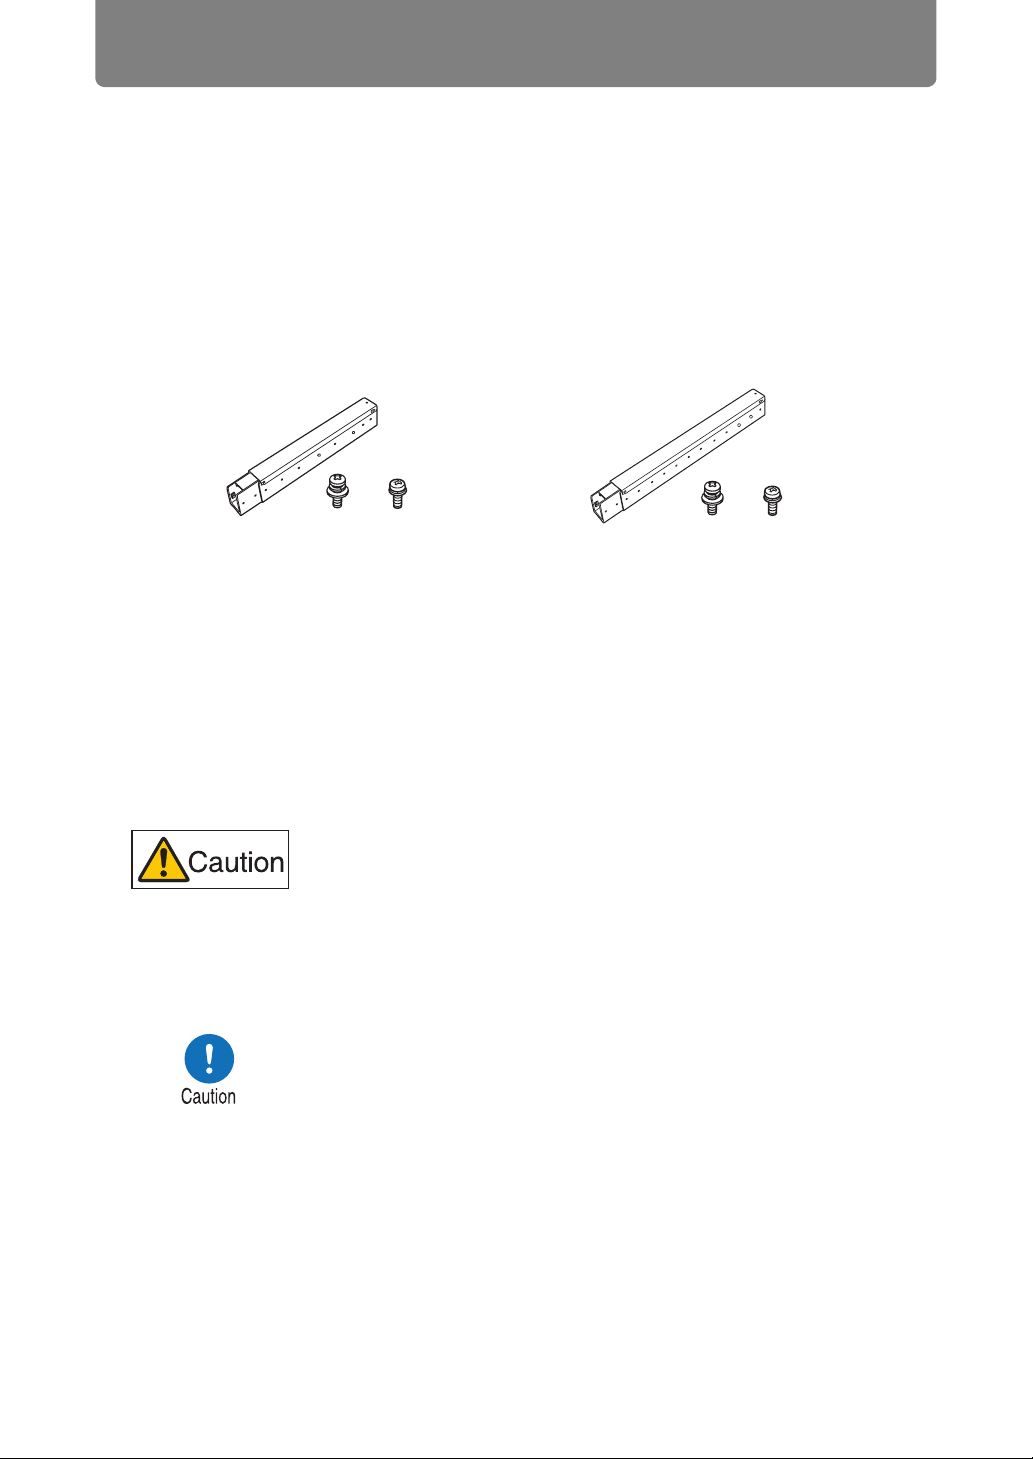
■ Extension pipe RS-CL08 / RS-CL09 (option)
Weight: RS-CL08 (2.2 kg/4.9 lbs)/RS-CL09 (3.4 kg/7.5 lbs)
Use an optional extension pipe (RS-CL08 / RS-CL09) according to the ceiling
height. For details, contact our local agent.
Mounting Position
Install the projector straight in front of the screen. You can adjust the screen
position using the lens shift feature.
RS-CL08
Outer/inner pipes and outer/inner covers
M5 screw (12 mm/0.5") : 4 pcs.
M3 screw (10 mm/0.4") : 1 pc.
* The length is adjustable between 35 cm/1.1'
and 55 cm/1.9' in steps of 5 cm/0.2'.
RS-CL09
Outer/inner pipes and outer/inner covers
M5 screw (12 mm/0.5") : 4 pcs.
M3 screw (10 mm/0.4") : 1 pc.
* The length is adjustable between 55 cm/1.9'
and 95 cm/3.1' in steps of 5 cm/0.2'.
• Before mounting the Ceiling Attachment, be sure to check the
strength of the ceiling. The ceiling should be strong enough to
support the projector and Ceiling Attachment (and optional
extension pipe). If the ceiling is not strong enough, be sure to
reinforce it. The projector may fall and you may get injured.
• Make sure to perform the installation operation by at least two
persons. Please be careful not to drop any object and pinch a
finger during the installation operation.
• To prevent falling caused by earthquake or vibration, take anti-fall
measures using tension wires or the like for installation. The
projector may fall and you may get injured.
• At least 50 cm (1.6') around the intake and 50 cm (1.6') around the
vent should be clear. Otherwise, it may damage the projector due
to bad exhaust ventilation.
x 4
x 4
Loading ...
Loading ...
Loading ...