Loading ...
Loading ...
Loading ...
Error Message Cause Action
Cooling Down
The temperature of the inside of
the machine is too hot. The
machine pauses its current print
job and goes into cooling down
mode.
Wait until the machine has finished cooling down.
Make sure all vents on the machine are clear of
obstructions.
When the machine has cooled down, the machine
will resume printing.
Cover is Open
The front cover is not
completely closed.
Open and then firmly close the front cover of the
machine.
Cover is Open.
The fuser cover is not
completely closed or paper was
jammed in the back of the
machine when you turned on
the power.
Close the fuser cover located inside the back
cover of the machine.
Make sure paper is not jammed inside the back of
the machine, and then close the fuser cover.
Cover is Open.
The ADF cover is not
completely closed.
Close the ADF cover.
If the error message remains, press
.
Disconnected
The other person or other
person's fax machine stopped
the call.
Try to send or receive again.
If calls are stopped repeatedly and you are using
a VoIP (Voice over IP) system, try changing the
Compatibility to Basic (for VoIP).
Document Jam
The document was not inserted
or fed correctly, or the
document scanned from the
ADF was too long.
Remove the jammed paper from the ADF unit.
Clear any debris or scraps of paper from the ADF
unit paper path.
Press .
DR Mode in Use
The machine is set to
Distinctive Ring mode. You
cannot change the Receive
Mode from Manual to another
mode.
Set Distinctive Ring to Off.
Supplies
Drum End Soon
The drum unit is near the end of
its life.
Order a new drum unit before the LCD displays
Replace Drum.
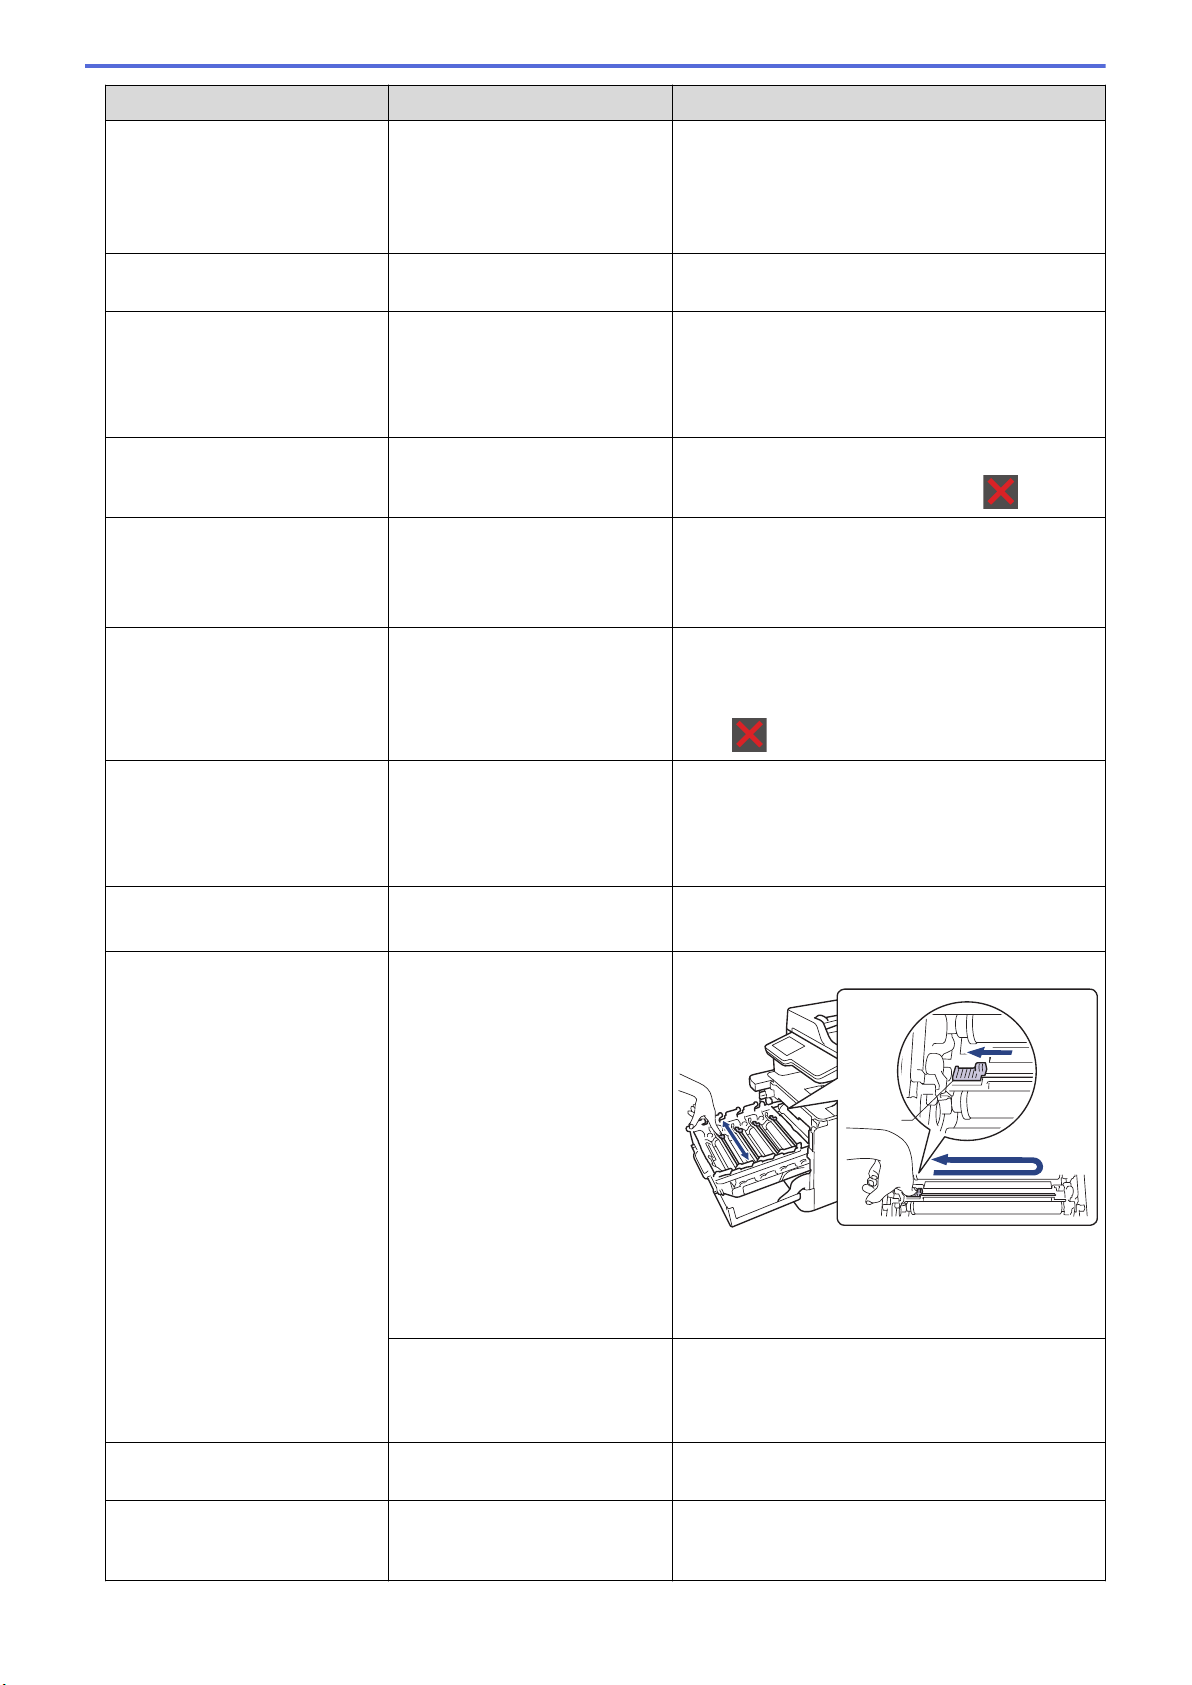
Drum !
The corona wires on the drum
unit must be cleaned.
Clean the corona wires on the drum unit.
1
See Related Information: Clean the Corona
Wires.
If the problem continues, replace the drum unit
with a new one.
The drum unit or the toner
cartridge and drum unit
assembly is not installed
correctly.
Remove the drum unit, remove the toner
cartridges from the drum unit, and put the toner
cartridges back into the drum unit. Reinstall the
drum unit in the machine.
Drum Stop
It is time to replace the drum
unit.
Replace the drum unit.
Jam 2-sided
The paper is jammed
underneath the paper tray or
the fuser unit.
Remove the paper tray or open the back cover to
pull out all jammed paper.
542
Loading ...
Loading ...
Loading ...